

Store bought balloon arches look great in photos, then the price shows up. A ready made one can easily cost more than the cake, the plates, and the party games put together, and you still have to carry it home and hope it fits through the door.
The good news is that a balloon arch diy project is mostly patience and cheap supplies. You do not need helium, a pro kit, or a steady hand. You need balloons, something to hold them, and a plan for where the arch will stand.
Most online tutorials skip the annoying parts. How do you keep the arch from tipping over? What if you rent and cannot drill holes? What do you do when gaps show up between the balloons? The ideas below answer those questions with plain rope, fishing line, pool noodles, and PVC pipe.
Pick the ones that fit your space and your budget. Most take a single evening, and many use things you may already have in a drawer or the garage.
Pick Your Arch Size First: Table, Doorway, or Full Wall
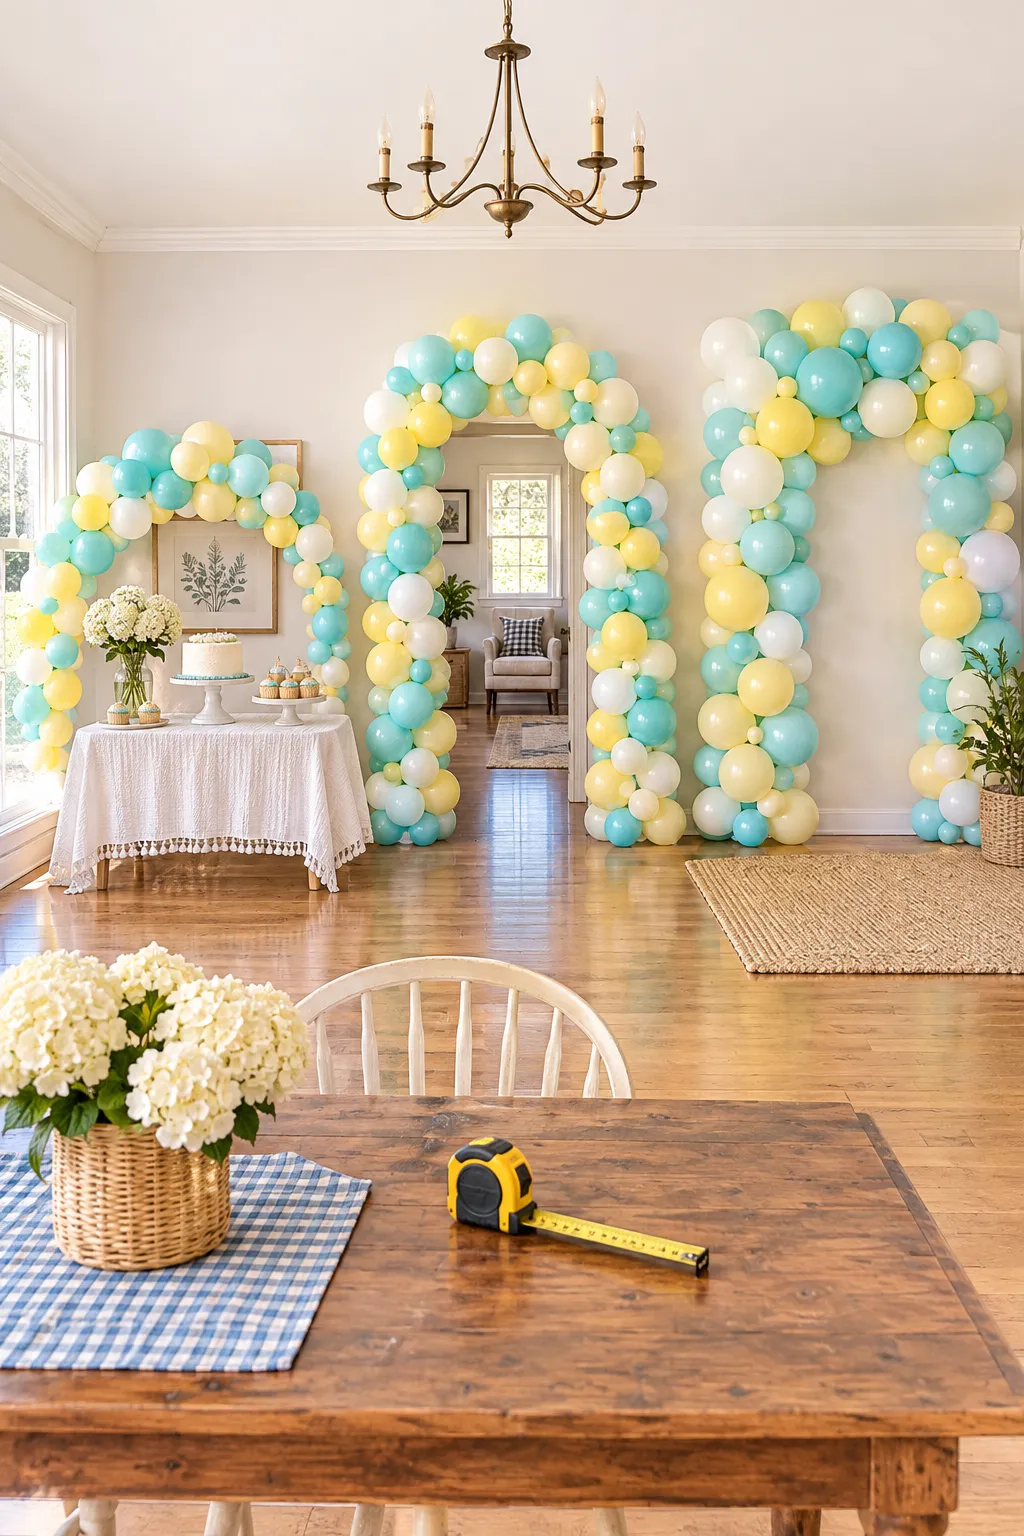
Size decides everything else, so settle it before you buy a single balloon.
Walk to the spot where the arch will stand and measure it. No tape measure? Use your arm span as a rough guide. A wider arch means more balloons, more inflating time, and a bigger bill.
Ask yourself three quick things:
- Will guests walk through it, sit under it, or just look at it?
- Where will the group photos happen?
- How much time do you have before the first guest arrives?
If this is your first try, start smaller than you think you need.
Arch sizes at a glance
Tie Balloon Pairs Onto Plain Rope Instead of Buying a Garland Strip

Cut the rope longer than the arch you planned, then add an extra arm’s length for tying and hanging.
A garland strip from a party store does the same job, but plain rope costs less and you can cut it to any size. Cotton or nylon rope from the hardware store grips knots better than slick ribbon.
Rough rope holds a knot. Smooth rope slides, so test one balloon before you commit.
How to tie the garland
Inflate two balloons to the same size and tie their necks together.
Knot that pair onto the rope, leaving a hand’s width before the next pair.
Turn each new pair a quarter turn so the balloons fan out and look fuller.
Hang the rope, step back, and nudge any bare spots until the line looks even.
Skip the Frame and Weave Balloons Onto Fishing Line
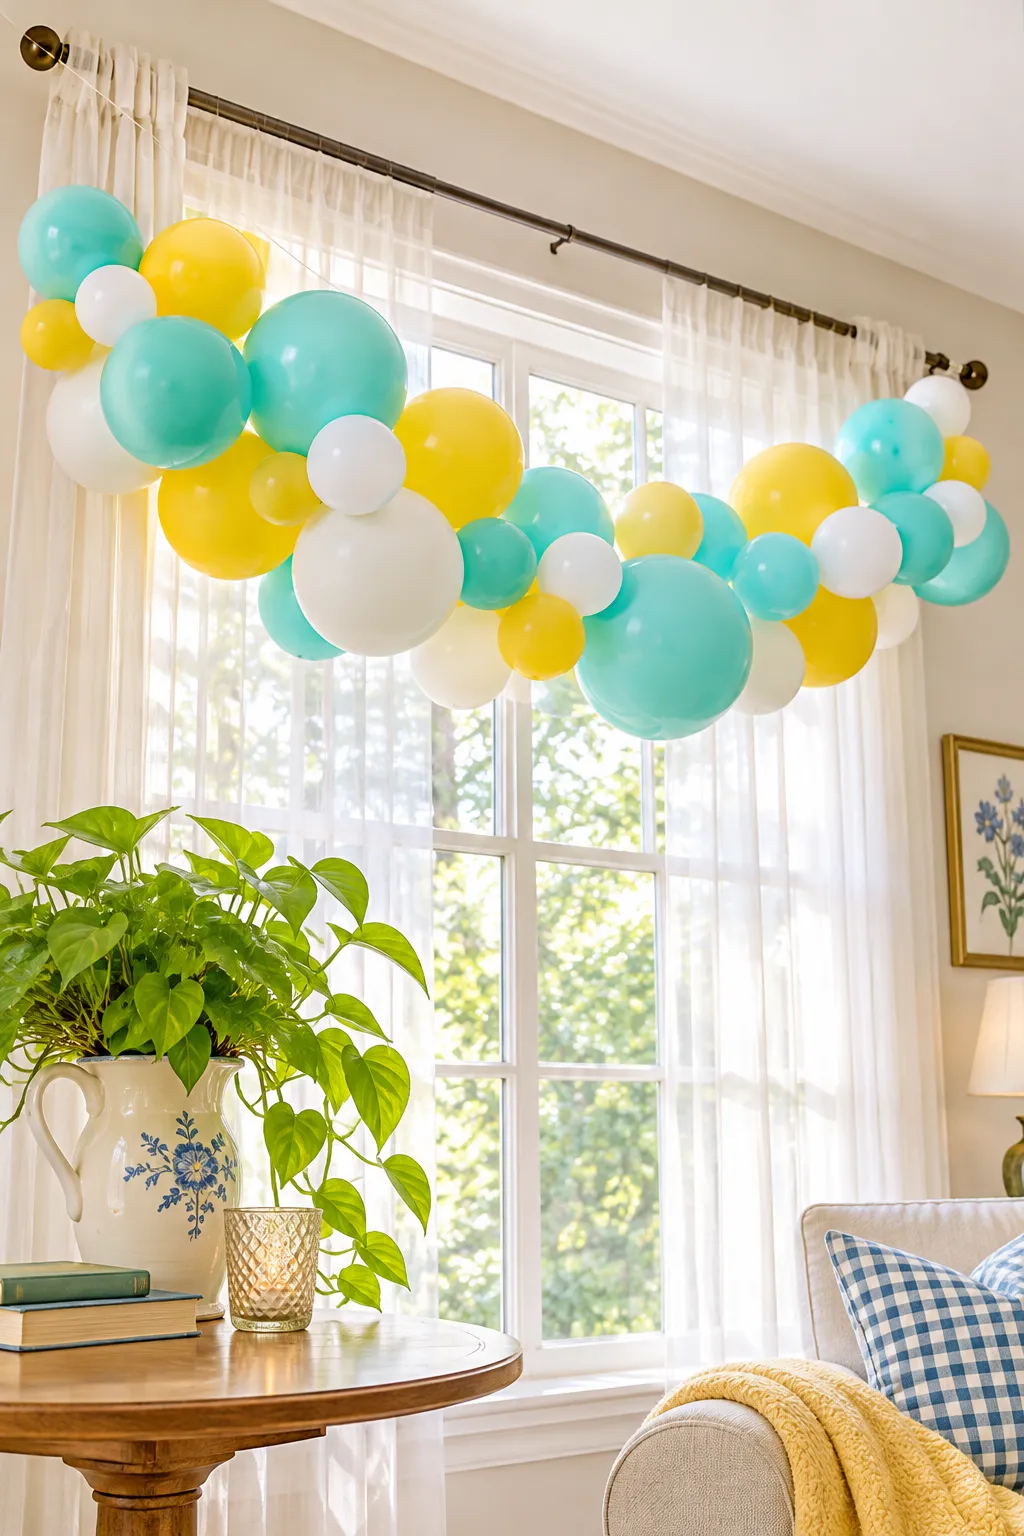
Plenty of tutorials claim you need a frame. You really do not.
Clear fishing line can hold a light cluster of balloons between two anchor points. Thread the line through the knots, pull it snug, and the balloons look like they float. Choose a heavier line over the thinnest spool, because thin line can snap when a few balloons shift.
Good anchor spots:
- A curtain rod
- Two ceiling hooks
- The top corners of a window frame
Best for indoor parties where nobody will bump into it.
Use a heavier clear line.
Knot both ends twice.
Space clusters about a hand apart.
Thin sewing thread.
Hanging it near a fan or open door.
Packing too many balloons on one stretch.
Turn a Hula Hoop Into a Round Balloon Arch DIY for Photo Corners
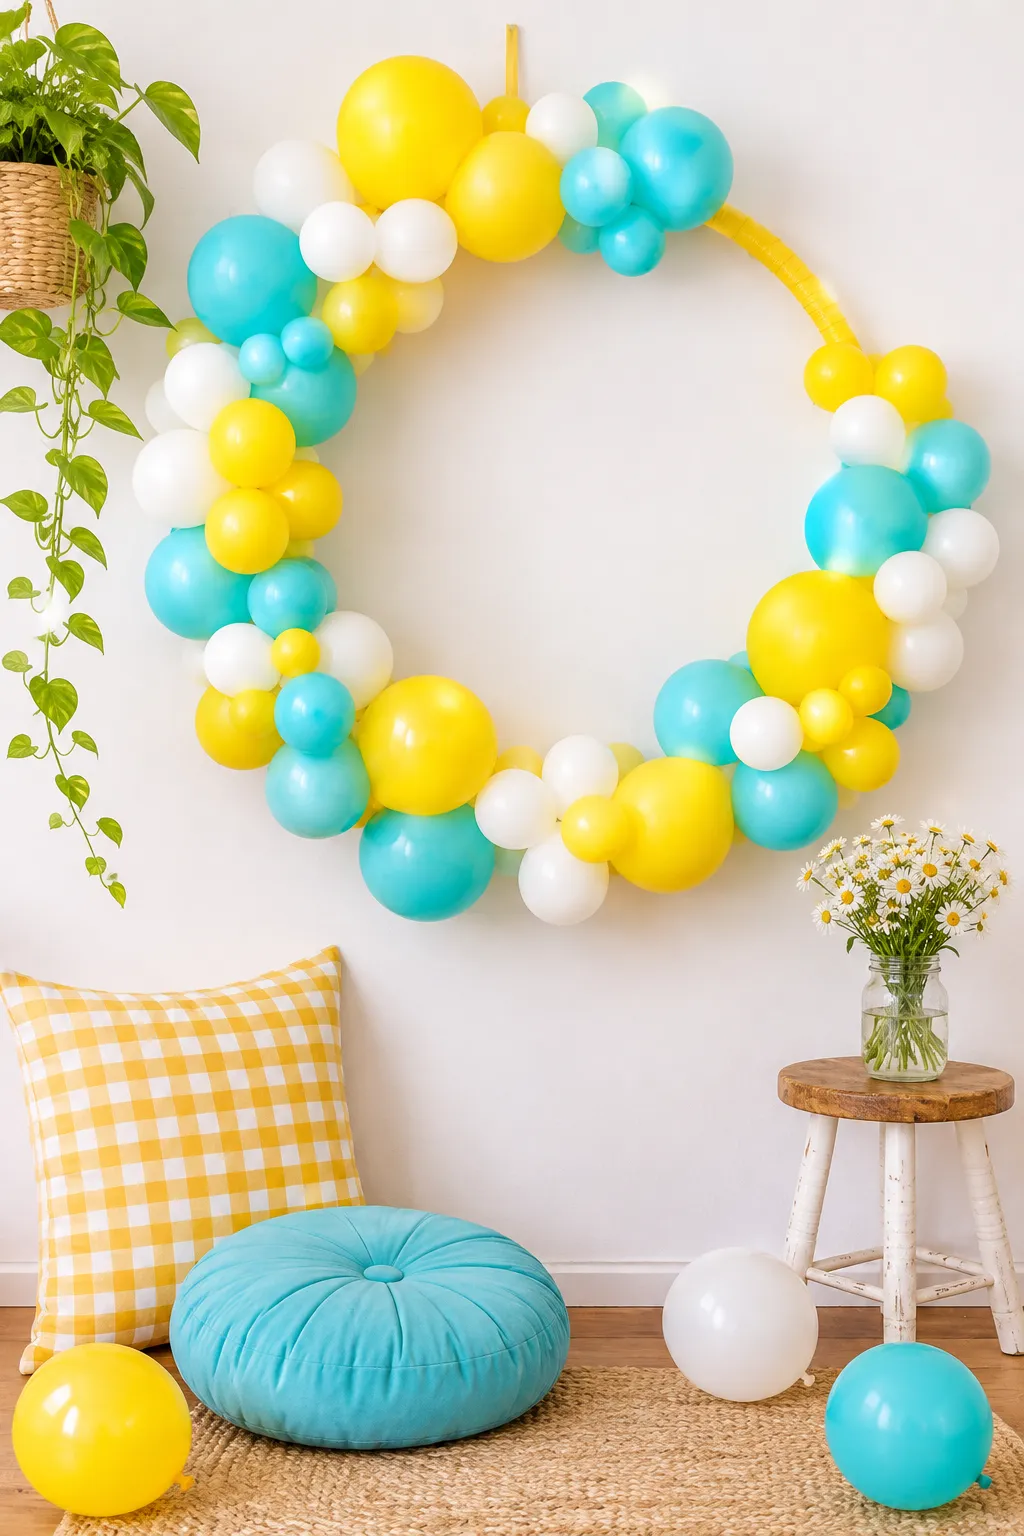
Every party has one corner where all the photos happen, usually next to a blank wall and a bad lamp.
A hula hoop fixes that corner fast. Tie small balloon clusters around the hoop with thin wire or string, then hang it from one hook so it sits like a wreath. A balloon arch diy in a ring shape needs far fewer balloons than a full curve, and the shape looks planned even if a few gaps show.
You can find a hoop in a toy bin or a neighbor’s garage.
💡 Quick Tip
Wrap the bare hoop in ribbon or crepe paper first. The plastic shows through between balloons, and a colored wrap hides it.
Build a Sturdy Outdoor Frame From Hardware Store PVC Pipe
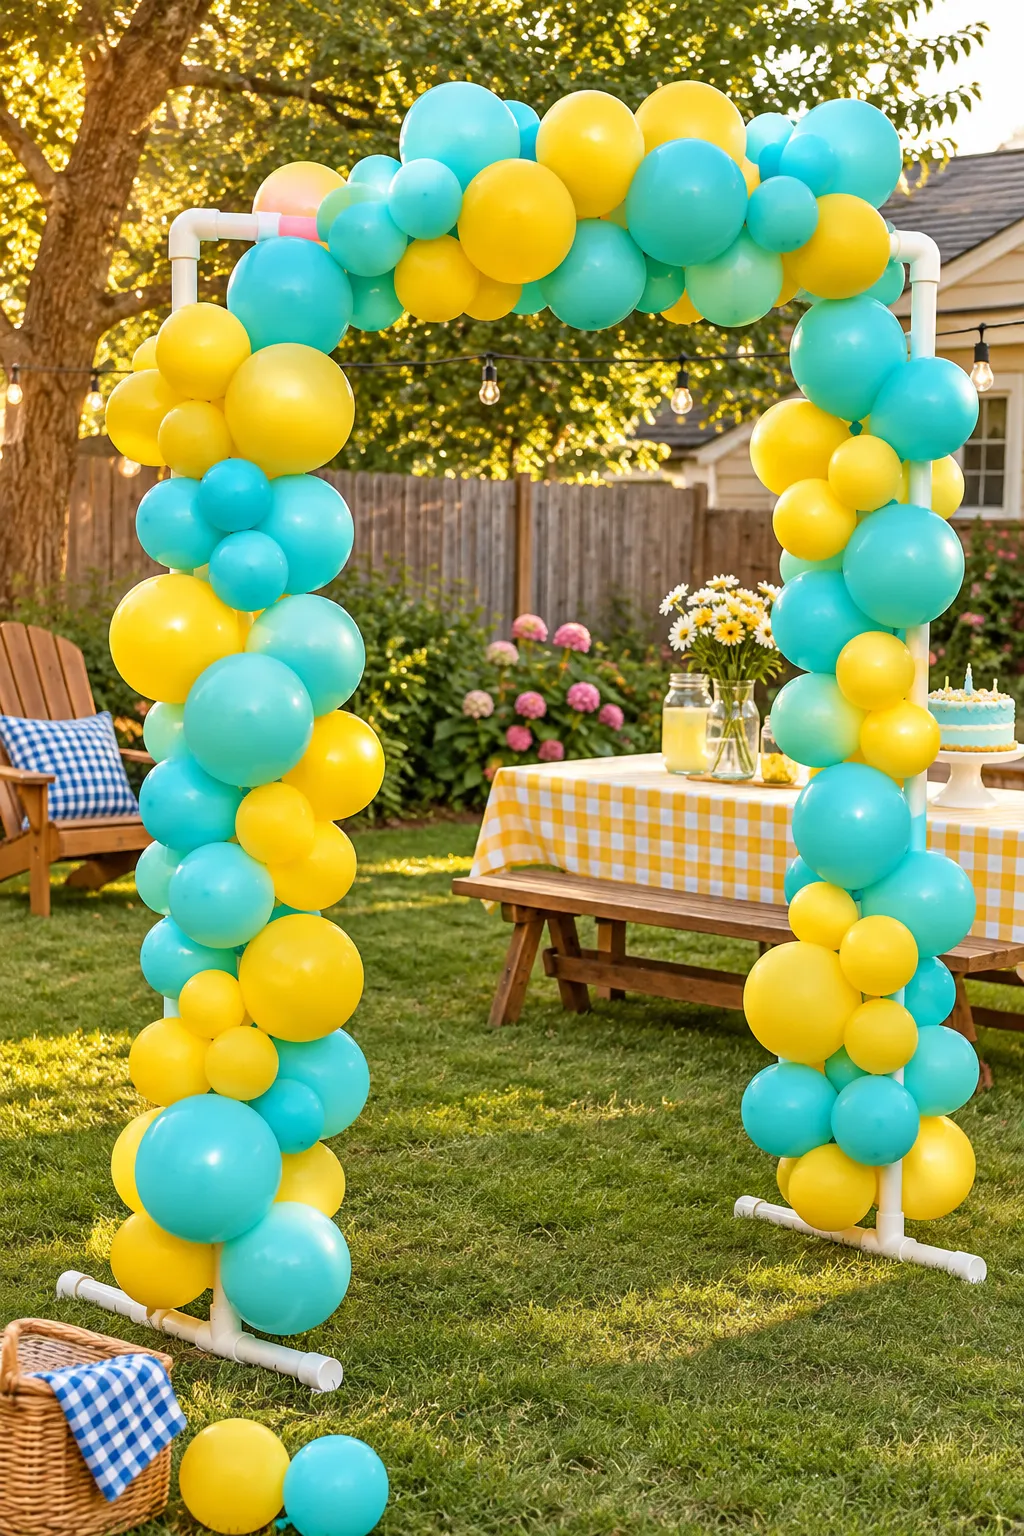
Wind finds a balloon arch faster than any guest does, so outdoor parties need something sturdier than string.
PVC pipe is light, cheap, and many hardware stores will cut it to length for you. Join the pieces with elbow connectors to make a squared arch, which is easier than a curve. Skip the glue until you know the size is right, so you can take the frame apart and reuse it next time.
Ask the store for:
- Pipe cut into equal lengths
- Elbow connectors for the corners
- T connectors for the feet
Then tie your balloon clusters straight onto the pipe.
Hang a Doorway Arch With Removable Hooks Instead of Tape

Tape is where most doorway arches go wrong.
It lets go once the room gets warm and crowded, and then your garland sags in the middle of the party. Removable adhesive hooks grip better and peel off cleanly when the party ends.
Stick one hook at each top corner of the door frame, plus one in the center if the garland is long. Check the weight rating on the package, but balloons weigh very little, so almost any small hook will do.
Renters, this one is for you.
| Tape | Removable hooks |
|---|---|
| Can slip on warm or dusty walls | Grips a clean, dry surface |
| May lift paint when pulled off | Peels away when you follow the package directions |
| One use, then the roll shrinks | Hang, remove, and keep for next time |
| Hard to line up evenly | Easy to space with a quick eyeball |
Tuck In Mini Balloons So Fewer Big Ones Fill the Gaps
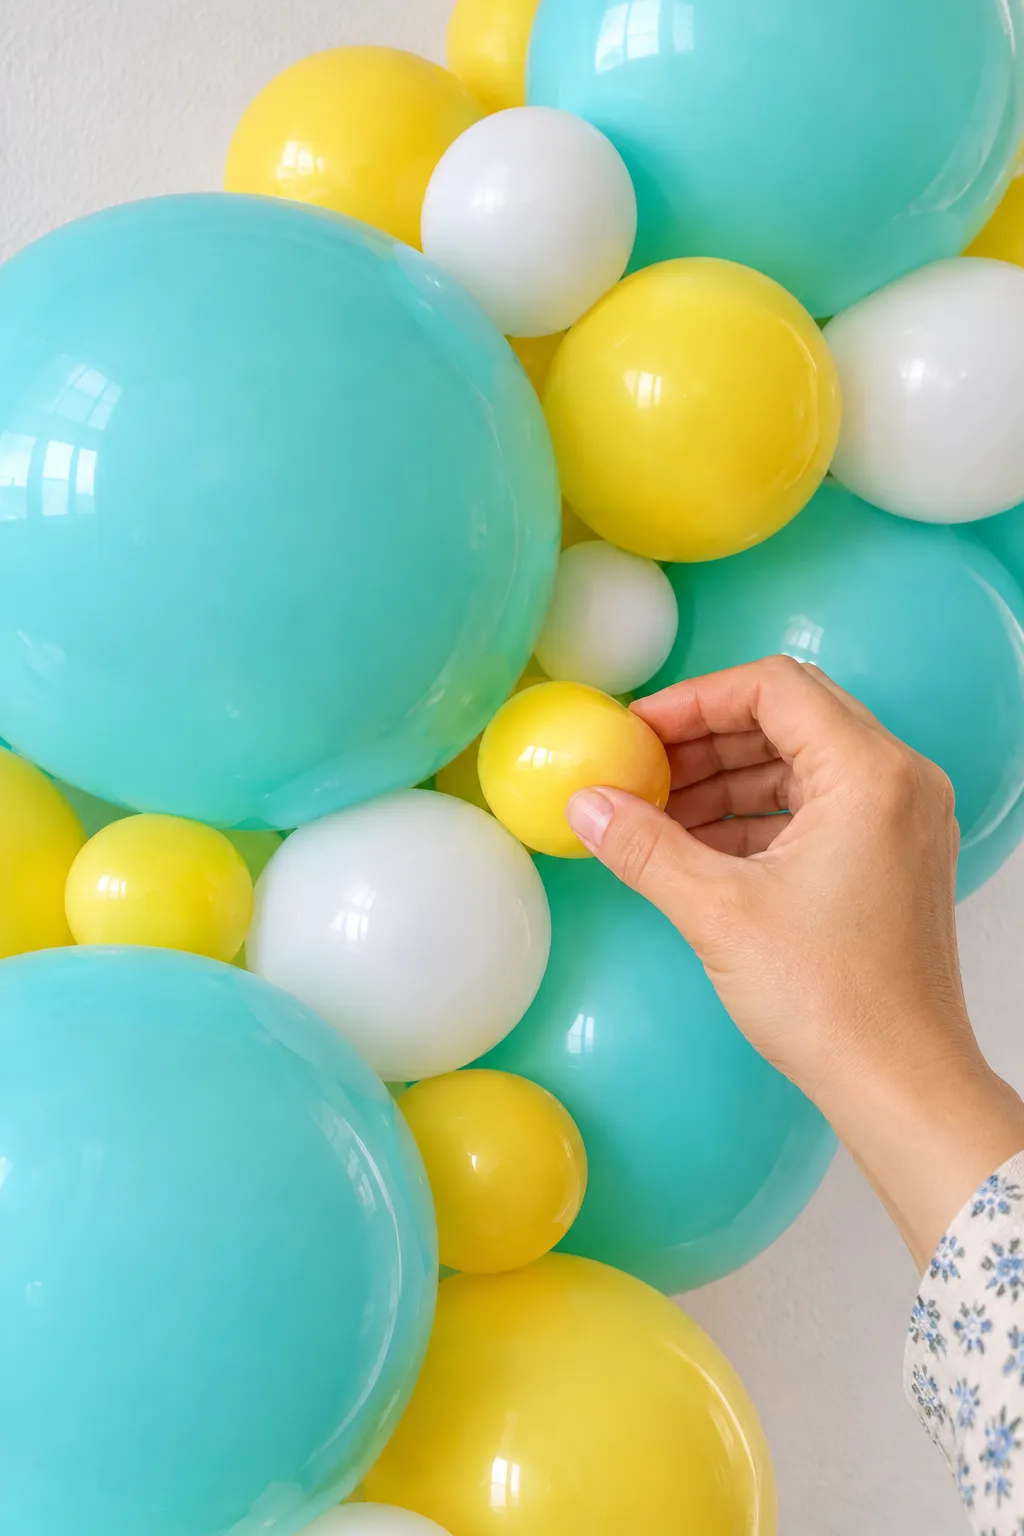
Look closely at a homemade arch and you will spot rope. Bare patches show up between the big balloons, and they are the first thing a camera picks up.
Small balloons fix that. The fist sized ones from the party aisle slip into those holes and make the whole garland look thick. You can buy fewer large balloons and still get a full shape, which saves money.
How to place them:
- Tie each mini onto a short length of string
- Loop the string around the rope, tucked deep between two big balloons
- Add them after the big ones, once you can see where the gaps are
Gaps first, then minis.
Big balloons only, spaced out. Rope and bare spots show between them, and the garland looks thin.
Minis fill every hole. The rope disappears and the arch looks full without a single extra big balloon.
Shop the Dollar Aisle for Ribbon, Clips, and Tape Before Ordering Online
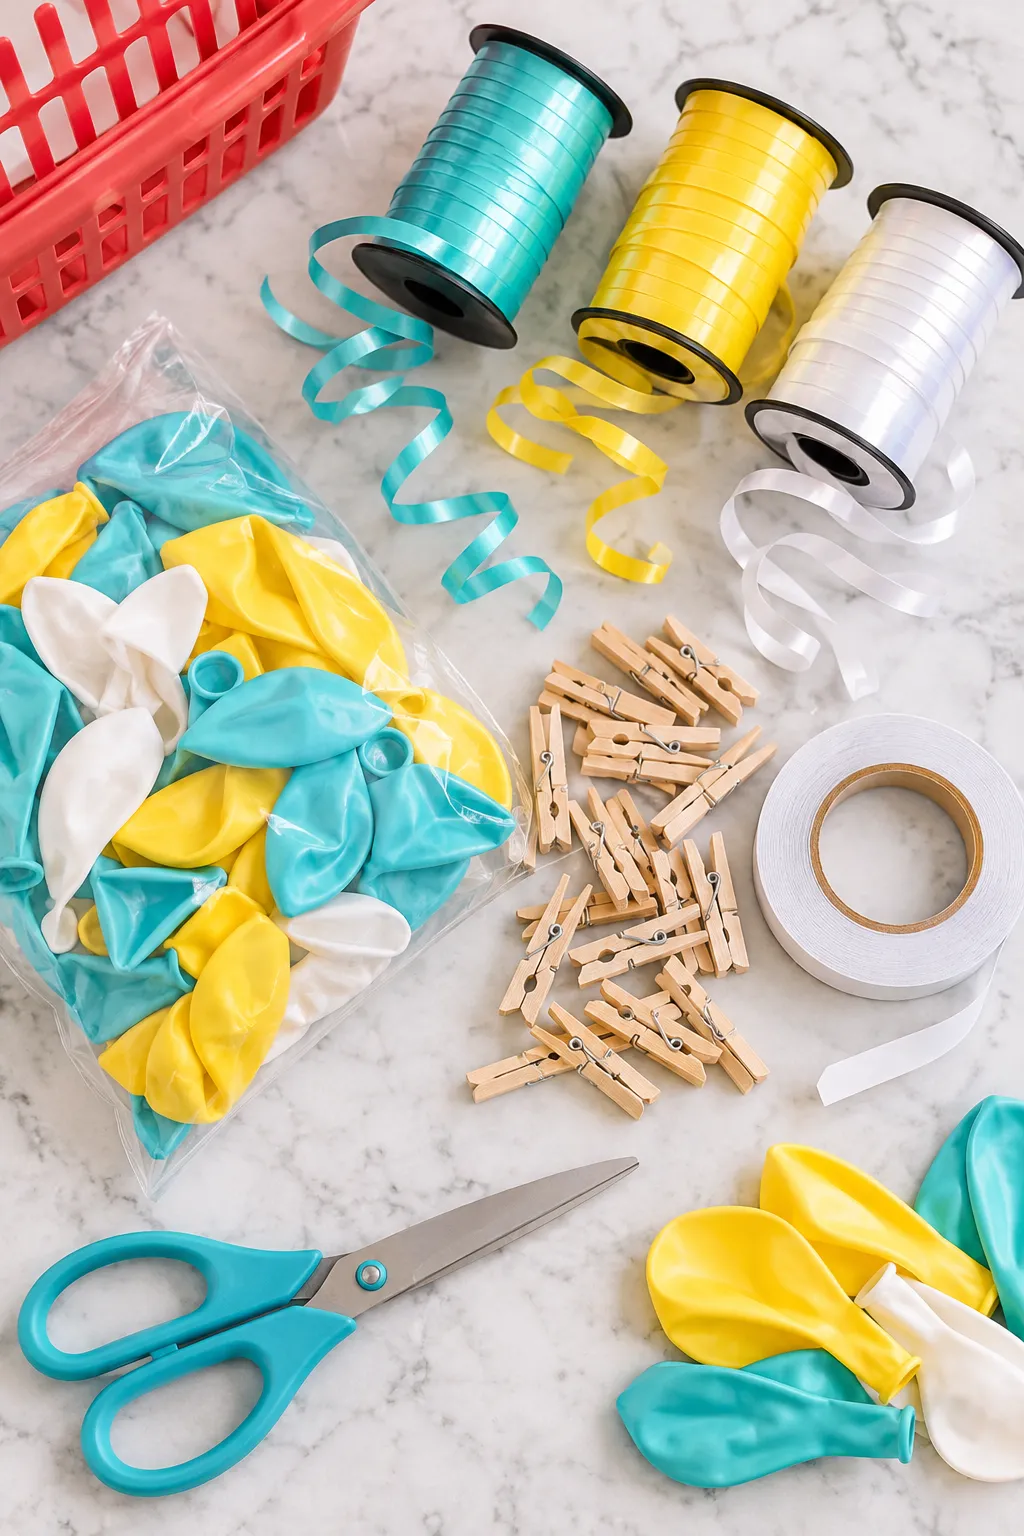
Rule of thumb: buy the cheap, boring supplies close to home and save online ordering for balloons in odd colors.
Shipping fees and small add-on items eat a budget fast. A single trip to a discount store can cover the little things that hold an arch together, and you can grab them the same day. Stock changes from store to store, so treat the list below as a starting point.
Grab a few extras of each. Clothespins disappear.
Dollar aisle shopping list
Wrap a Pool Noodle Into a Mini Arch for the Dessert Table
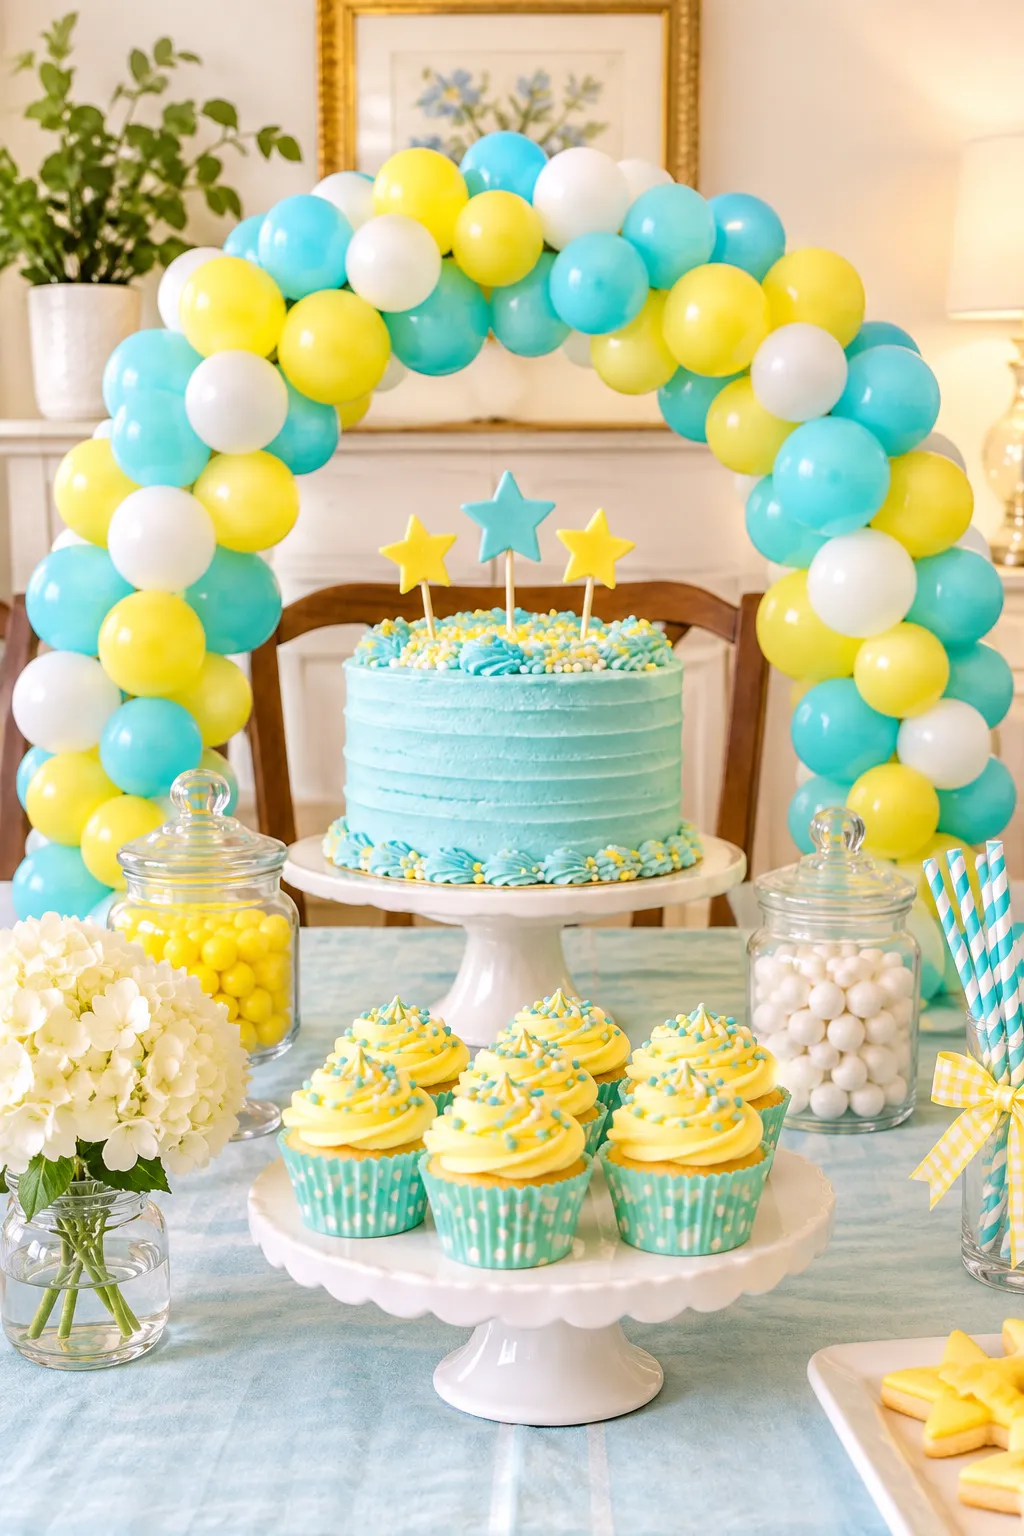
The dessert table is always crowded, with the cake in the middle and no room for tall decor.
A pool noodle bent into an upside down U solves that. It stands on the table, frames the sweets, and weighs almost nothing. Slide a length of sturdy craft wire through the hollow center first, so the bend holds its shape.
Here is the quick version:
- Bend the noodle and tape both ends to a flat piece of cardboard
- Hide the cardboard under the tablecloth
- Tie mini balloon pairs around the noodle with short strings
Use the smallest balloons you have, since big ones will tug the arch sideways.
Fix both ends of the noodle to something flat and hidden, and the whole mini arch stops wobbling.
Weigh Down the Base With Water Jugs So the Arch Stays Put

Balloons are light, so the base can be light too. That belief is how arches end up on the floor.
A tall frame covered in balloons catches air like a sail, even indoors near a door or a vent. Empty milk jugs or big water bottles filled with tap water are free, heavy, and easy to hide.
Set one jug behind each foot of the frame, then tie the frame to the jug handles with rope or zip ties. Cover the jugs with a plastic tablecloth or a few extra balloons.
Test it by giving the frame a gentle push before guests arrive.
⚠️ Watch Out
Keep jugs behind the frame, never in the walkway. Kids run, and a full jug is a bad surprise for a bare foot. In strong outdoor wind, take the arch down rather than trusting the weight.
Pick Three Shades From One Color Family and Add One Neutral
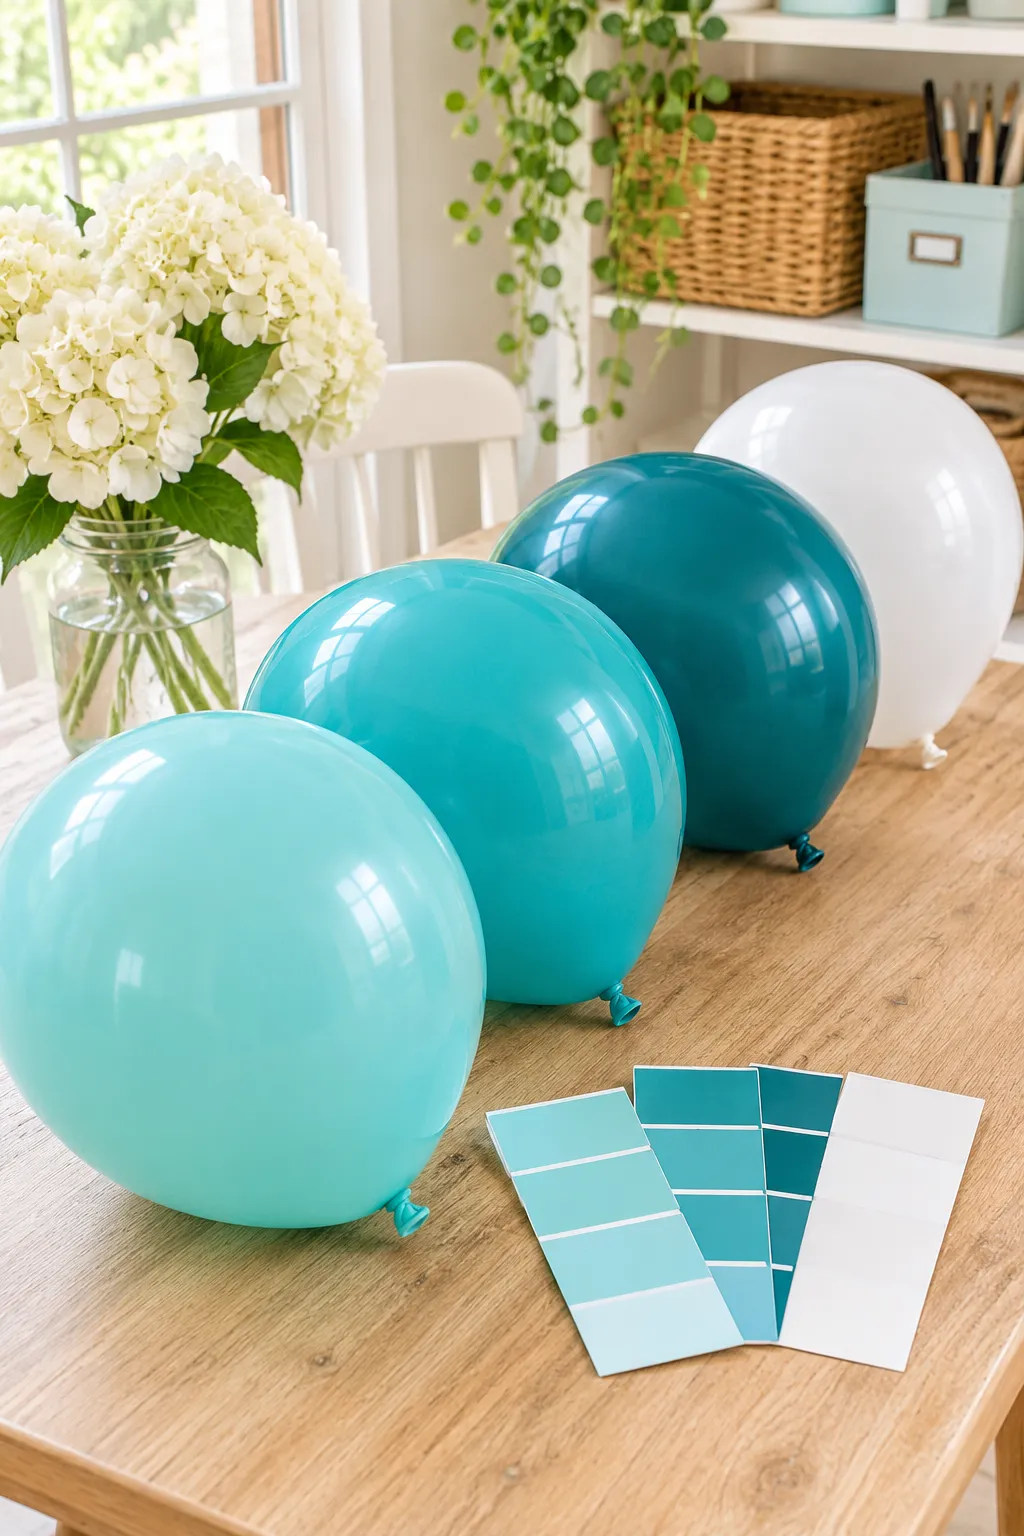
Three shades, one neutral. That is the whole color rule.
Pick one color family, like blues or pinks, and grab a light, a medium, and a deep shade. Then add one neutral, such as white or cream, so the eye has somewhere to rest. A bag of mixed colors from the party aisle often looks like a clearance table once it is inflated, and it is hard to fix after the balloons are tied on.
Single color bags are easy to find and easy to mix yourself. Hold them side by side under the store lights before you buy, since packaged balloons can look darker or lighter than they will once they are filled.
One color family, one neutral
Shown in aqua. Swap in any color family you like.
Compare Hand Pumps and Borrowed Electric Pumps Before Party Day

Nobody warns you how fast your breath runs out.
A big arch can take dozens of balloons, and filling them by mouth is slow and leaves you lightheaded before the party even starts. A pump gets the job done in far less time.
Before party day, see what you already own or can borrow. A hand pump from the party aisle costs little, and a neighbor may have an electric one sitting in a closet.
Test it on one balloon the day before, not ten minutes before guests walk in.
| Hand pump | Borrowed electric pump |
|---|---|
| Cost: Low, and easy to buy | Cost: Free if a friend lends one |
| Speed: Steady, but tiring on big batches | Speed: Fast once it is running |
| Noise: Quiet | Noise: A loud motor hum |
| Best for: Small arches and mini balloons | Best for: Big arches and last minute fixes |
Group Balloons in Odd Numbers for an Uneven, Organic Look
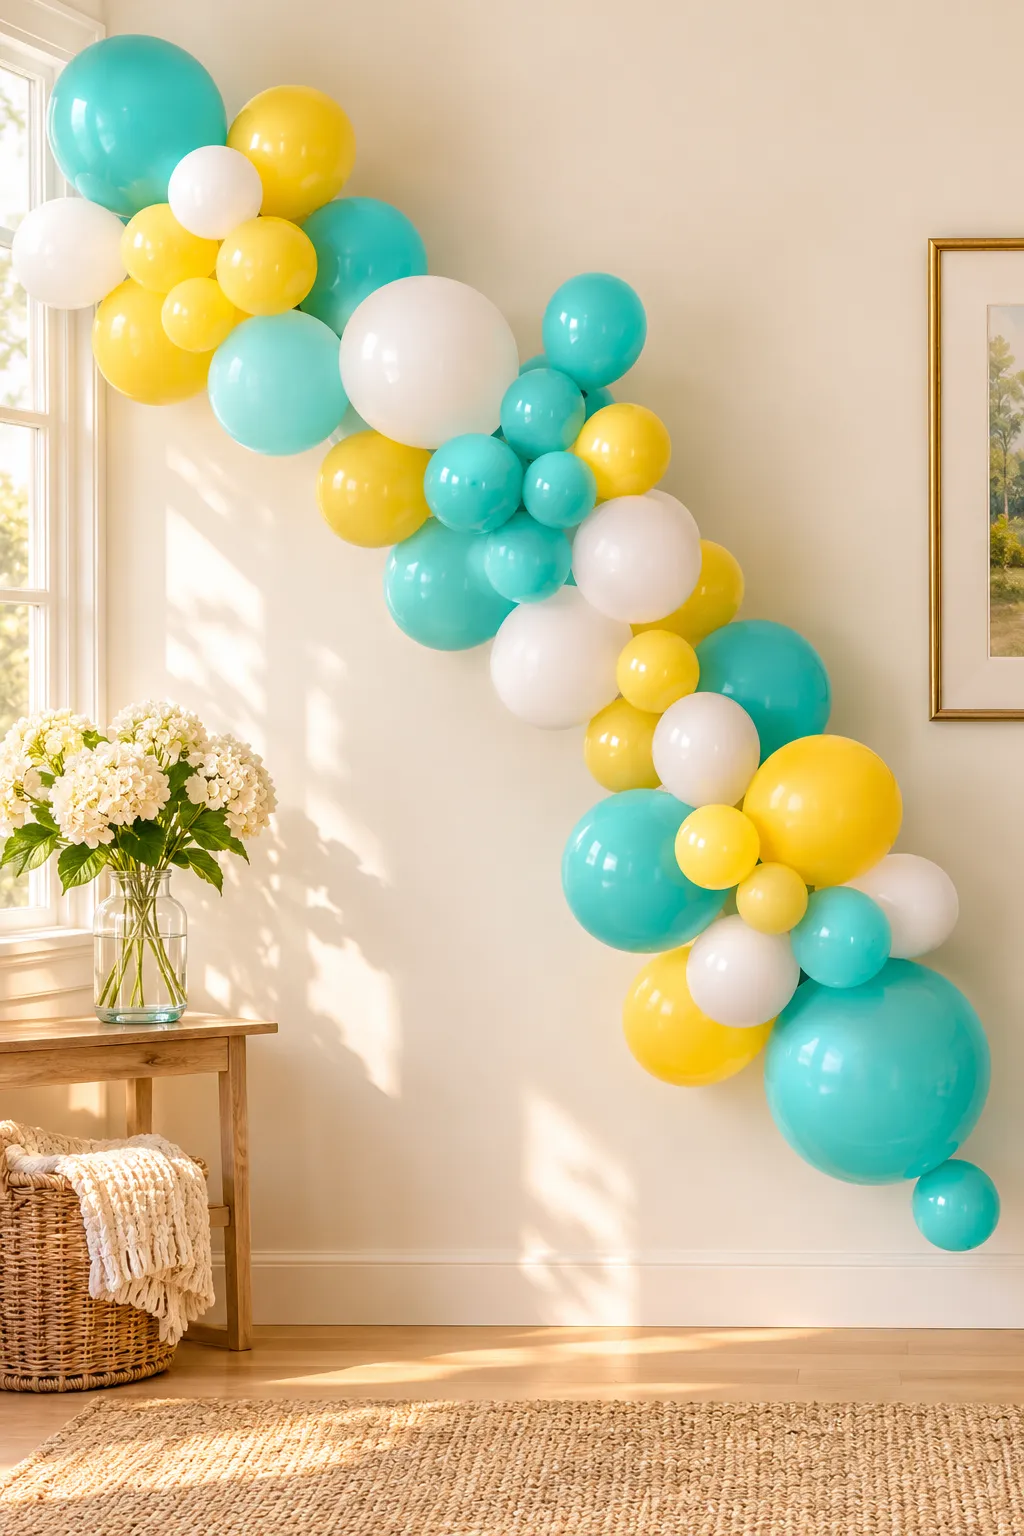
Even numbers line up like beads on a string. Odd numbers look relaxed, and that is the whole point.
Tie clusters of three, five, or seven instead of pairs. An odd group always leaves one balloon sticking out a little, and that small break makes an arch look hand placed on purpose. Change the cluster size as you work along the curve, and nudge a balloon forward here and back there.
Stand back every few clusters and look for lines. If you spot a straight row, break it.
A simple cluster pattern
Make One Foil Balloon the Focal Point and Keep the Rest Simple

The usual mistake is filling every gap with something shiny.
One foil star, number, or letter gets attention. Five of them get lost. Put it at the center or low on one side, then let plain latex balloons carry the rest. Choose a foil color from your shade family so it ties in.
Read the package before you buy. Some foil balloons are made for helium only, and others can be filled with air. Air fill is what an arch needs.
Best for birthdays and milestone parties with a name or an age to show off.
Where the foil piece can go
- ▸At the highest point of the curve, where every photo looks
- ▸Low on one side, like a brooch on a collar
- ▸Hanging in the middle of a hoop arch
- ▸Just above the cake table, so it frames the sweets
Layer a Plastic Tablecloth Backdrop Behind the Arch
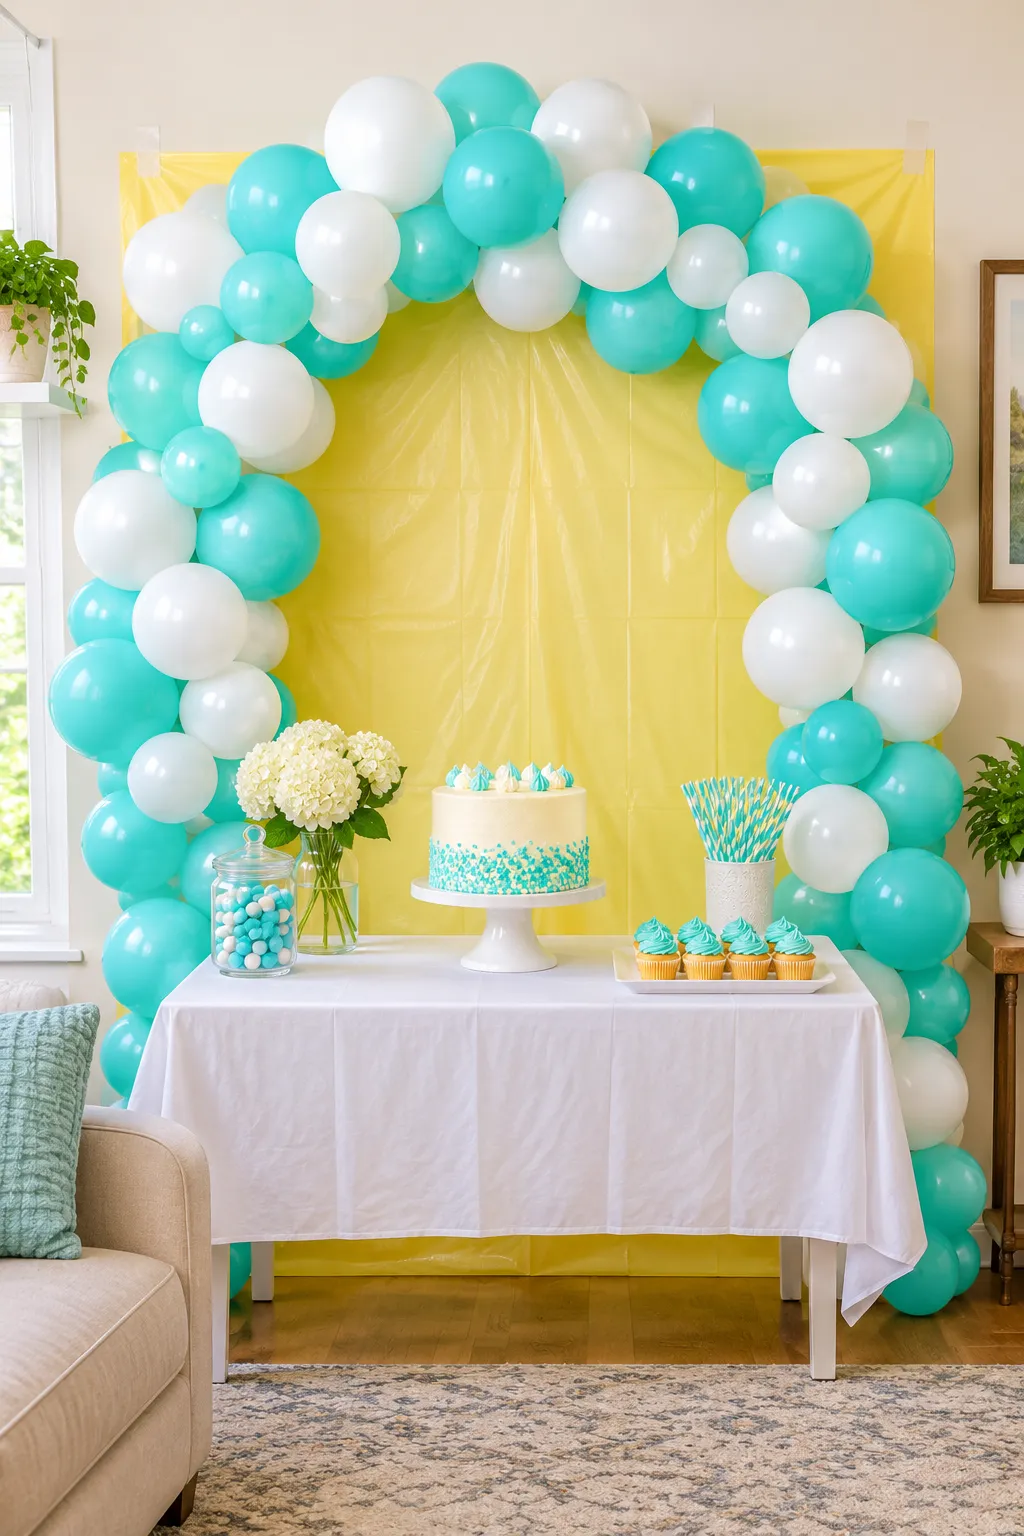
One plastic tablecloth hides the wall, the light switch, and the thermostat.
Party stores and dollar shops sell solid color tablecloths for very little. Hang one behind the arch and the balloons stand out instead of fighting with patterned wallpaper or a busy bookshelf. Pick a shade lighter or darker than your balloons so the arch does not blend in.
Two easy ways to hang it:
- Tape the top edge only and let the rest drop
- Clip it to a curtain rod with clothespins
On painted walls, use removable tape and test a hidden corner first.
How the layers stack up
Plan the Inflating Schedule So Nothing Droops Before the Cake
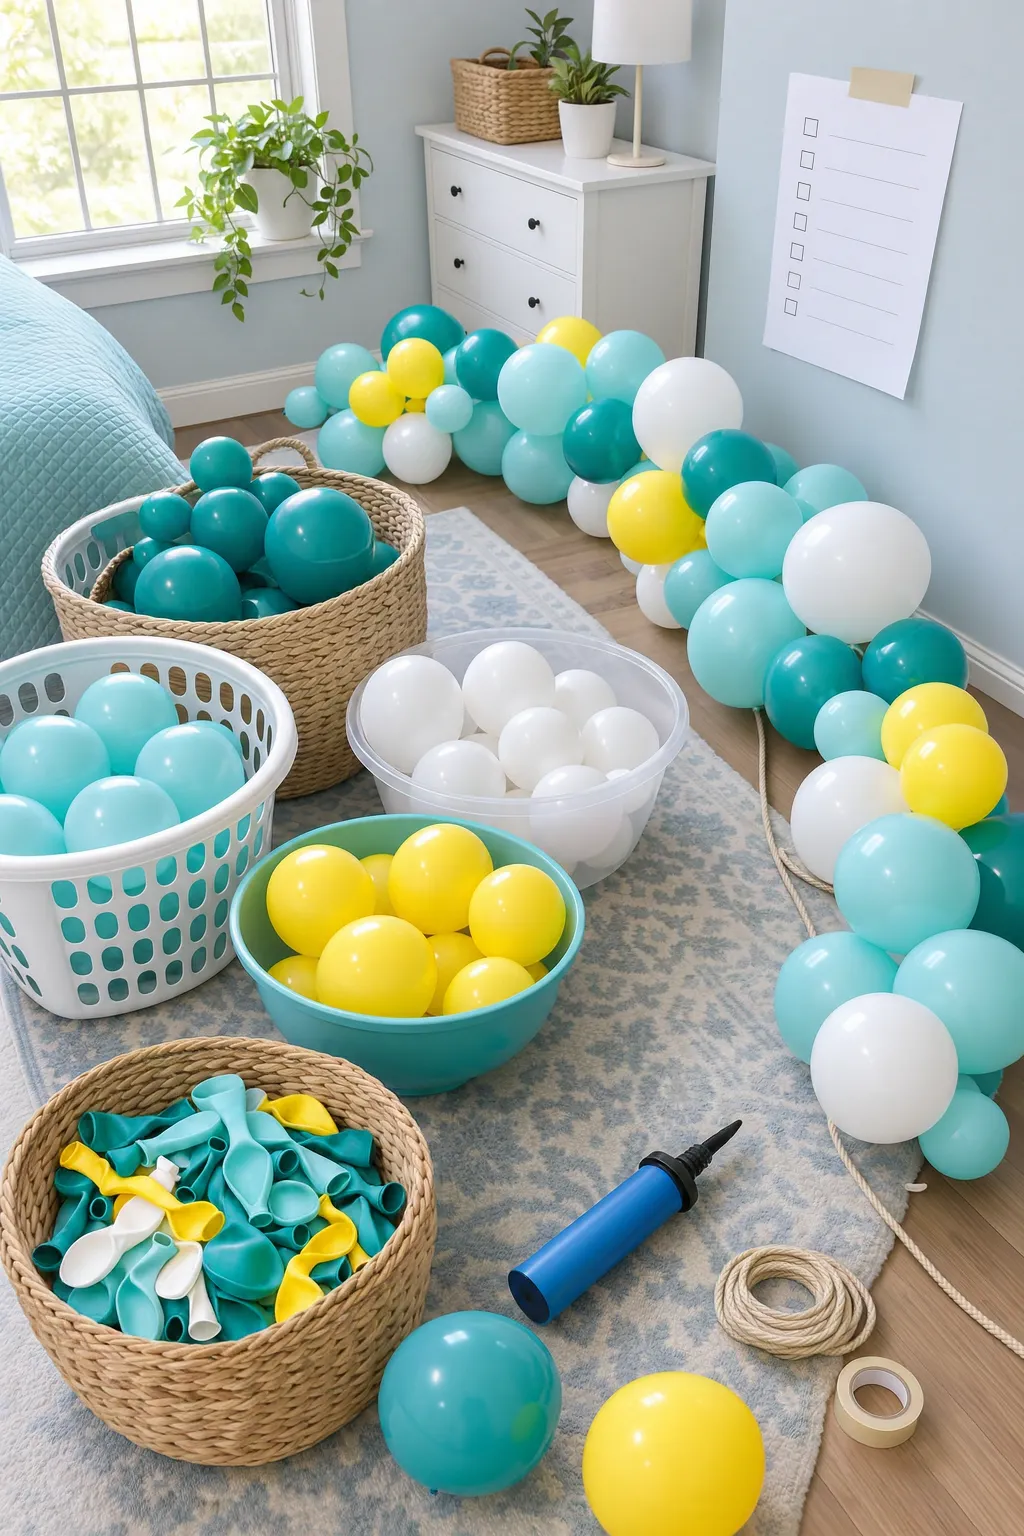
Most people save all the work for the morning of the party. Then the doorbell rings and half the arch is still flat on the floor.
Spreading the job over a couple of days takes the pressure off. Some tasks can happen early without any risk, like sorting colors and cutting rope. The balloons themselves need more care, because heat and direct sun can make them sag or pop.
Keep the finished arch in a cool room away from windows.
If your party is outdoors, hang the arch last, as close to start time as you can.
A simple prep timeline
A few days before: Buy supplies, test your pump, and cut the rope or frame pieces to size.
The day before: Inflate and tie your clusters in a cool room. Store them out of the sun.
Morning of the party: Hang the backdrop, set the frame or hooks, and weigh down the base.
One hour before: Hang the garland, tuck in the minis, and add the foil balloon last.
Save the Rope, Hoop, and Clips for the Next Party

The balloons are done after one party. Almost everything else is not.
Rope, hoops, PVC pipe, clothespins, removable hooks, and water jugs all survive the cleanup, so put them somewhere you can find them. Foil balloons that were filled with air can often be used again if the seal held, but check each one before you count on it.
Here is what goes in the party bag:
- The rope, rolled loosely so it does not kink
- The hoop, with its ribbon wrap still on
- Clips, hooks, and the leftover fishing line
- A scrap of paper noting how many balloons you used
That last note saves you from guessing next time.
Keep every reusable piece in one labeled bag, and your next arch starts half built.
Your Next Party Is Easier Than You Think
A good balloon arch does not come from a big budget. It comes from a few smart choices: a size that fits your space, a base that stays put, and a schedule that keeps you calm on party day.
Start with one idea from this list, maybe the hula hoop or the rope garland, and build from there. Your first balloon arch diy attempt may not look perfect, and that is fine. Guests remember the fun, not the gaps.
Save this list for the next time a birthday, shower, or graduation lands on your calendar, and you will have 17 ways to decorate without spending much.
Your first three moves