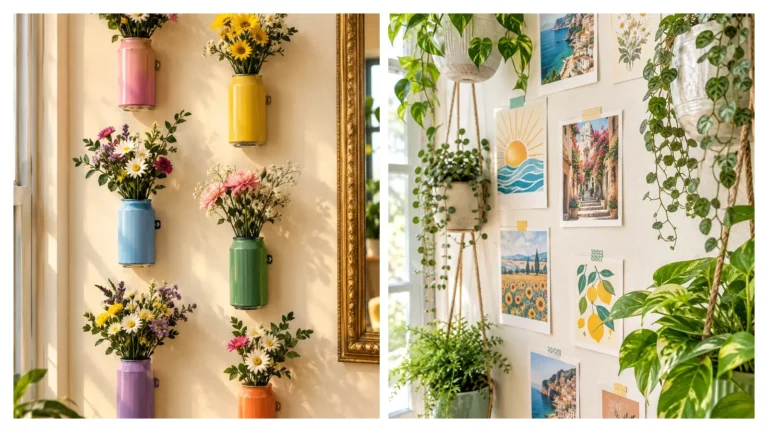


A grocery store basil plant usually has a short, sad life on a kitchen counter. It gets too little light, too much water, and a pot with no room to grow. By week two you are back at the store buying another one.
A diy raised herb garden fixes most of that. Herbs get more root space, better drainage, and a spot in real sun. You also get to build the thing yourself, which is the fun part.
You do not need a workshop or fancy tools. A drill, a handsaw, and one free afternoon cover most of the ideas below, and a few need no tools at all.
These 18 builds use fence pickets, pallets, cinder blocks, stock tanks, and even old dresser drawers. Each one comes with the herbs that suit it best, the one mistake to dodge, and a quick reference box. Pick the one that fits your space and budget, and start small.
Start a DIY Raised Herb Garden With Cedar Fence Pickets

Cedar pickets are the cheapest way into a real wooden bed.
Most hardware stores sell them by the piece, and they cut with a basic handsaw. Cedar holds up to damp soil better than plain pine, which matters when you water every other day. Skip pressure treated lumber for anything you plan to eat.
A simple box goes like this:
- Cut pickets into two long sides and two short ends
- Screw each corner to a 2×2 offcut
- Set the box on bare soil or flattened cardboard
- Fill with a light potting mix
Eight inches deep is plenty for most kitchen herbs.
Stand a Pallet Upright and Tuck Herbs Into the Slats

A pallet lying flat on the patio is just a wooden mat.
Stand it upright against a wall, staple landscape fabric across the back and bottom, and pack potting mix into the gaps between slats. Each gap becomes a pocket for one herb. The whole thing takes up about as much floor as a doormat.
Where each herb goes:
- Top slats: thyme and oregano, since they dry out first
- Middle: chives
- Bottom: parsley, which likes the extra moisture that trickles down
Water slowly. Fast pours just run out the front.
⚠️ Watch Out
Check the stamp before you bring a pallet home. Look for HT, which means heat treated. Skip anything stamped MB, which means it was treated with methyl bromide. No stamp, oil stains, or a chemical smell? Save that pallet for flowers and buy fresh boards for herbs.
Fill Cinder Block Holes With One Herb Each
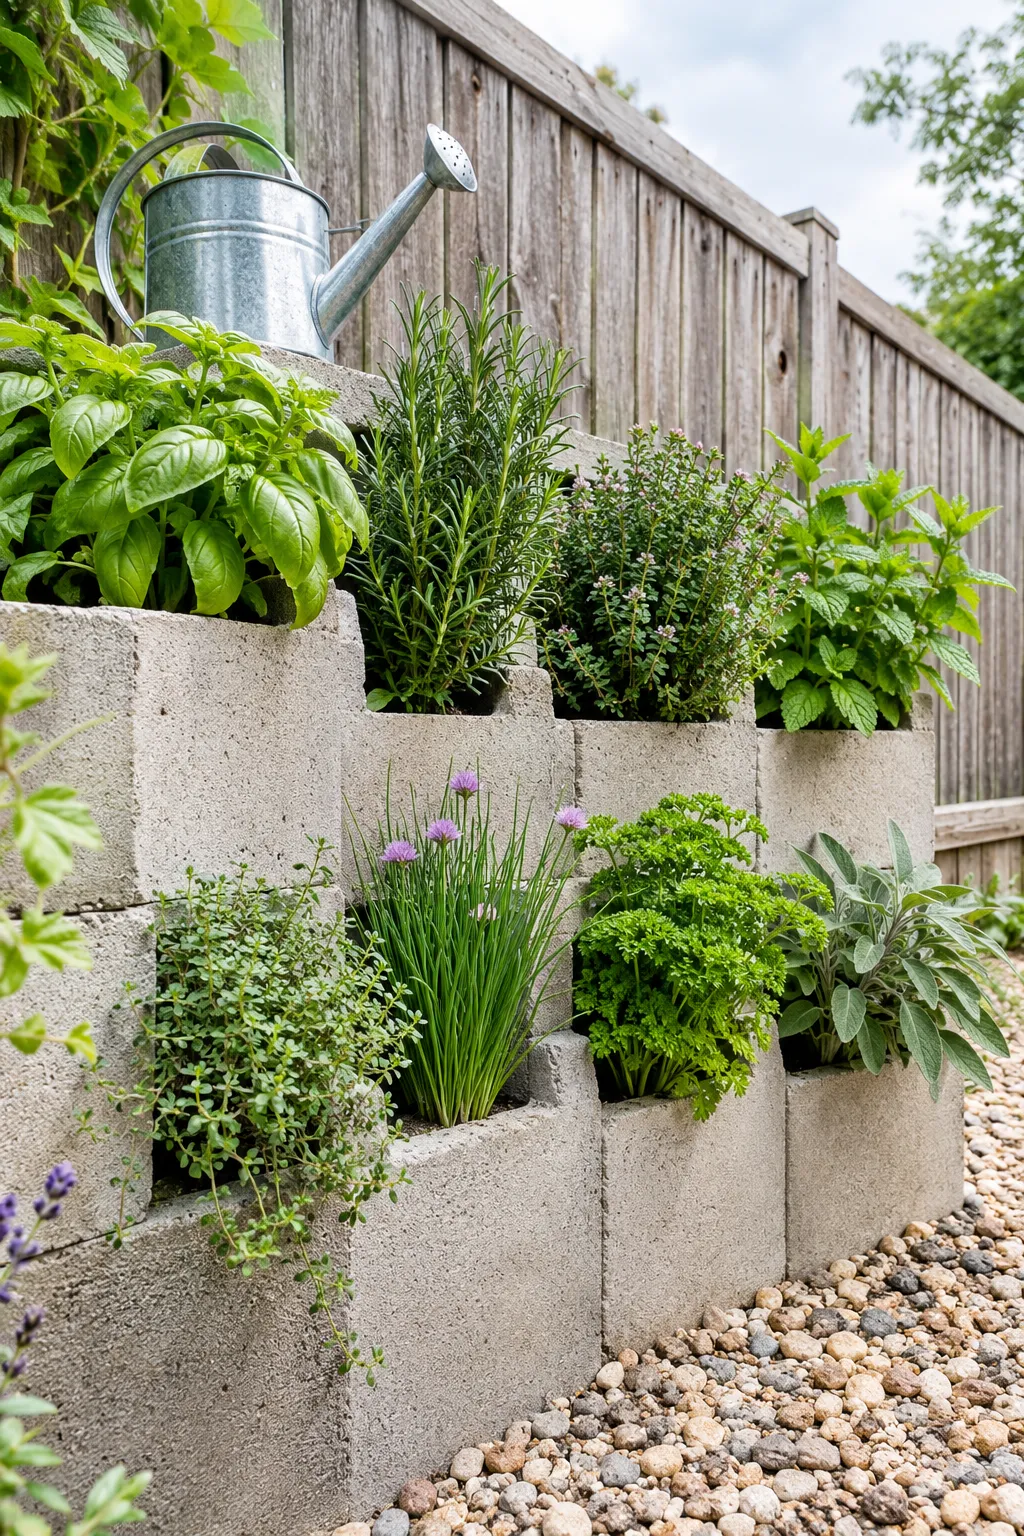
Every cinder block hole is a built-in pot.
Stack the blocks two high in a staggered pattern, or lay them in a straight row along a fence. No tools, no screws, no glue. Fill each hole with potting mix and plant one herb per hole so nothing fights for space.
Pick your spot before you stack. A block weighs enough that you will not want to move the wall twice.
Concrete can nudge soil a little more alkaline over time, which thyme and oregano tolerate well.
Build a Three-Tier Stair Planter So Thirsty Herbs Sit Low

Water runs downhill, so let the planter do the sorting.
Build three open boxes in graduated sizes and stack them like stairs against a sunny wall. The top box dries out fastest, and the bottom box catches the runoff. Give the top tier to herbs that hate wet roots and the bottom tier to the drinkers.
Water the top tier slowly, and the extra trickles down to the lower ones for free.
It suits narrow patios best, because it uses height instead of width.
| Top tier: likes it dry | Bottom tier: likes it damp |
|---|---|
| Rosemary | Parsley |
| Thyme | Cilantro |
| Oregano | Basil |
| Sage | Chives |
Drill Drainage Holes in a Galvanized Stock Tank
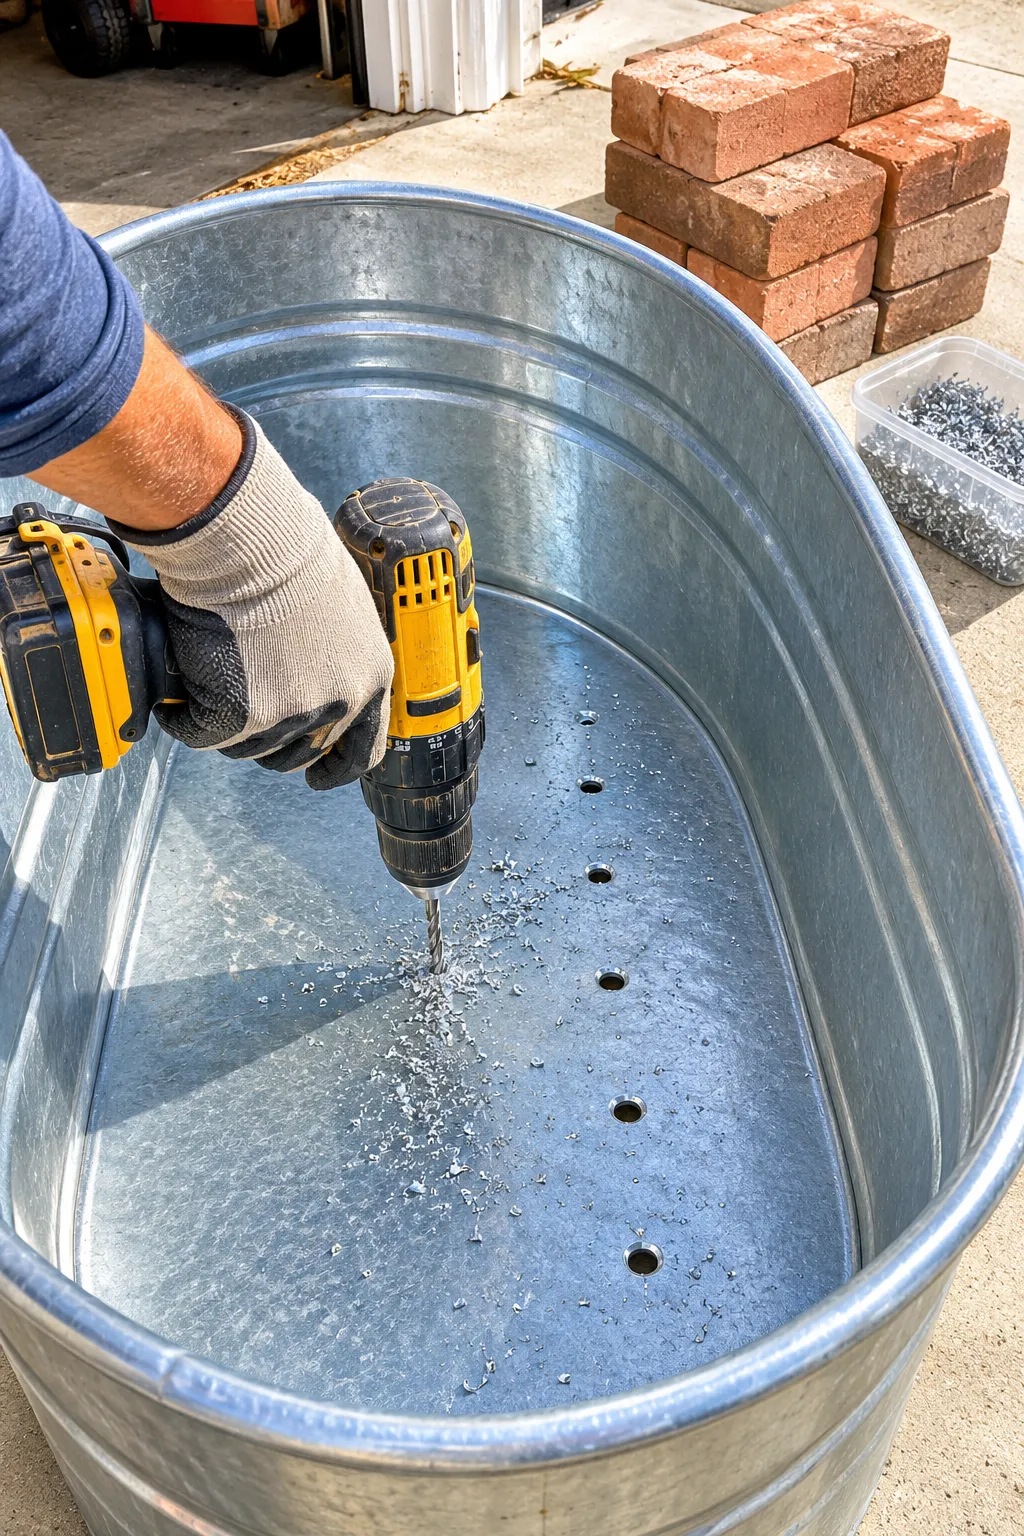
The most common stock tank mistake happens before any soil goes in. These tanks are made to hold water, and herbs want the opposite.
Drill the holes first:
- Mark a spot every few inches across the bottom
- Use a metal bit and wear gloves, since the edges come out sharp
- Set the tank on bricks so water can actually escape
Metal gets hot in strong afternoon sun, so keep basil toward the shaded end and let rosemary take the hot side.
A stock tank with no drain holes is a bathtub for your herbs. Drill first, fill second.
Stack Wooden Crates Into a Balcony Herb Tower
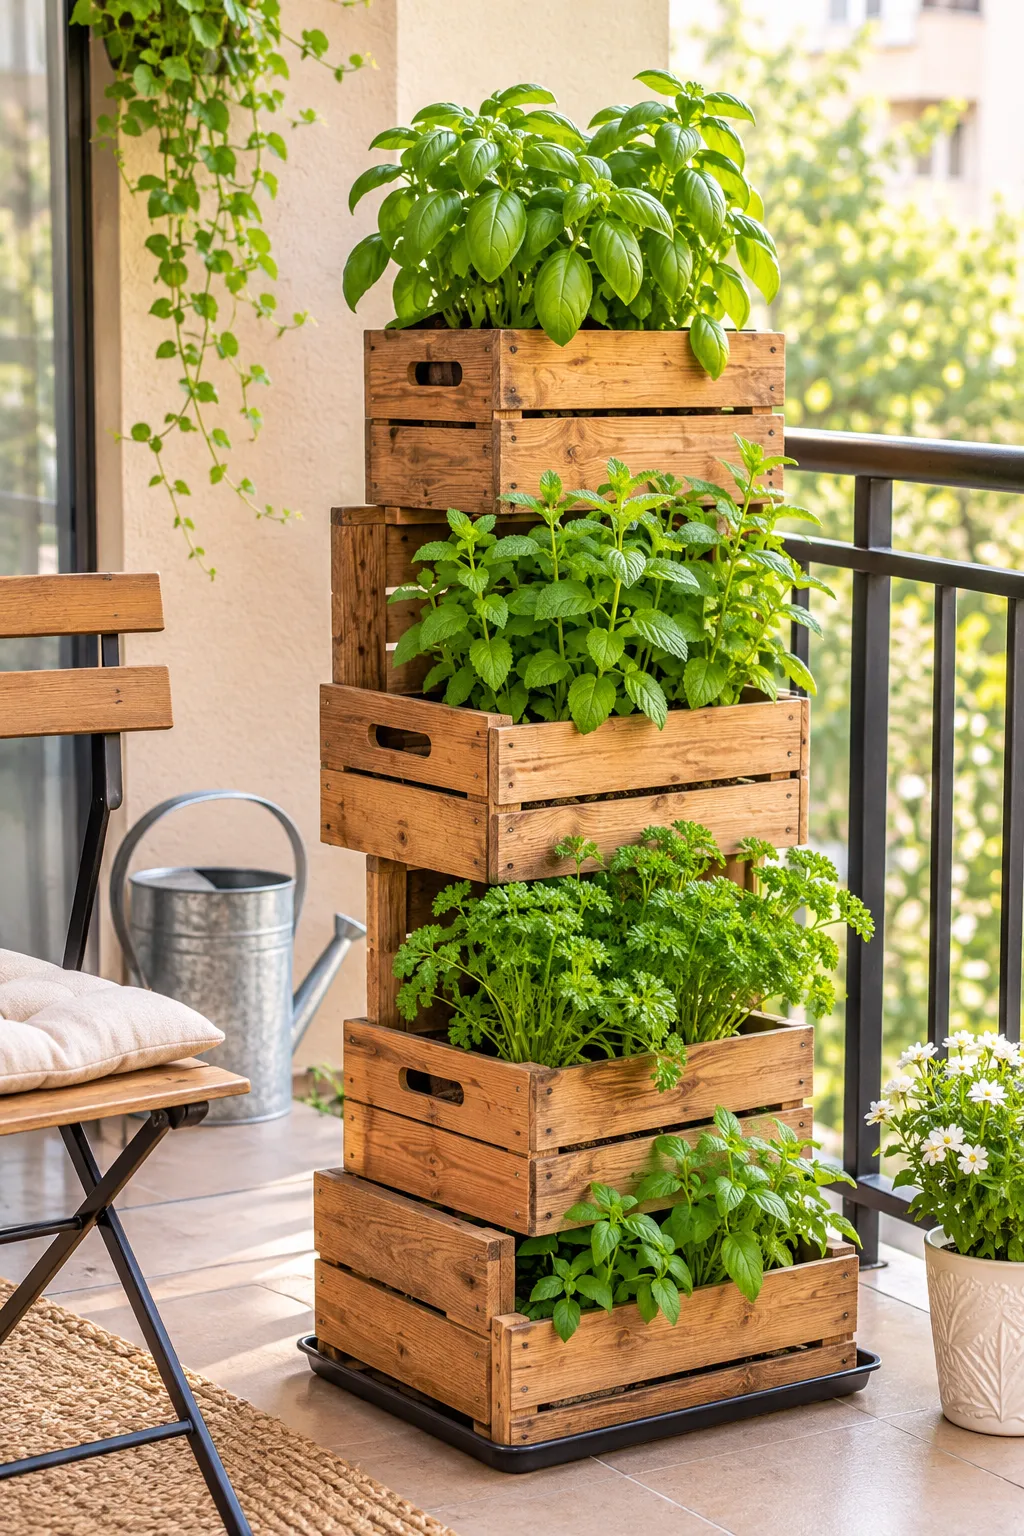
Balconies run out of floor long before they run out of wall.
Stack three or four crates in a staggered column, shifting each one so the top of the lower crate becomes a planting shelf. Screw the corners together so the tower does not tip in a gusty afternoon. Line every crate with landscape fabric first, or the soil will sift out between the slats.
Wet soil is heavy. Keep the tower against the wall, not out near the railing.
What to grab first
Mount Rain Gutters Along a Bare Fence

Pots on a patio floor get kicked, tipped, and forgotten.
A length of rain gutter fixes that. Screw gutter brackets into the fence, set the gutter in place, and drill small drain holes along the bottom. Tilt it just slightly so water has somewhere to go. Gutters are shallow, so stick with herbs that have shallow roots, like chives, thyme, and cilantro.
Hang it close to the back door. A herb you can reach in slippers gets used.
Six mismatched pots crowd the patio floor. The cilantro gets knocked over twice a week, and the saucers fill with dirty water.
One long gutter at waist height. The floor is clear, the herbs sit in a neat row, and there is no bending to snip dinner.
Raise a Herb Box on Legs to Table Height
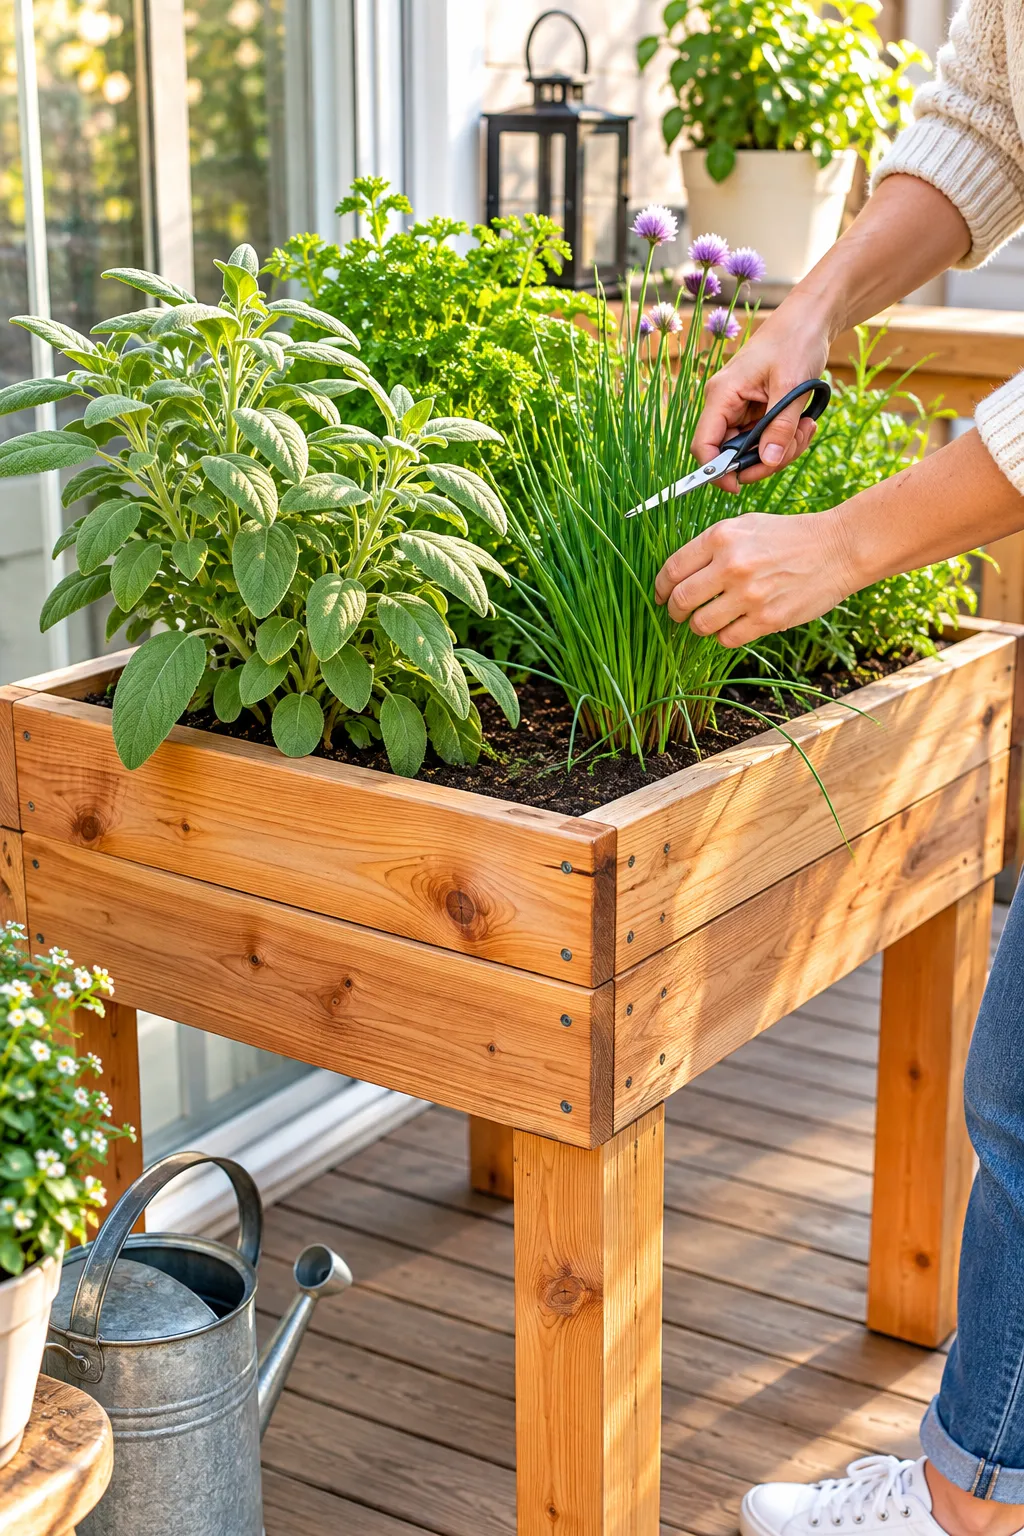
Table height is the whole point.
A bed on the ground means kneeling to weed and bending to harvest. A box on legs lets you do all of it standing up, which your knees and lower back will notice by the second week.
Keep the box shallow. Herbs do not need depth, and a deep box of wet soil gets heavy fast. Cedar is worth the extra cost for the frame, and sturdy 4×4 posts make good legs.
Build it in this order.
Build a shallow open box from cedar boards, leaving small gaps between the bottom slats for drainage.
Screw a 4×4 leg inside each corner, then add a low brace between the legs so the frame does not wobble.
Staple landscape fabric over the bottom slats before any soil goes in.
Set it in the sun, check that it sits level, shim a short leg with a wood scrap, then fill and plant.
Coil Bricks Into a Herb Spiral
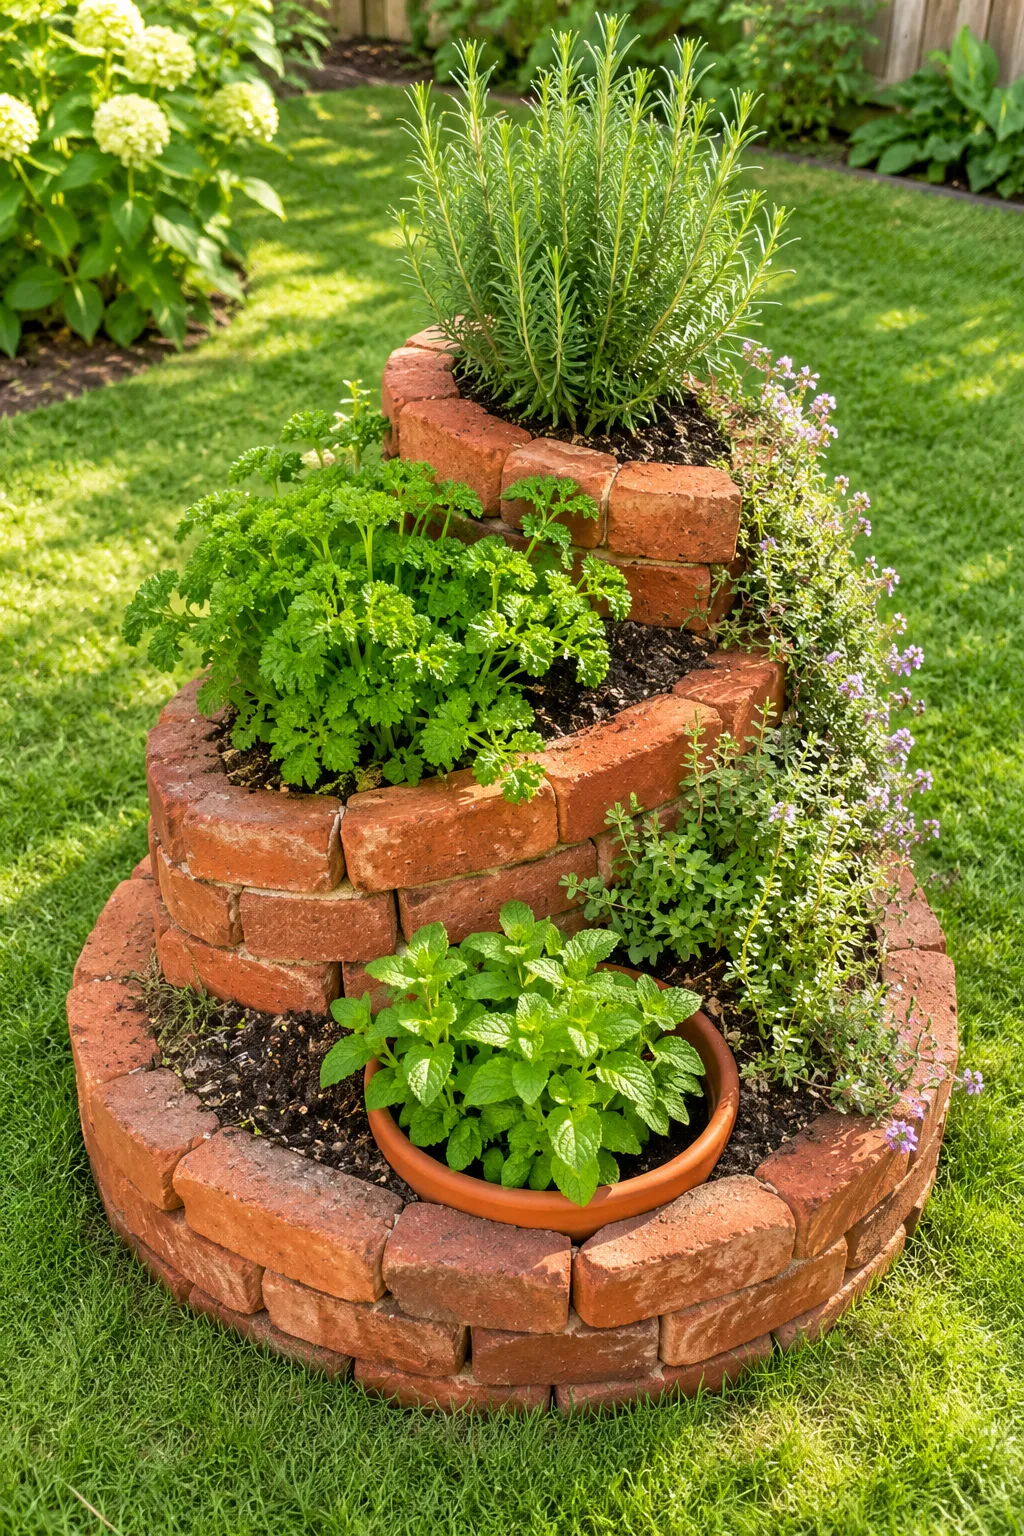
A herb spiral looks like a snail shell made of bricks, climbing from flat ground to about knee height.
The slope does real work. The top drains fast and gets the most sun, while the bottom stays damp. One small bed gives you three growing zones, so a thirsty herb and a dry loving herb can live side by side.
Lay a flat circle of bricks first, then coil the wall inward and upward, filling with soil as you go. Four feet across is a manageable first try.
Sink a pot of mint at the base so it cannot take over the whole spiral.
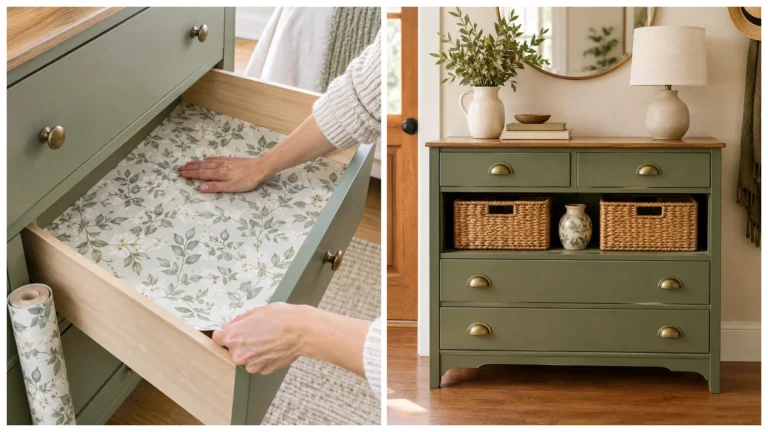
Turn Old Dresser Drawers Into Herb Beds

Most people fill a drawer with soil and forget it was built to hold sweaters, not water.
Fix that first, then the rest is fun. Pull the drawers out to different lengths and each one becomes a step with its own planting box. Put the dresser where it gets full sun, since the frame will shade the lowest drawers a little.
Give each drawer one herb group: mints in one, woody herbs in another, soft leafy ones in a third.
Run through the prep list below before you plant anything.
- ▸Check that every drawer bottom is solid and not crumbling
- ▸Drill several drain holes through each drawer bottom
- ▸Line the inside with landscape fabric so soil stays off the wood
- ▸Raise the dresser on bricks so water can escape underneath
- ▸Skip dressers with peeling or very old paint if you plan to eat what grows
Roll a Wheelbarrow Herb Garden Into the Sun

By three in the afternoon, the sunny spot has crept across the yard and the herbs are sulking in shade.
A wheelbarrow fixes that by putting the garden on wheels. Drill drain holes in the tub, fill it with potting mix, and park it in the brightest corner. When a heat wave hits, roll it somewhere calmer.
Herbs that handle life on wheels:
- Rosemary
- Thyme
- Chives
Keep the soil light. You will be lifting the handles every time you move it.
Drill several drain holes before adding any soil.
Fill with light potting mix.
Wedge a brick behind the wheel when you park it.
Heavy garden soil that turns the handles into a workout.
A tub with no drainage at all.
Parking on a slope with nothing under the wheel.
Hang a Narrow Trough Planter Outside the Kitchen Window
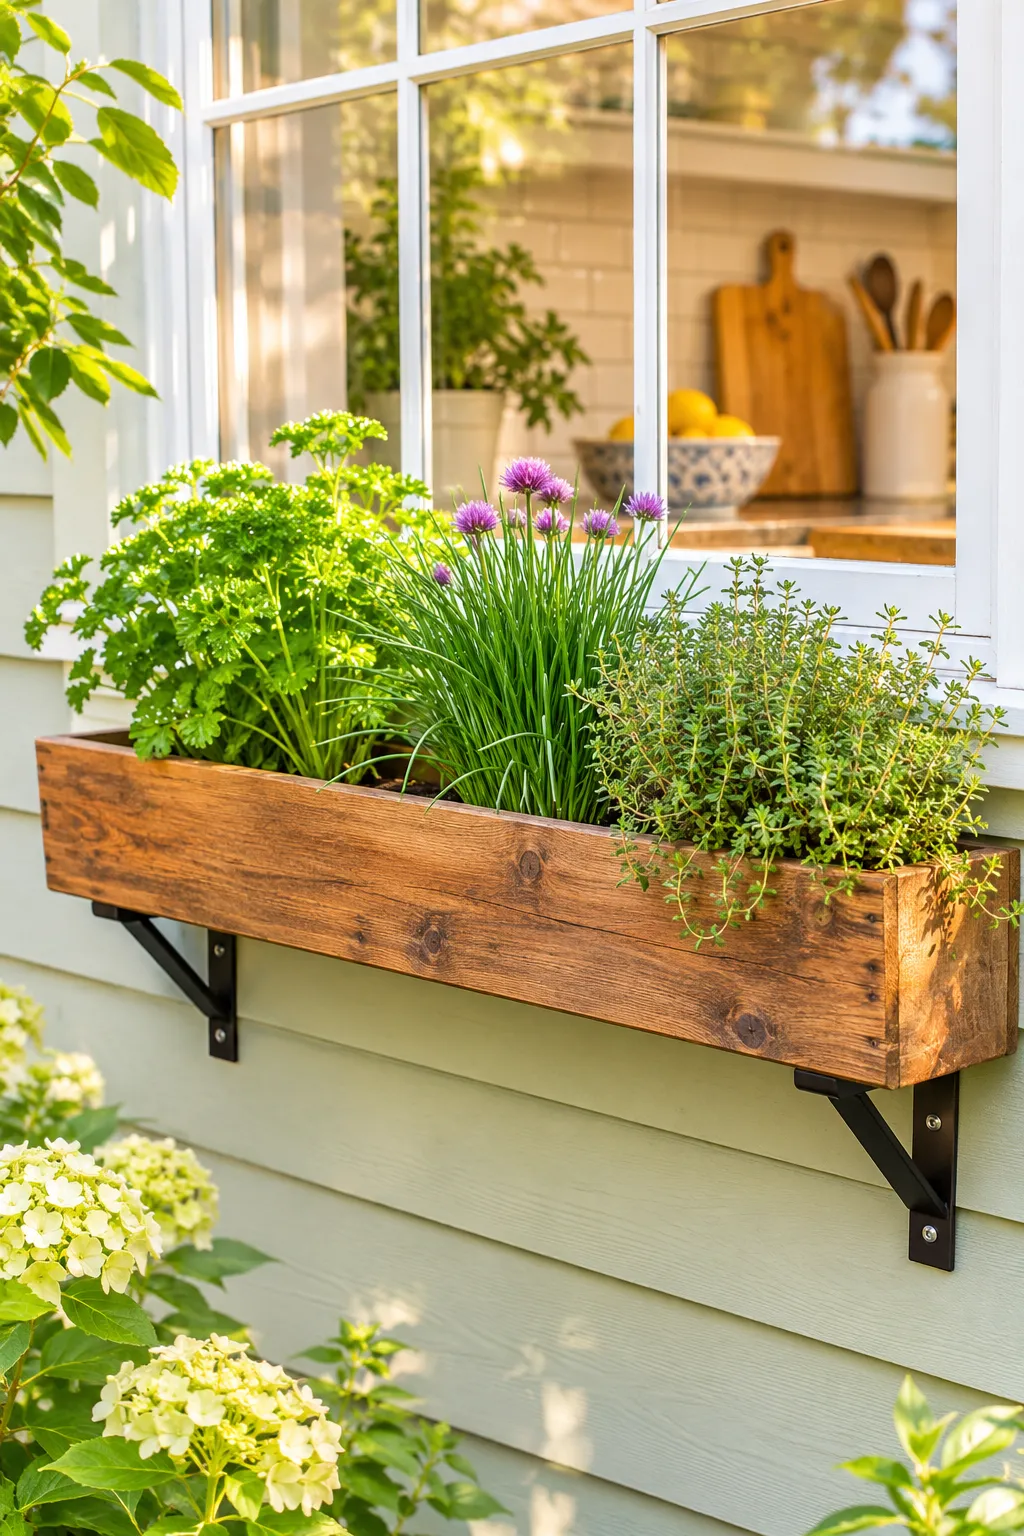
One rule decides whether this build lasts: anchor it to something solid.
Screw the brackets into studs or the window frame, never just into siding. Wet soil weighs far more than it looks, and a trough that lets go takes the herbs with it.
Then enjoy the payoff. You can snip parsley for dinner without finding your shoes.
Keep the trough close to the window’s width. Any longer and the weight starts pulling the ends down. Chives, thyme, and parsley all do well in a shallow box like this.
💡 Quick Tip
Before you buy brackets, soak a bucket of potting mix and lift it with one arm. If that feels heavy, pick sturdier brackets or a shorter trough.
Box In Mint With a Bottomless Frame
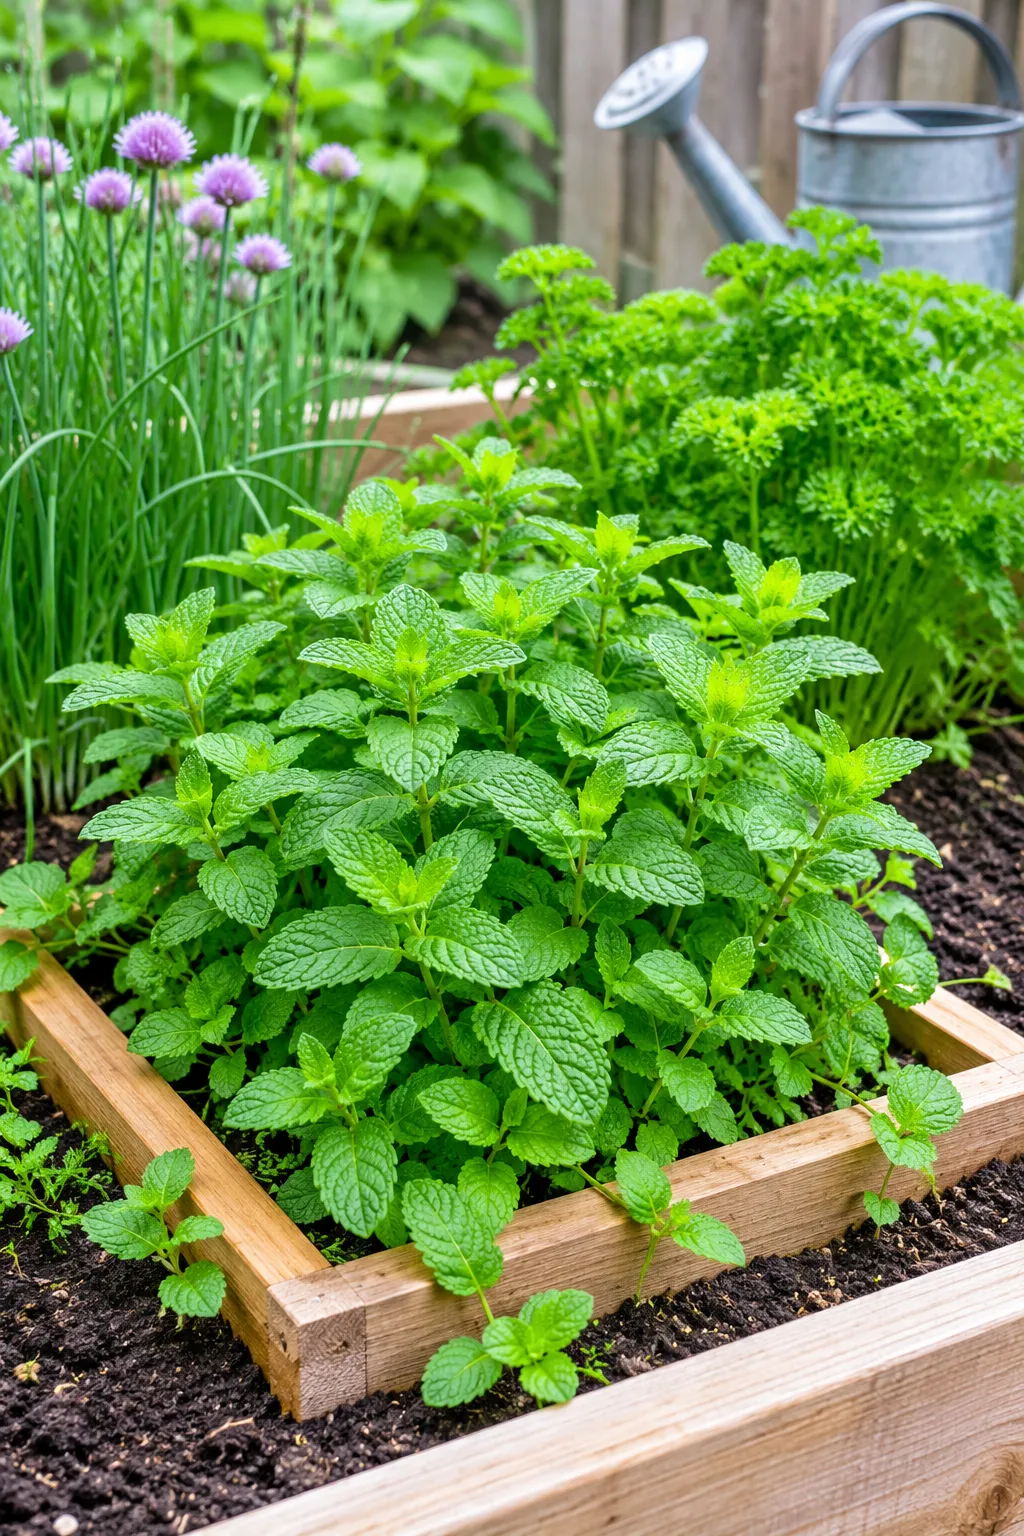
Planting mint straight into a shared bed is how you end up with a bed of only mint.
It spreads through runners under the soil and will happily crowd out its neighbors. A bottomless frame turns the frame itself into the fence. Sink the walls well below the surface, around eight inches or more, and leave a few inches showing above.
Two easy ways to build it:
- A square frame from scrap boards
- A large bucket with the bottom cut out
Check the edges now and then. Runners that climb over the top are easy to snip.
Mint sends runners under the bed. The chives and parsley beside it get squeezed out.
Mint stays inside its square. Every herb around it gets its own room and its own water.
Paint Plant Markers From Stones and Wooden Spoons
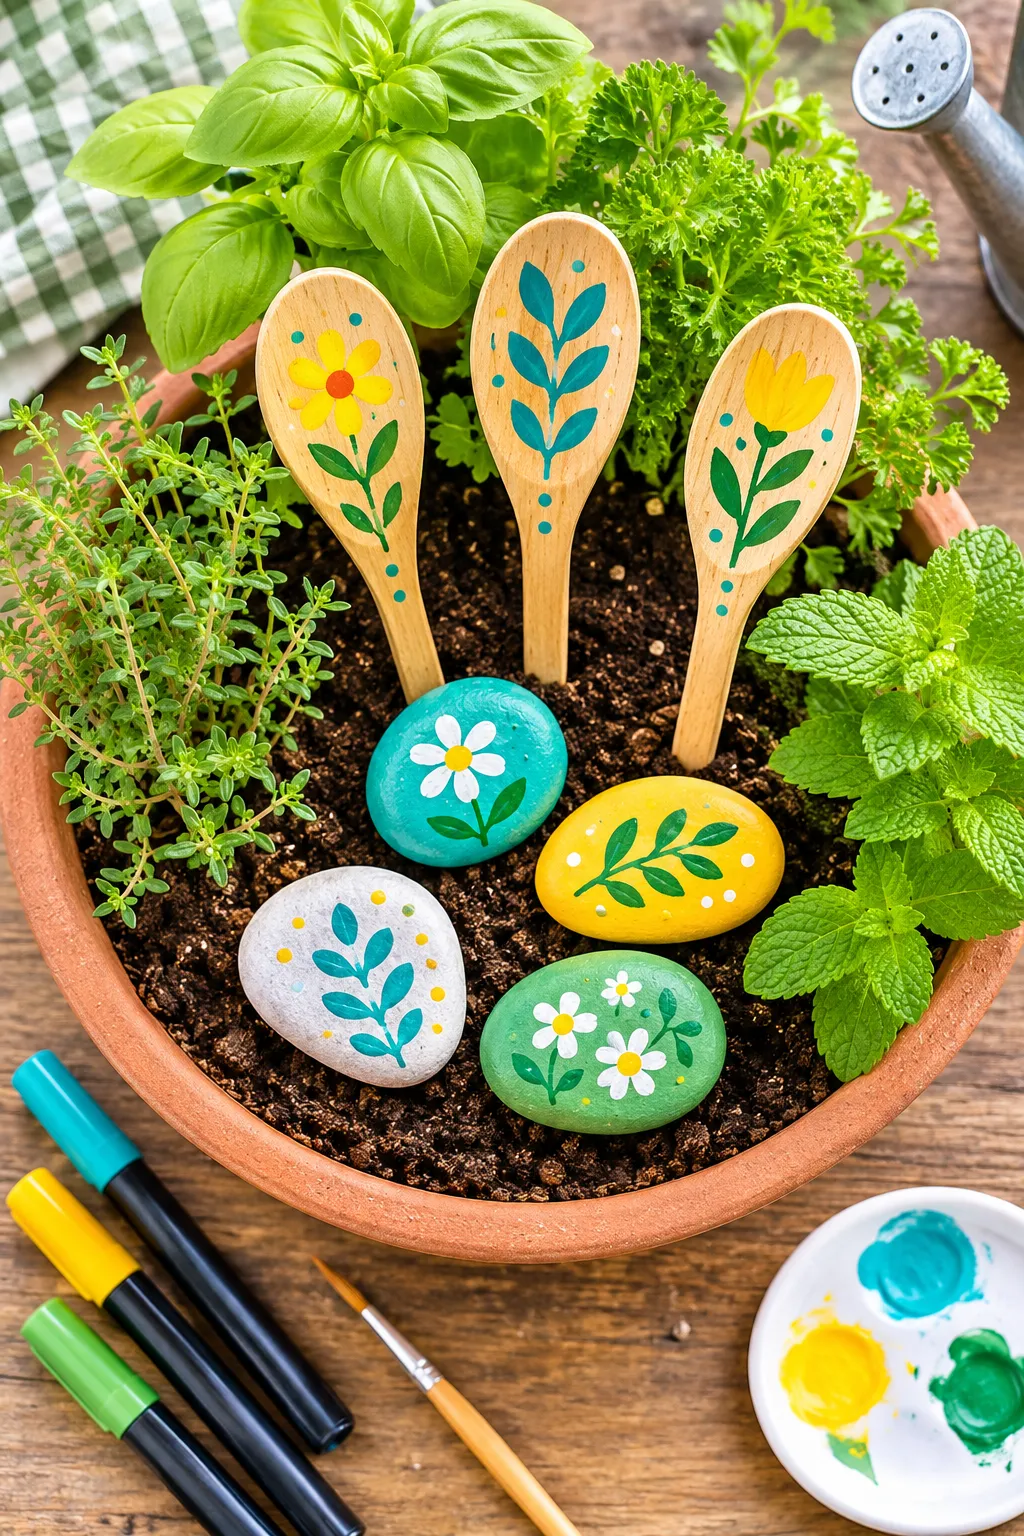
Cilantro and parsley look almost identical until the wrong one lands in the salsa.
Markers solve it, and they are the cheapest project on this list. Smooth stones sit at the base of a plant. Old wooden spoons push into the soil like little flags, and thrift stores sell them for very little.
Write the name with a paint pen, then seal it with a clear outdoor sealer. Skip the sealer and the next rain will blur your handwriting.
Gather these first.
Marker supply list
Layer a Light Soil Mix Instead of Heavy Garden Dirt

Garden dirt and potting mix look alike in a wheelbarrow, but they act nothing alike in a bed.
Dirt packs down and holds water around the roots. Potting mix stays loose and drains. Rosemary and thyme hate wet feet, so they need that looseness the most.
Start with bagged potting mix. Stir in a little compost for food and a few handfuls of perlite for air. Add extra perlite for the dry loving herbs.
Here is how the bed should stack up.
Plant Themed Beds for Pizza Night, Salsa, and Tea

Friday night, the pizza is in the oven and you are still hunting through six pots for the oregano.
Group your herbs by the meal they belong to, and one small bed does the job. Plant everything for pizza night side by side, then do the same for salsa and for tea. Herbs that go together in the kitchen often like similar water too, so watering gets easier.
Start with one theme. Add the others once the first bed is working.
| Bed theme | Herbs to plant | Use it for |
|---|---|---|
| 🍕 Pizza night | Basil, oregano, thyme | Sauce, toppings, dough |
| 🌮 Salsa | Cilantro, chives, parsley | Salsa, tacos, rice bowls |
| 🍵 Tea | Mint in its own frame, chamomile, lemon balm | Hot or iced tea |
Staple a Mesh Cover Over Your Herb Bed
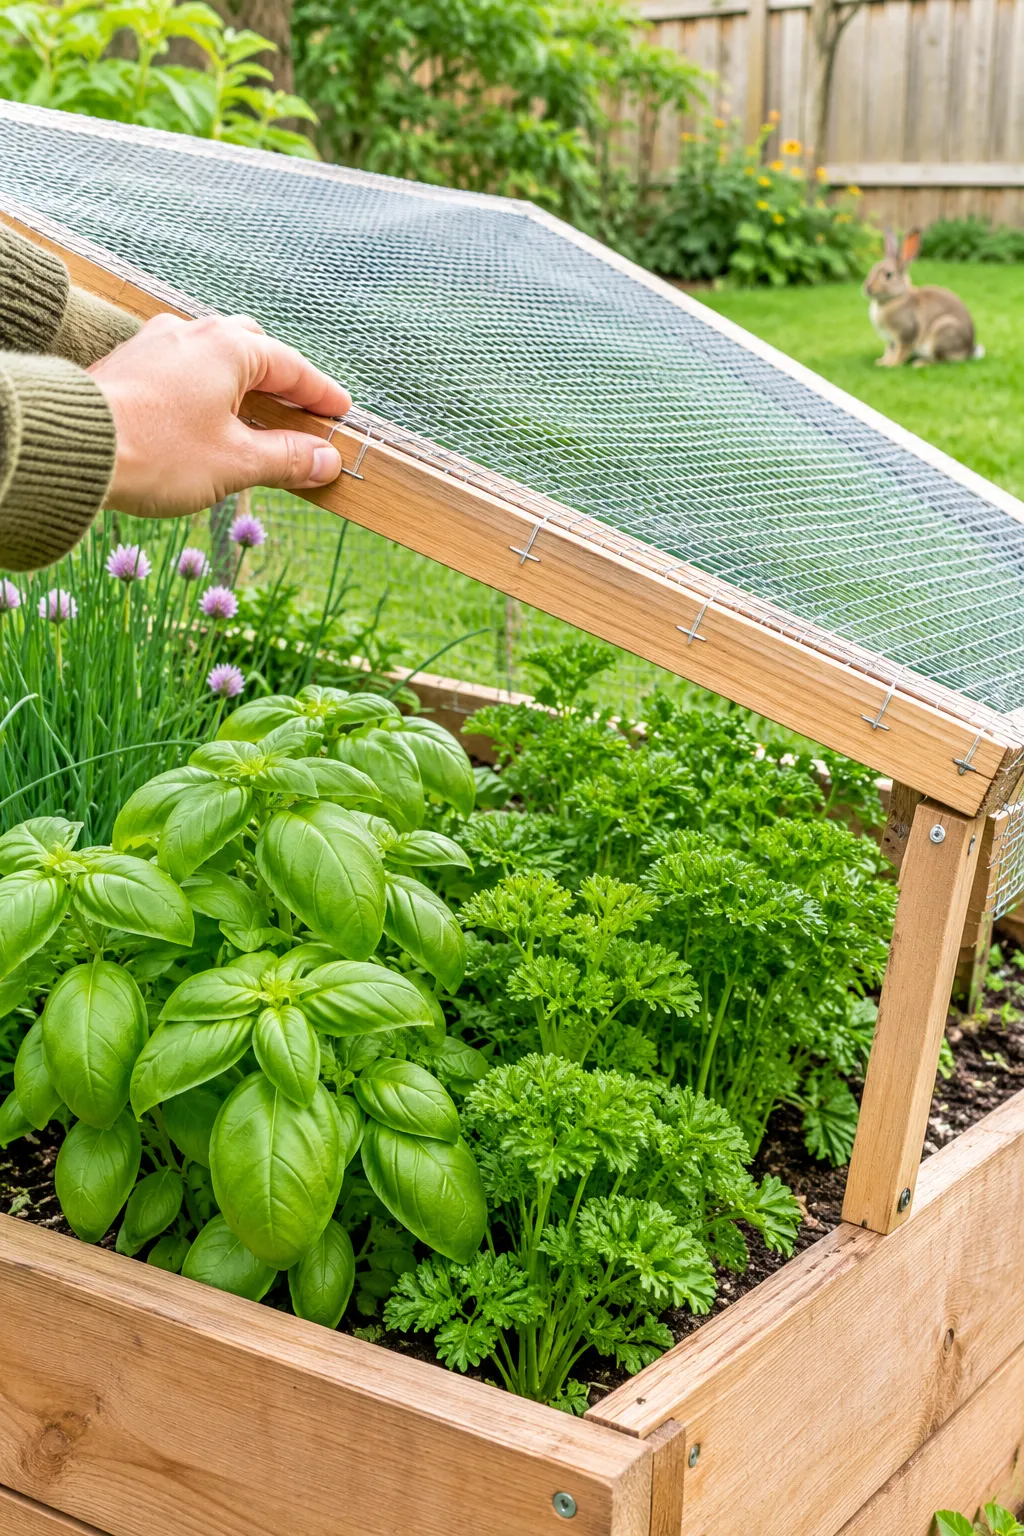
Something will find your basil before you do.
Rabbits, squirrels, and neighborhood cats all treat a fresh herb bed like a salad bar. A cover keeps them out without much fuss. Build a light frame from thin wood strips the size of your bed, then staple mesh across the top. Hardware cloth, a sturdy wire mesh, handles the digging and nibbling crowd. Fine insect netting handles the moths and bugs that chew holes in leaves.
Make the cover easy to lift. Hinge one side or add clips, so harvesting takes seconds.
Bury a Terra Cotta Pot in the Middle for Self-Watering
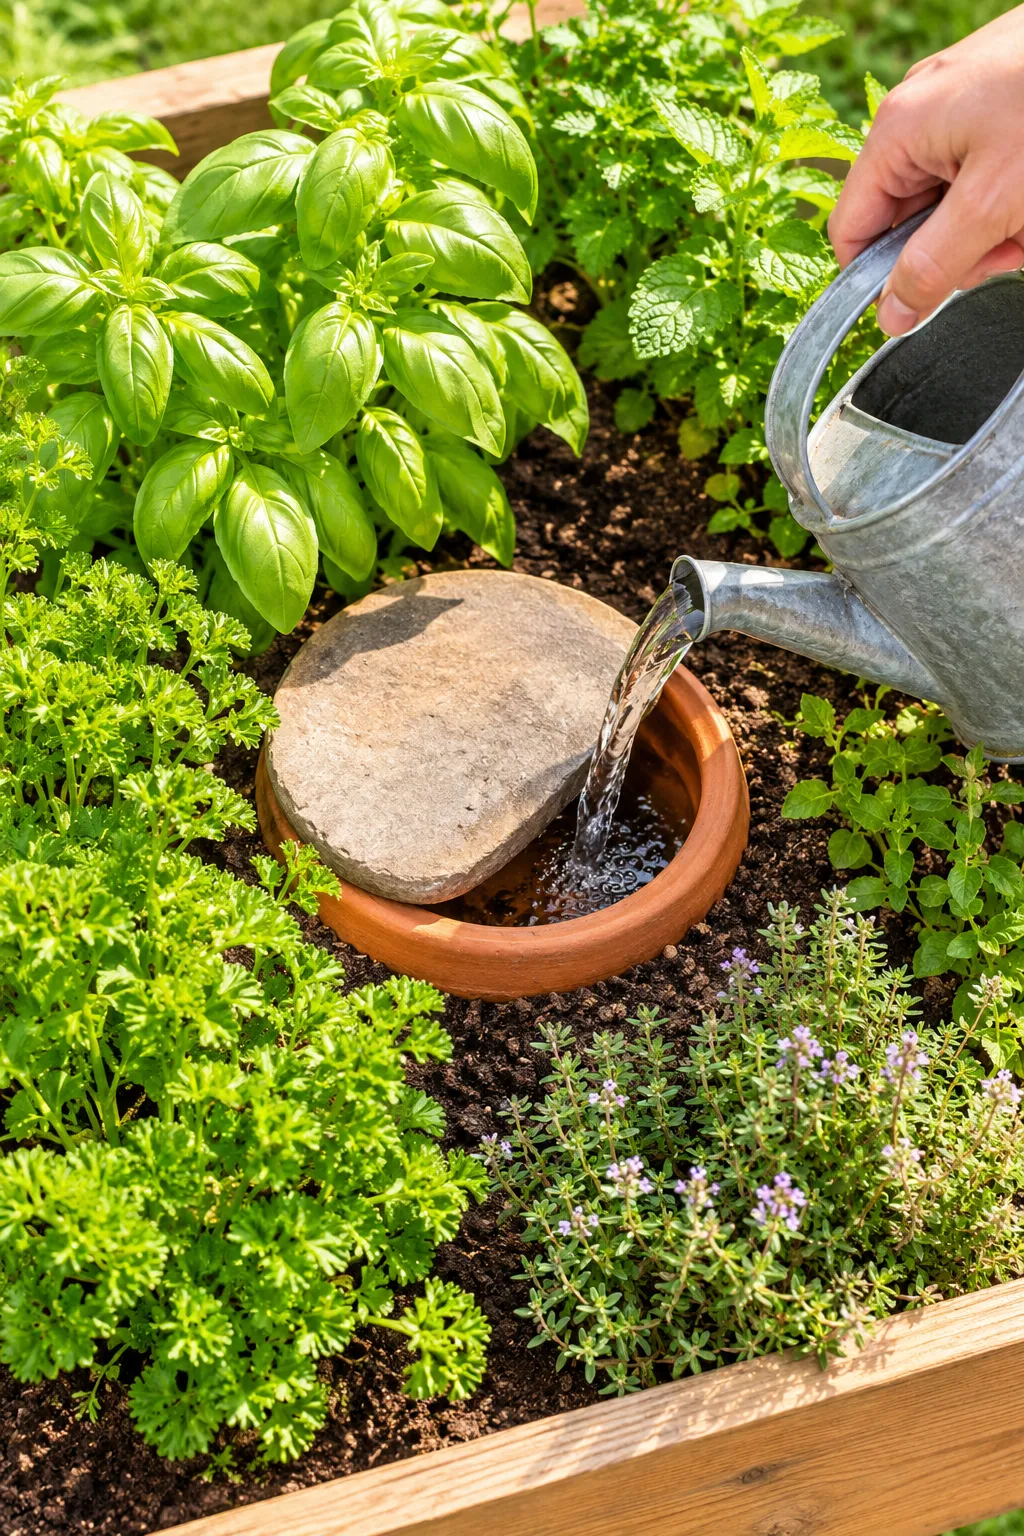
A missed watering day matters less when the bed has a reservoir buried inside it.
Use an unglazed terra cotta pot. The clay is porous, so water seeps out slowly into the surrounding soil while the herbs sit in a ring around the pot. It works best in a bed or a large planter with room for the pot plus a few plants.
In hot weather, check the pot daily at first. A big pot in a small bed can empty faster than you expect.
Here is the setup.
Pick an unglazed terra cotta pot and plug the drain hole with cork or a dab of waterproof sealant.
Dig a hole in the middle of the bed and bury the pot up to its rim.
Plant thirsty herbs like basil and parsley close to the pot, and dry loving ones like thyme farther out.
Fill the pot with water, cover the opening with a saucer or flat stone, and refill it whenever it runs low.
Start With One Build and Let the Herbs Show You the Rest
You do not need all 18 of these. Pick one build, finish it in a weekend, and let the herbs show you what they like.
Most first gardens go wrong in the same few places. The drainage is poor, the soil is too heavy, or the spot gets too little sun. Fix those three and a diy raised herb garden mostly looks after itself. If you want the easiest way in, start with the cedar box, the cinder blocks, or the crate tower.
By midsummer you will be snipping basil for dinner and wondering why you waited.
Check these three before you plant