
Planning a themed party sounds fun until you’re staring at a blank table wondering where to start.
The details matter the wrong setup feels flat, and the right one pulls guests straight into the story. That’s exactly what Alice in Wonderland party decor does best it gives you a rich, layered world to work with.
From mismatched teacups to oversized mushrooms, every element tells a story. This guide gives you 28 specific, doable ideas — whether you’re a seasoned DIYer or picking up a glue gun for the first time.
1. Set the Scene With a “Down the Rabbit Hole” Entrance
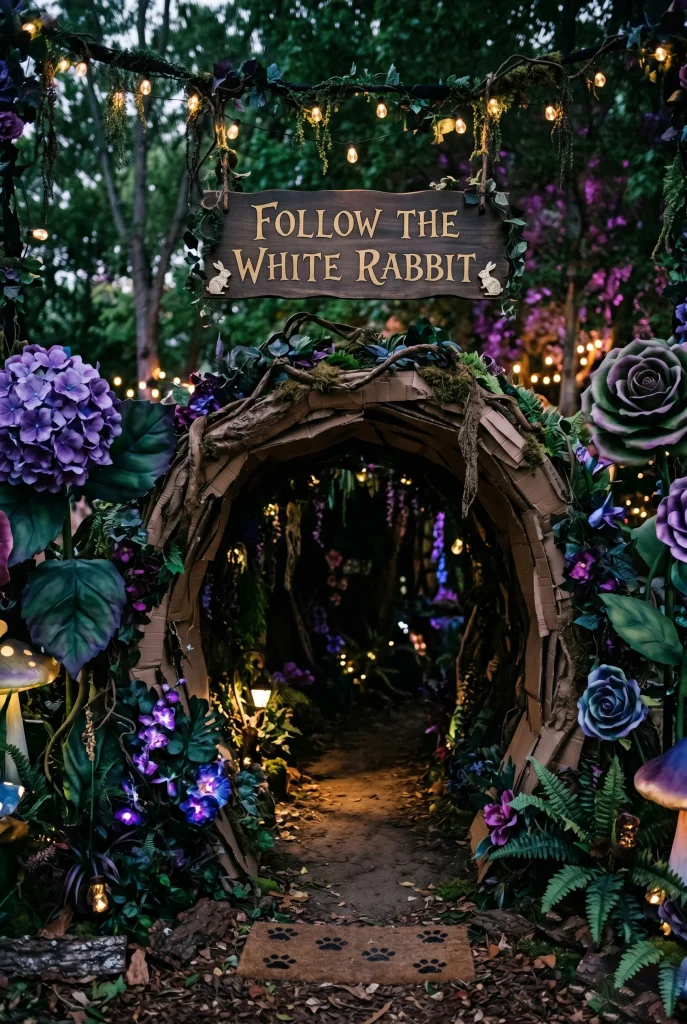
Greet guests before they even walk through the door. A rabbit hole entrance sets the tone for everything inside. Use a cardboard tunnel painted dark brown, line the edges with fake grass and oversized flowers, and hang a simple sign that reads “Follow the White Rabbit.”
It’s a low-cost build with a huge visual payoff. Guests will stop and take photos — which means free sharing on Pinterest and Instagram.
2. Stack Mismatched Teacups as a Centerpiece
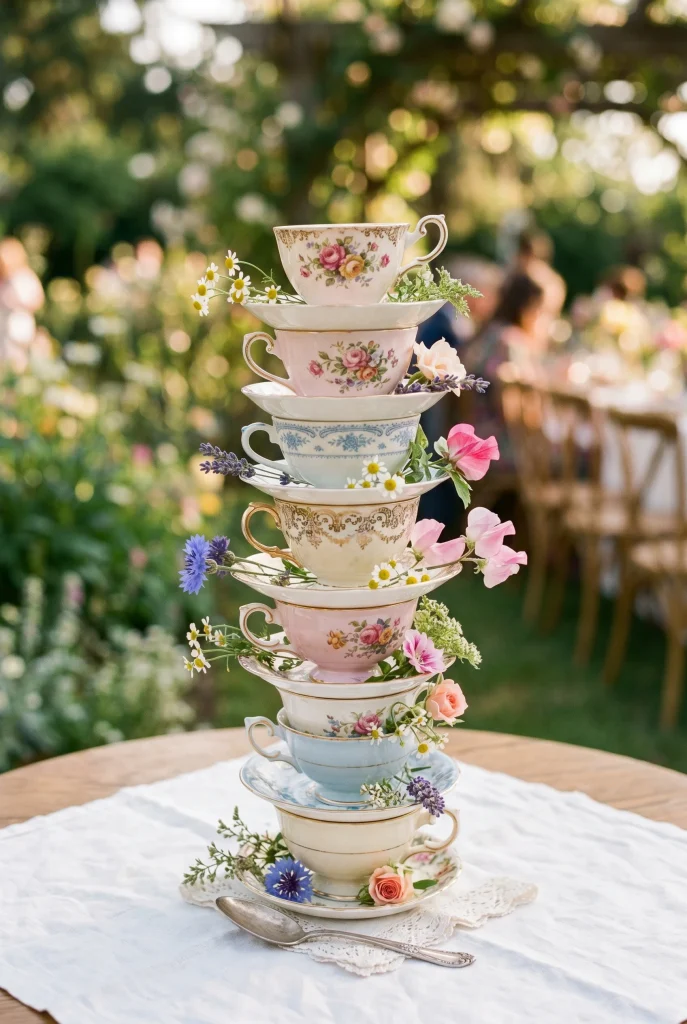
Hit every thrift store near you and grab mismatched teacups. Stack them into towers using floral foam or a wooden dowel as the spine. The messier the mix of colors and patterns, the better that’s the whole point.
Add small wildflowers between the cups and a tiny “Mad Tea Party” tag at the base. It looks expensive but costs almost nothing.
3. Make an “Eat Me” and “Drink Me” Tag Display
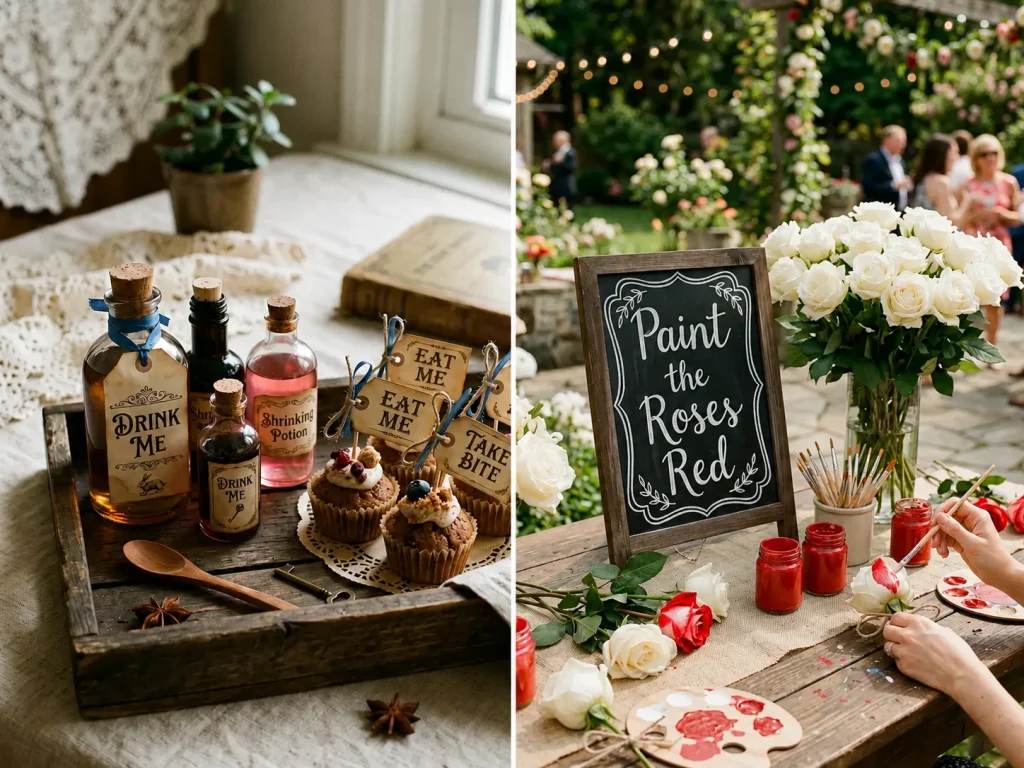
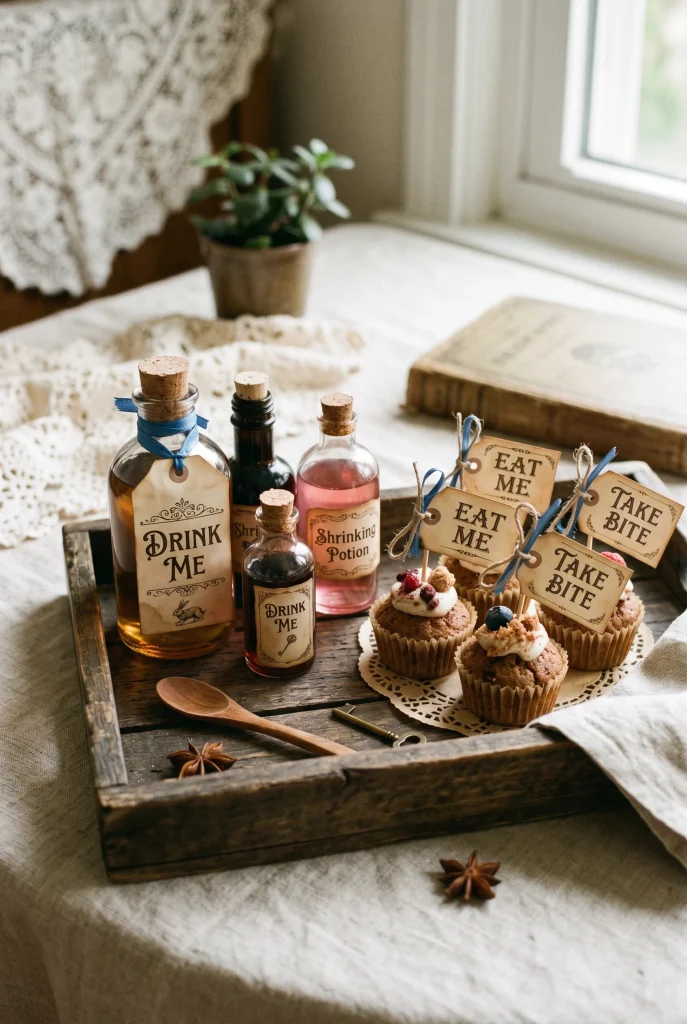
These tags are the easiest DIY on this list. Print them on kraft paper or aged parchment, tie them with twine, and attach them to anything on your dessert table. Cookies, cupcakes, lemonade bottles everything gets a label.
It ties your food table directly to the theme without any extra decorating. Guests know exactly what’s happening the moment they see it.
4. Build a Mad Hatter’s Tea Party Table
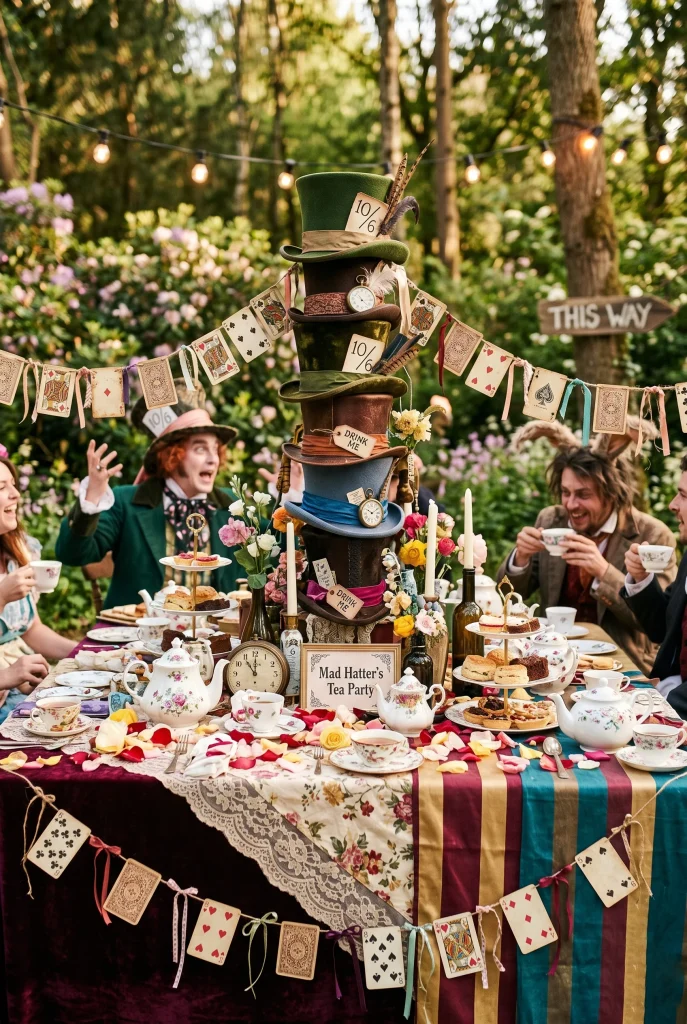
This is the centerpiece of your whole party setup. Layer two or three mismatched tablecloths stripes with florals, for example. Add stacked top hats as centerpieces, scatter playing cards flat on the table, and mix in vintage-style china.
Don’t match everything. The Mad Hatter’s table is supposed to look like organized chaos. Lean into it.
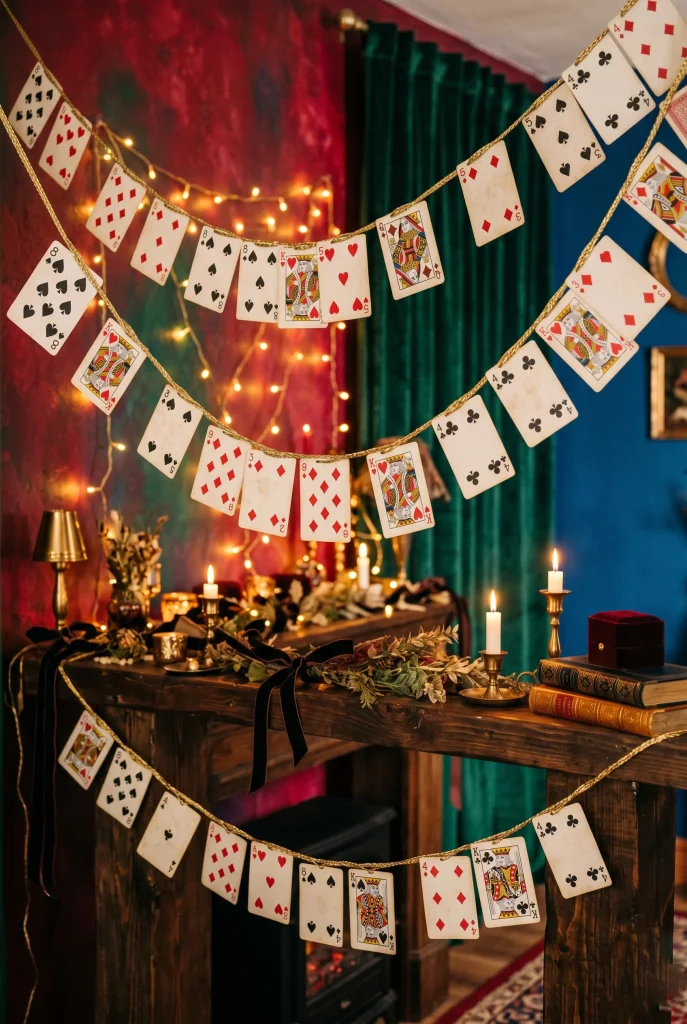
5. Hang a Playing Card Garland
Buy a cheap deck of cards or print oversized ones and string them along gold twine. Hang them across a mantle, above a dessert table, or as a photo backdrop. They move slightly in the air, which makes them feel alive.
Use two or three decks so your garland looks full and layered. This one takes about 20 minutes to make.
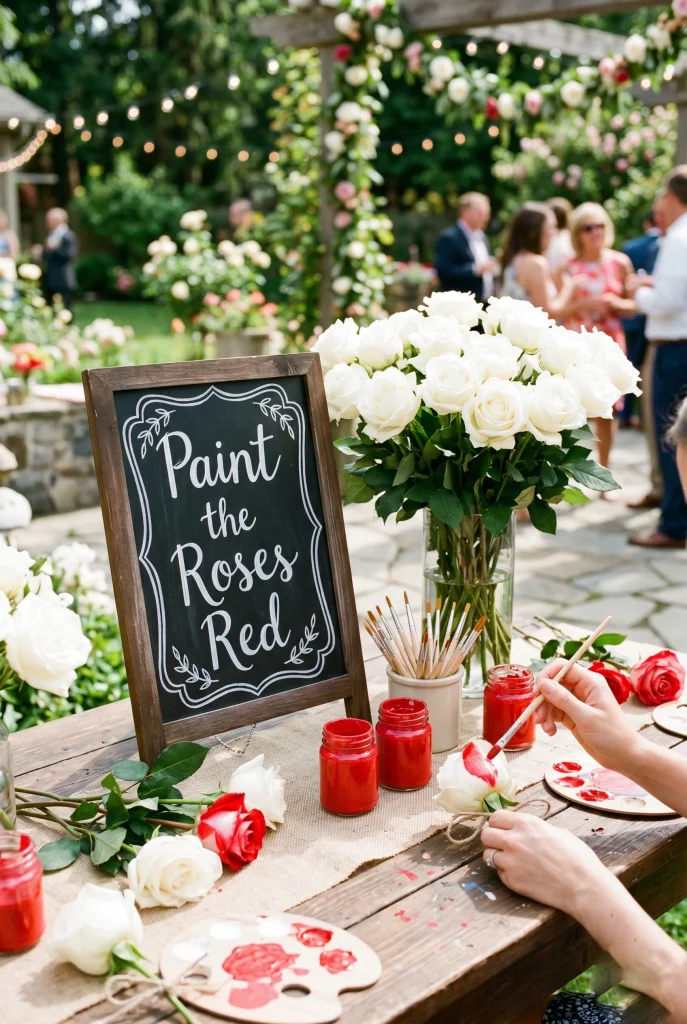
6. Create a White Rose Painting Station
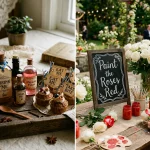
Give guests something to do when they arrive. Set up a small table with white roses (real or faux), red paint, and brushes. A chalkboard sign reading “Paint the Roses Red” is all the explanation anyone needs.
It’s a natural conversation starter and doubles as a party activity. Kids and adults both love it.
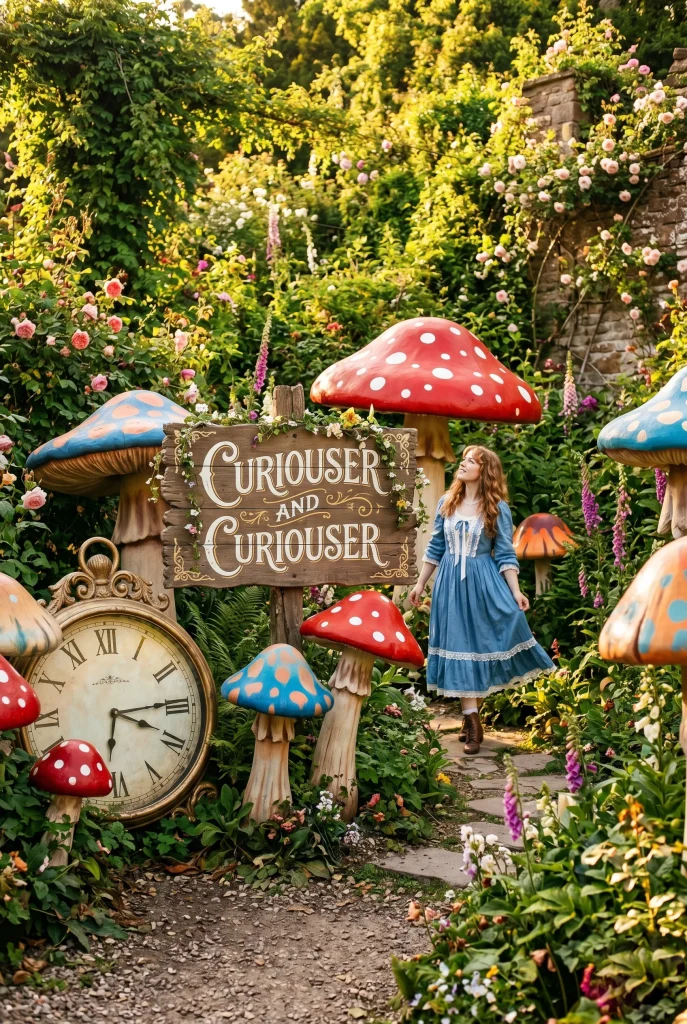
7. Use Oversized Props for Maximum Drama
Think big literally. Oversized props like giant mushrooms, clocks, and flowers are what makes this theme feel fully realized. You can find foam mushrooms at craft stores or make them with pool noodles and spray paint.
Place them around the yard or venue like set pieces. They create natural photo moments that guests will remember.
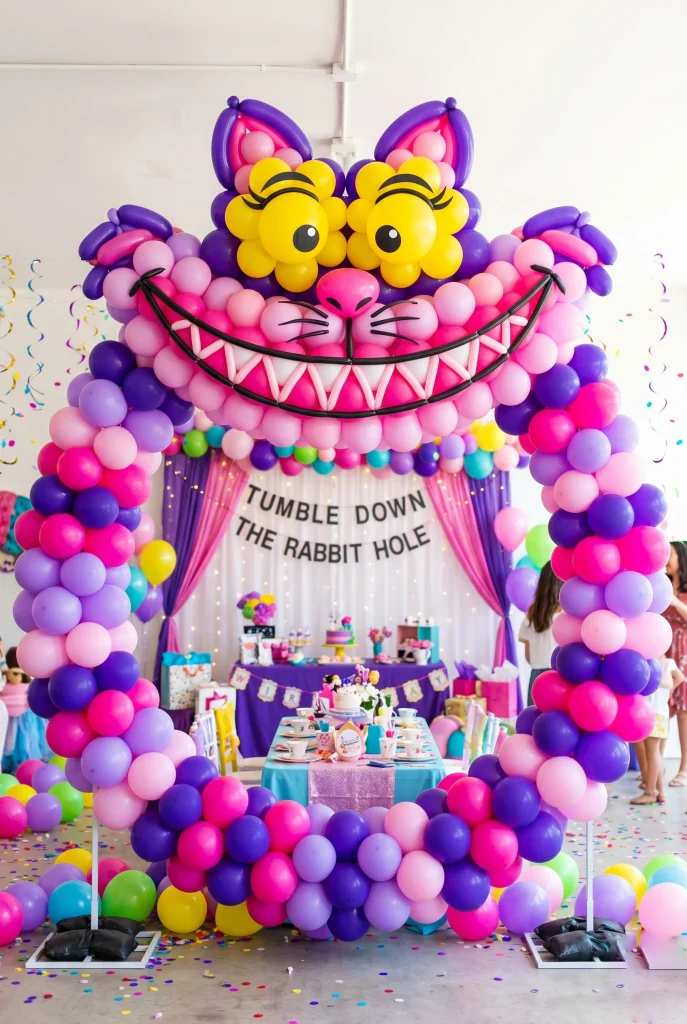
8. DIY a Cheshire Cat Balloon Arch
A balloon arch shaped into a grinning mouth is easier than it looks. Use alternating purple and pink balloons, curve them into a wide smile shape, and add two yellow balloons at the top as eyes. Mount it above a doorway or photo station.
It’s bold, recognizable, and completely on-theme. Kids go absolutely wild for it.
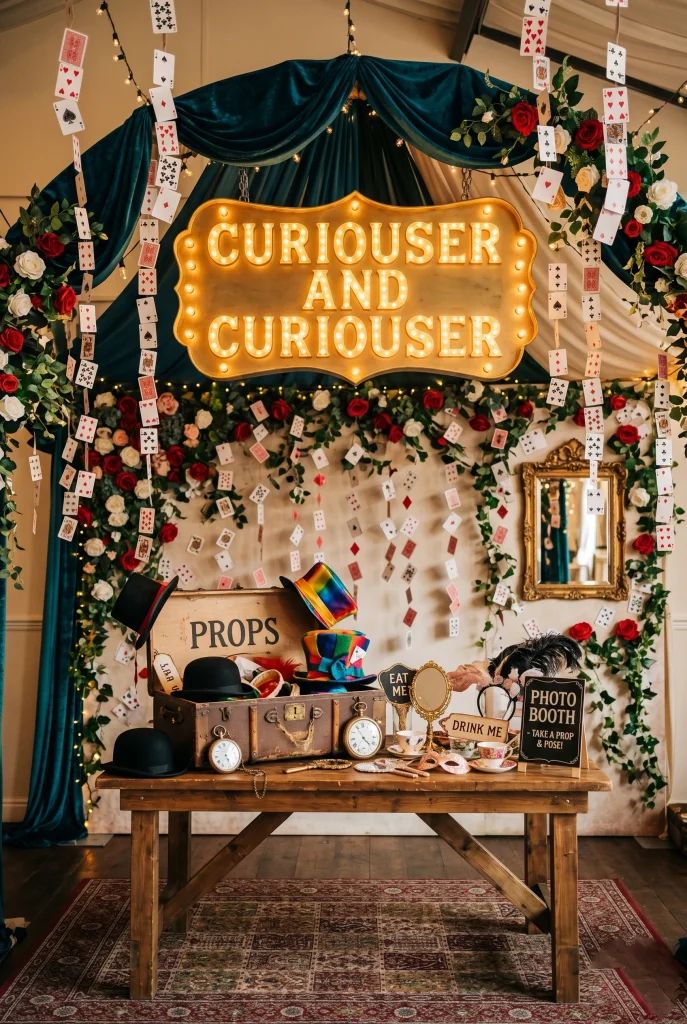
9. Set Up a “Curiouser and Curiouser” Photo Booth
Every party needs a photo spot. Use a plain fabric backdrop in deep purple or forest green and add layered props top hats, pocket watches, “Drink Me” bottles, and oversized key cutouts. Print your sign on foam board for a clean, professional look.
Set a prop box in front so guests can grab something before the shot. Photos from this corner will end up all over social media.
10. Serve Drinks in Labeled Potion Bottles
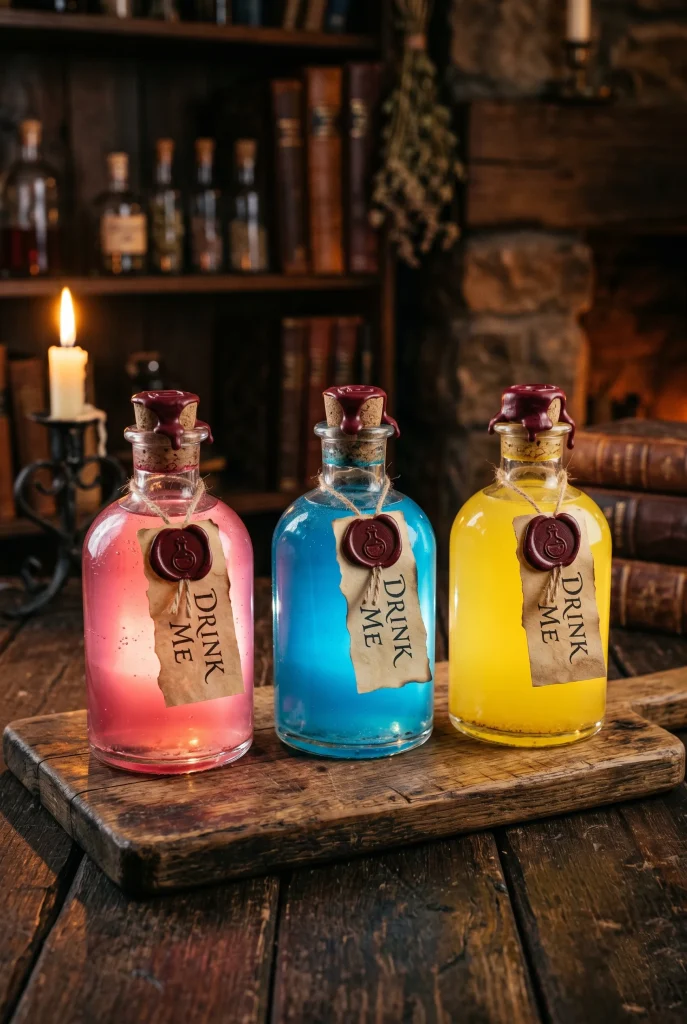
Glass apothecary bottles from the dollar store look stunning filled with colored drinks. Use lemonade, berry water, or punch and add a few drops of food coloring to match your palette. Seal each bottle with a cork and hang a small “Drink Me” tag.
Line them up on a wooden board or tray. It’s one of the most-pinned setups from this theme for a reason.
11. Make a Vintage Clock Wall Display
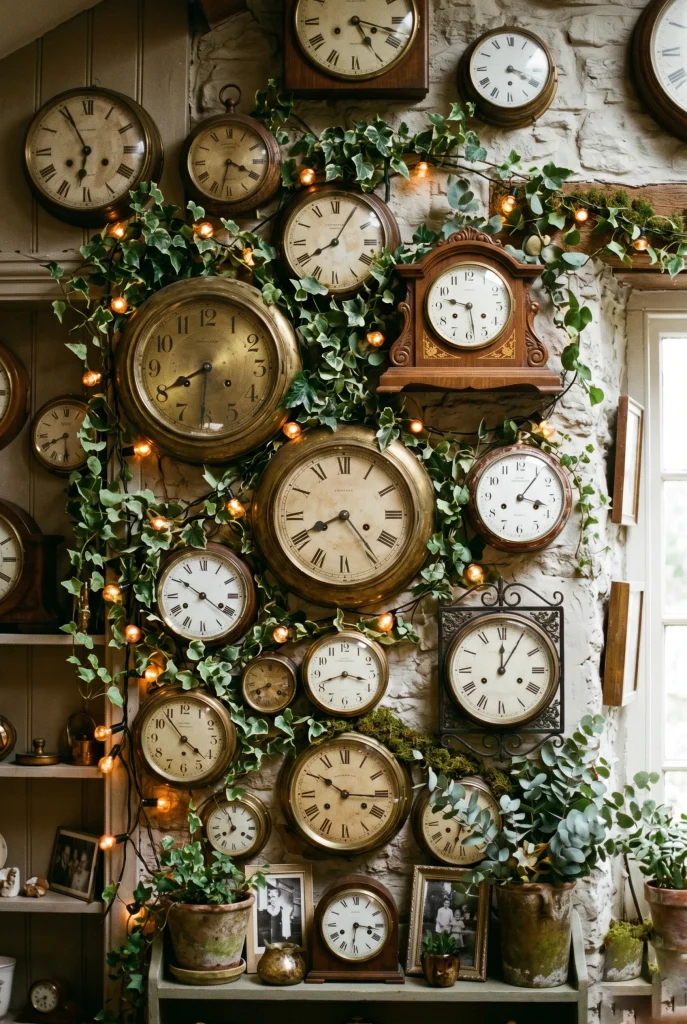
The White Rabbit is always late so why not cover a wall in clocks? Mix real vintage clocks with printable ones. Stop them all at different times for that frozen-in-time Wonderland effect.
Hang them at different heights and surround them with ivy or string lights. It turns a blank wall into a full scene.
12. Set Up a Flamingo Croquet Corner
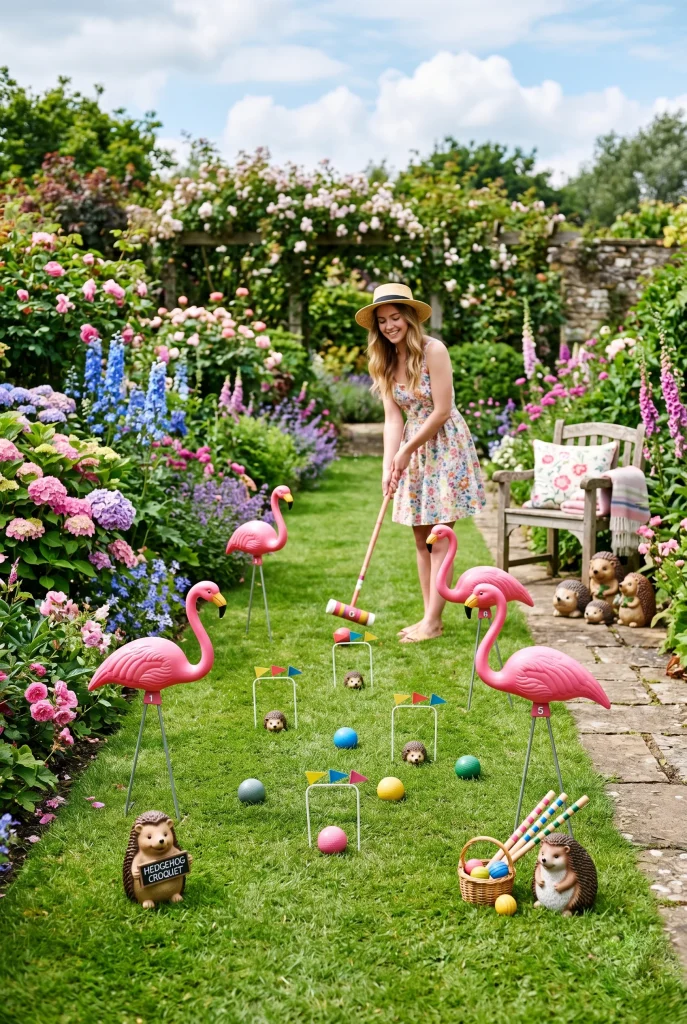
Lawn flamingos are easy to find and completely on-theme. Set up a simple croquet-style game using them as mallets. Add a small chalkboard sign that says “Croquet with the Queen” to make it official.
It’s an activity and a decor piece at the same time. Guests walking by will smile every single time.
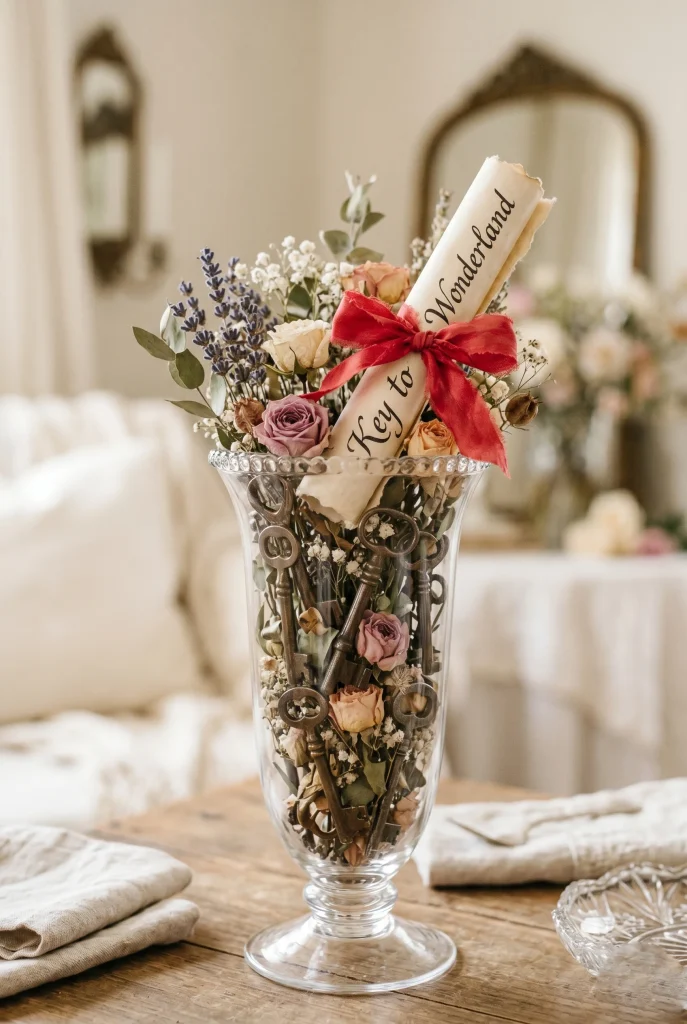
13. Create a “Key to Wonderland” Centerpiece
Skeleton keys are cheap and easy to source online. Fill a tall glass vase with them, add some dried flowers and a few loose pages of printed “Wonderland” text, and tie a red ribbon around the vase. Simple, elegant, and totally unique.
This one works well for adult parties where you want something more refined than stacked teacups.
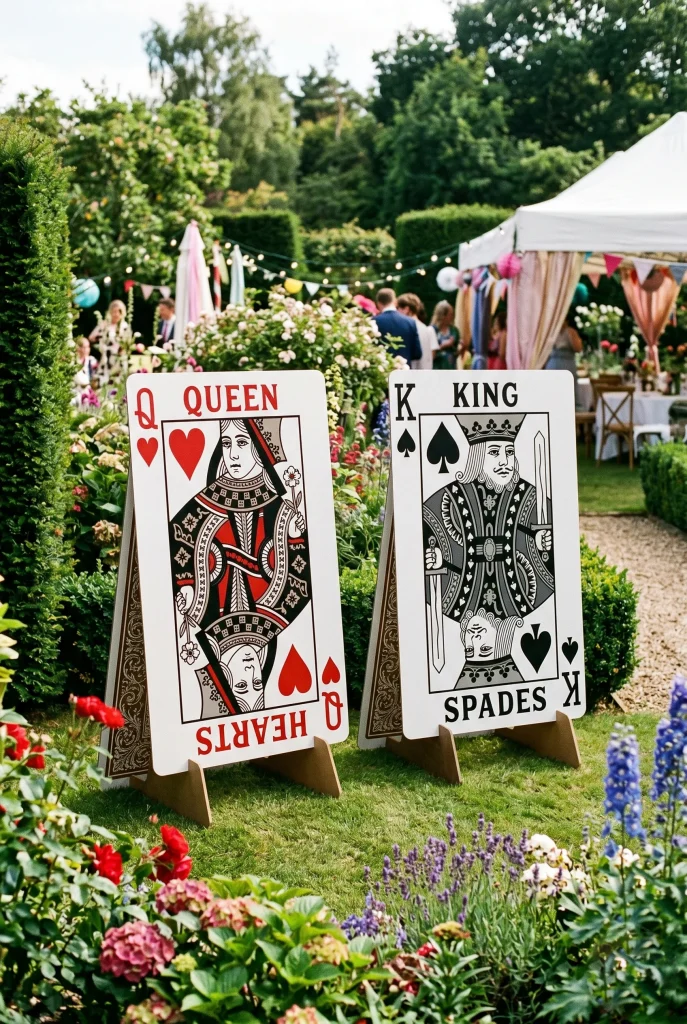
14. Print Giant Playing Card Standees
Print life-size playing cards onto foam board and position them around your venue like guards. The Queen of Hearts and King of Spades are the obvious picks. Mount them on wooden stakes if you’re outdoors.
They create an instant “you’re in Wonderland” feeling without much effort. They’re also great for photos.
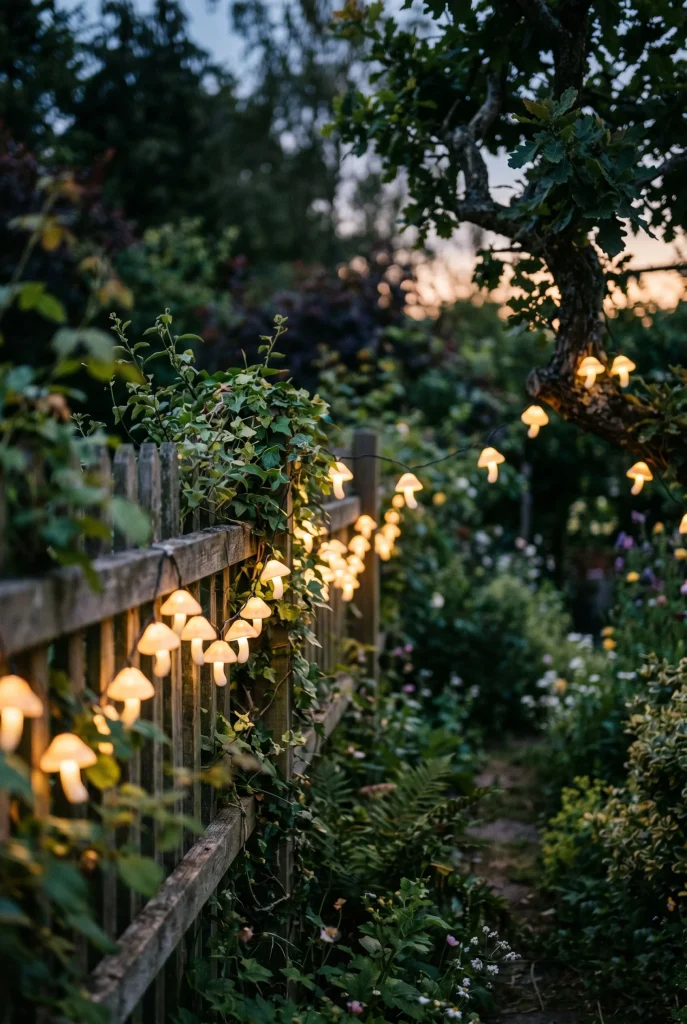
15. Use Mushroom Fairy Lights for Ambient Lighting
Mushroom fairy lights are sold on most home decor sites and they look exactly right for this theme. String them along fences, around tent poles, or through tree branches. They glow warm and soft, which works for evening parties.
Lighting makes or breaks a party atmosphere. These lights do most of the heavy lifting.
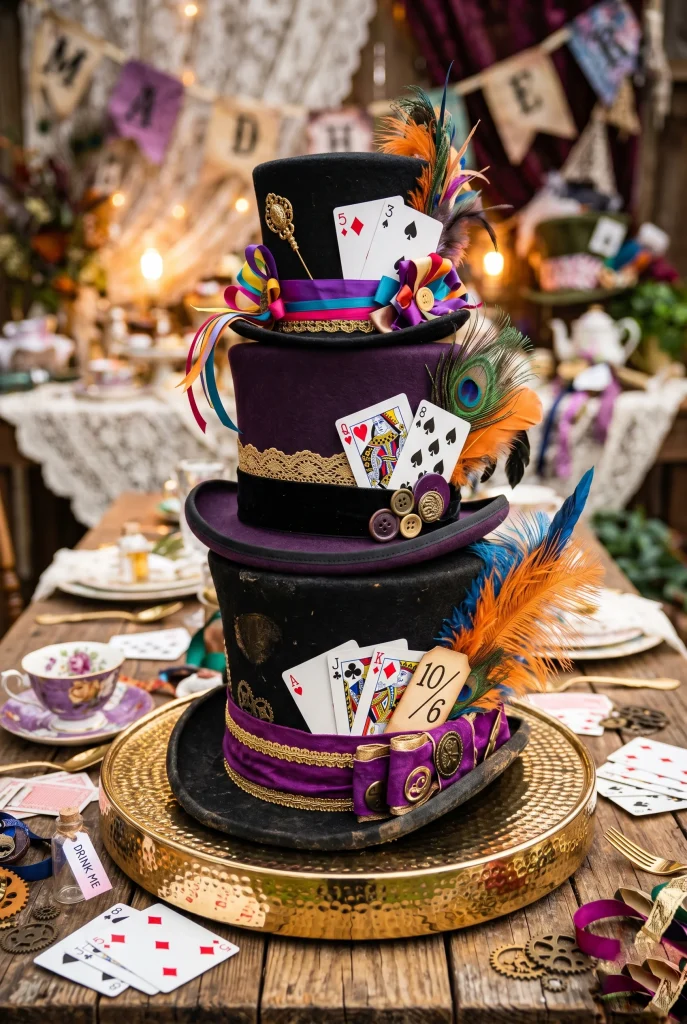
16. DIY a “Mad Hatter Hat” Centerpiece Tower
Stack two or three top hats of different sizes on a mirrored tray. Stuff each one with ribbon, playing cards, and feathers. Add a small label on each hat for extra character “10/6” on the brim, for example.
You can find cheap top hats at party stores. The stacking does all the work for you.
17. Hang Teacup Flower Pots
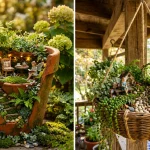
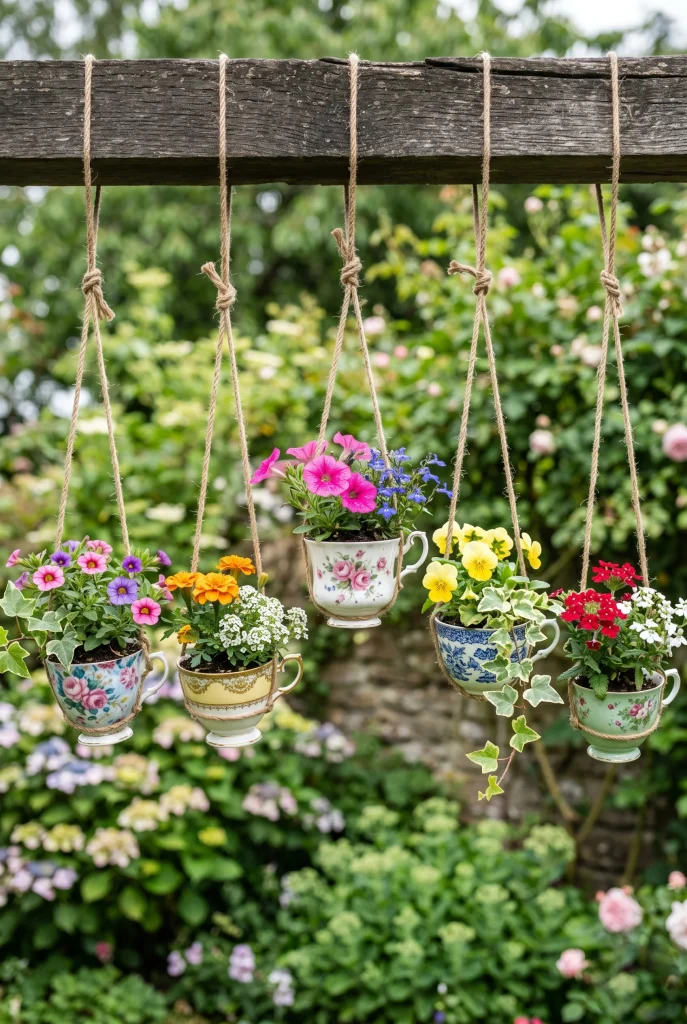
Drill a small hole in the bottom of old teacups and hang them with jute rope from a pergola, fence, or ceiling beam. Fill each one with a small succulent or wildflower. They look like they came straight from the Wonderland garden.
This decor works equally well indoors and outdoors. It’s also a takeaway guest gift if you’re feeling generous.
18. Create a “Tea for Two” Styled Seating Area
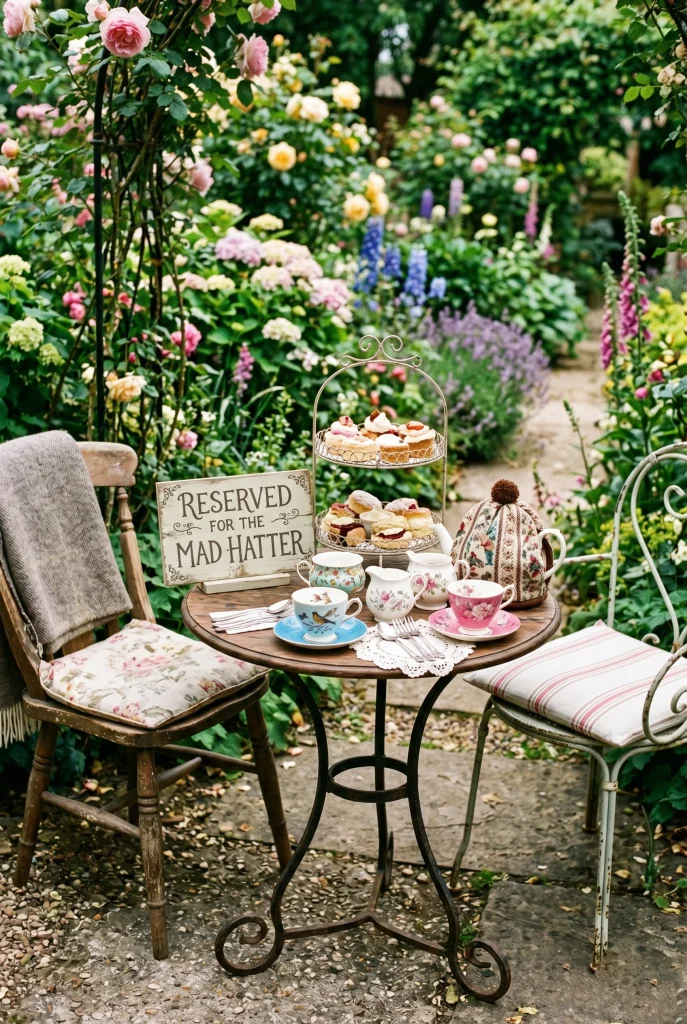
Pull two mismatched chairs together with a small table between them. Set the table with china, a small vase of flowers, and a tiered stand with finger sandwiches or sweets. Add a “Reserved for the Mad Hatter” card to complete the scene.
It’s a quiet corner that adds depth to your overall setup. Guests love discovering it.
19. Make a “Queen of Hearts” Card Guard Wall
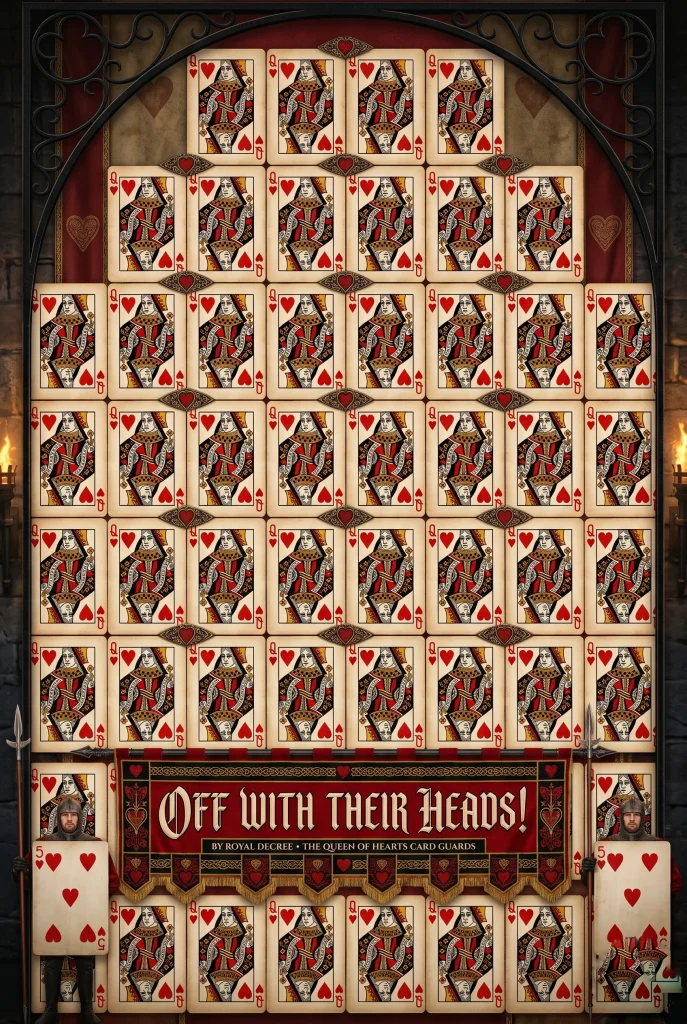
Print oversized card guard designs the playing card soldiers and tape or hang them across a wall or fence. Add a “Off With Their Heads!” banner for drama. Use red, black, and white to keep it visually clean.
It’s a bold statement piece that costs almost nothing. Print at a copy shop for large-format output.
20. DIY Alice’s Blue Dress Table Runner
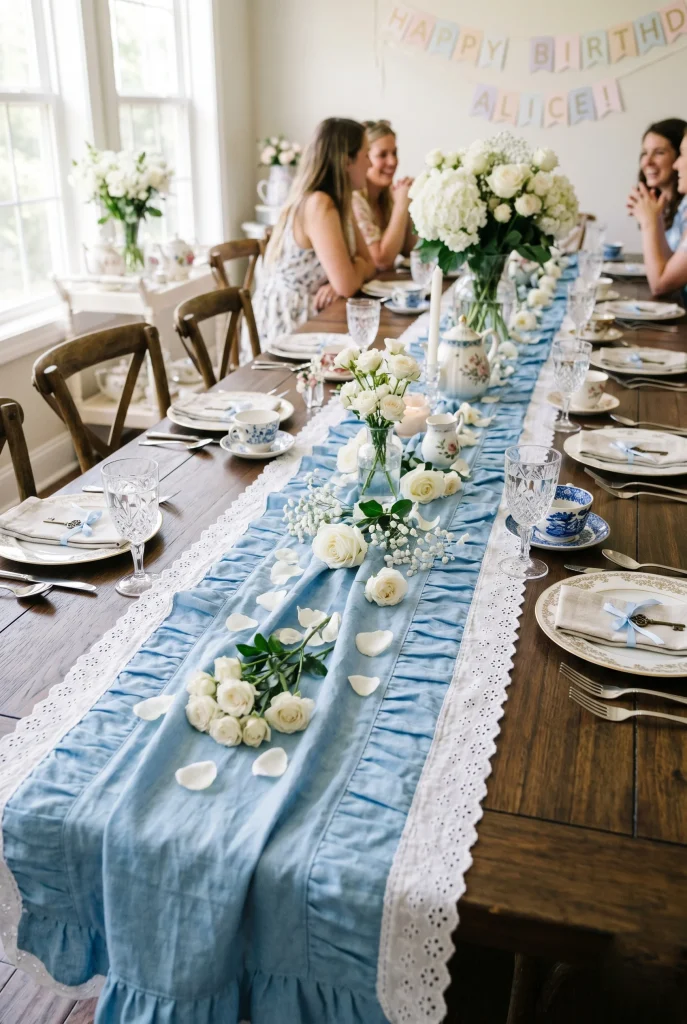
Cut light blue fabric into a long runner and sew or glue a strip of white lace along each edge to mimic Alice’s apron. Lay it down the center of your main table and scatter white roses on top.
It’s a subtle nod to Alice without being too literal. The color contrast looks beautiful in photos.
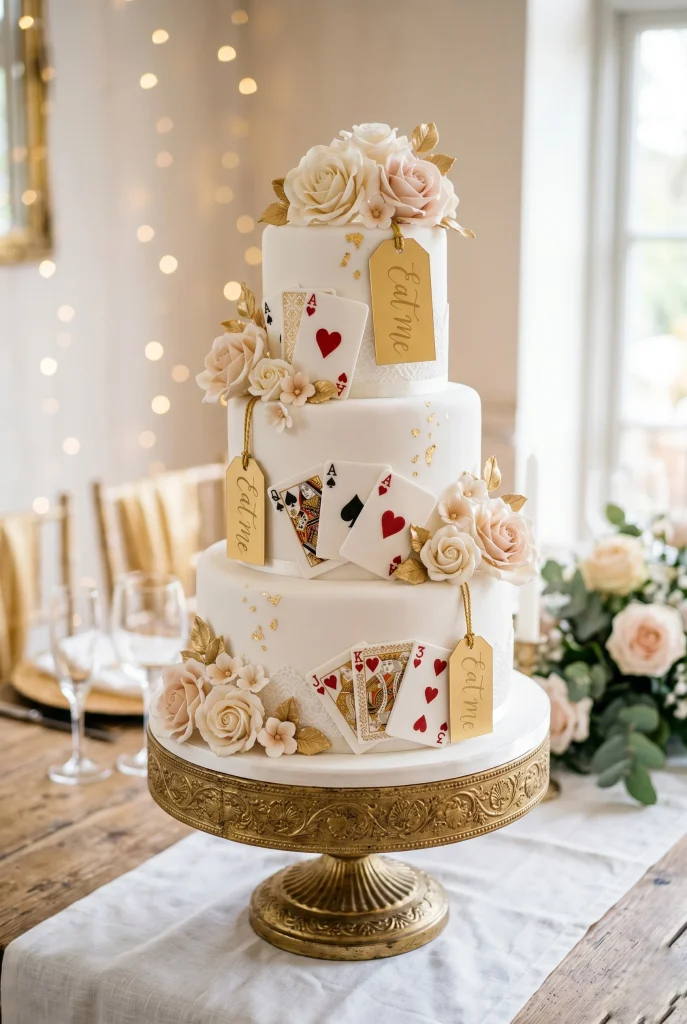
21. Serve a Tiered “Eat Me” Cake Display
A tiered cake is your table’s main character. Decorate each tier differently — one with roses, one with playing cards, one with clock faces. Add “Eat Me” tags on small fondant labels at each level.
You don’t need a professional baker. Simple buttercream with fondant cutouts does the job perfectly.
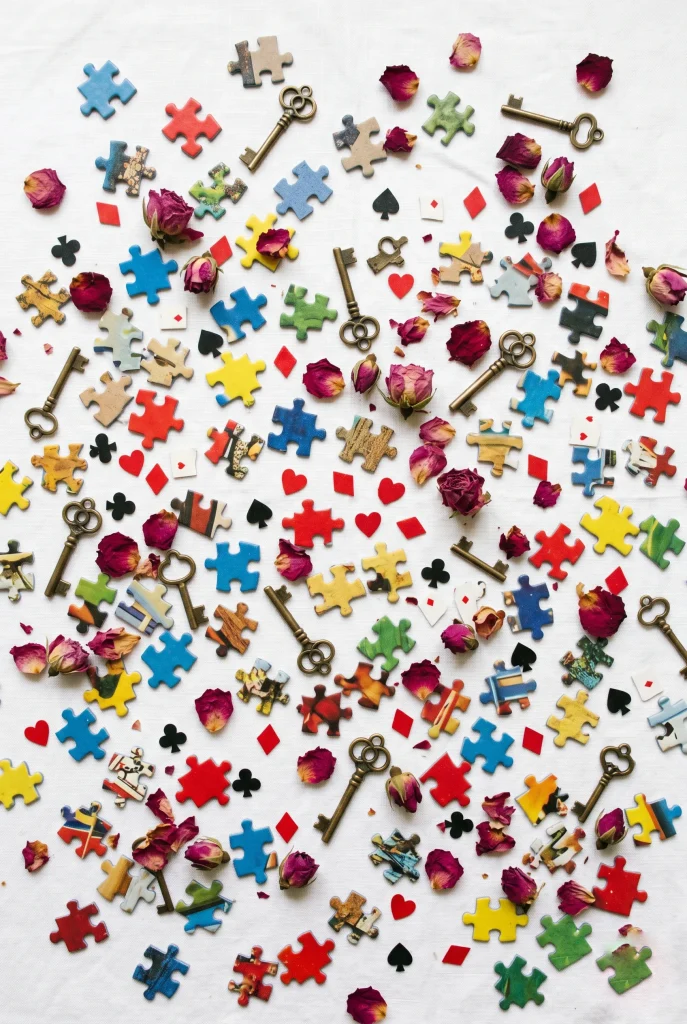
22. Scatter Loose Puzzle Pieces as Table Confetti
Forget standard confetti. Use puzzle pieces, skeleton key cutouts, playing card suits, and dried rose petals as table scatter. It’s thematic, textured, and looks much more intentional than glitter dots.
You can cut the card suits and keys from cardstock in an afternoon. Pair them with real dried petals for a mix of textures.
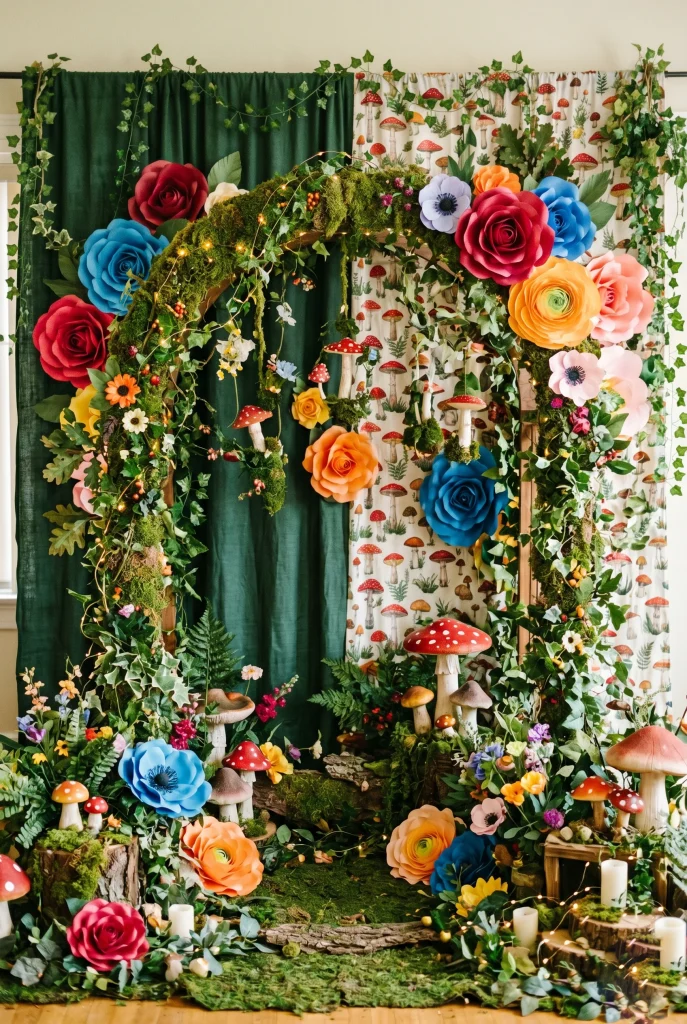
23. Build a Wonderland Backdrop With Fabric and Foliage
A fabric backdrop draped in green ivy, oversized paper flowers, and foam mushrooms creates a fully immersive photo wall. Use a wooden or PVC arch as the frame and build outward from there. Layer real plants with faux elements for a full, lush look.
This one takes a few hours to build, but the result is worth every minute. It becomes the visual anchor of the entire party.
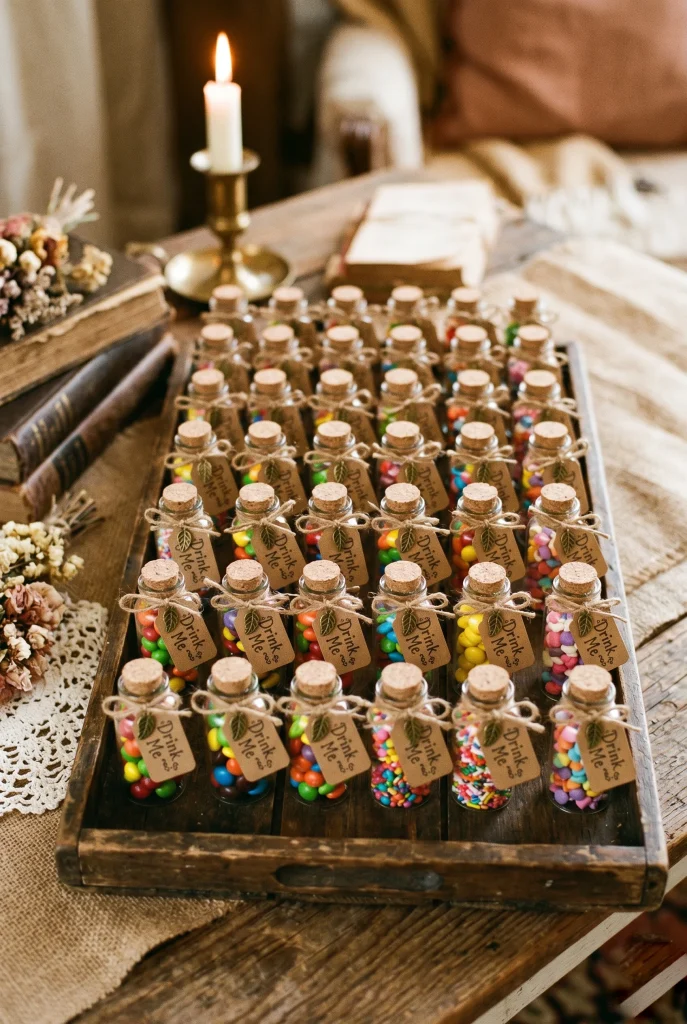
24. Make Mini Potion Bottle Party Favors
Fill small glass bottles with colorful candy red hots, gummy bears, or rock candy work perfectly. Cork each bottle and attach a small “Drink Me” tag with baker’s twine. Line them up in a wooden crate at the exit table.
Guests love taking something home. These take about an hour to assemble for a full party.
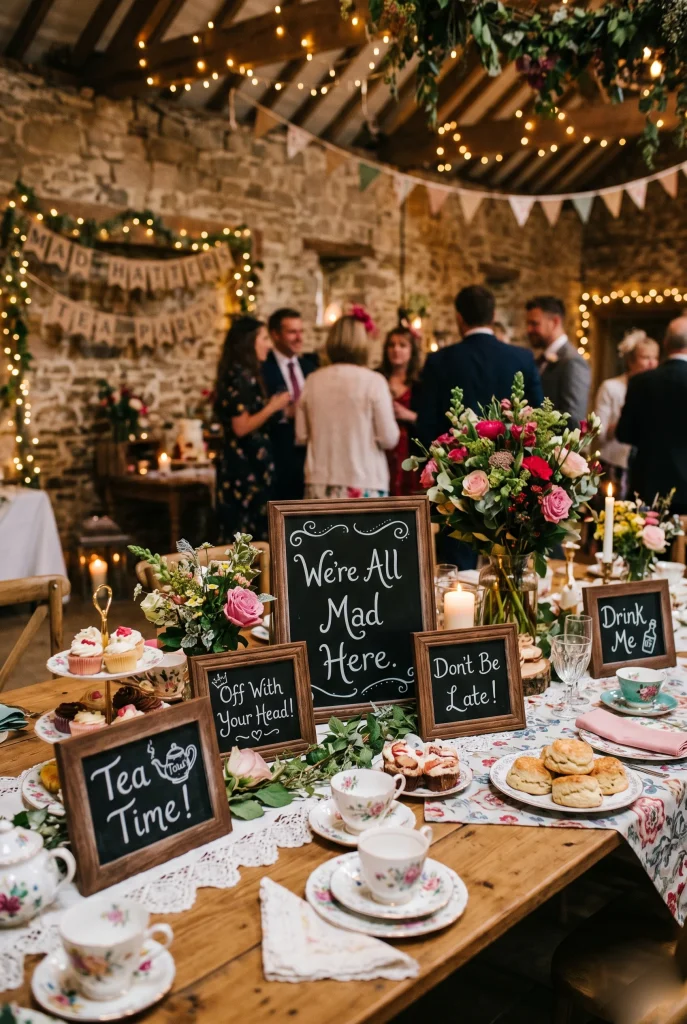
25. Use Chalkboard Signs Throughout the Venue
Chalkboard signs with Wonderland quotes pull the whole theme together. Use phrases like “We’re All Mad Here,” “It’s Always Tea Time,” and “Curiouser and Curiouser.” Place them near food stations, at the entrance, and on tables.
They’re cheap to buy, easy to write, and they photograph beautifully. No design skills needed.
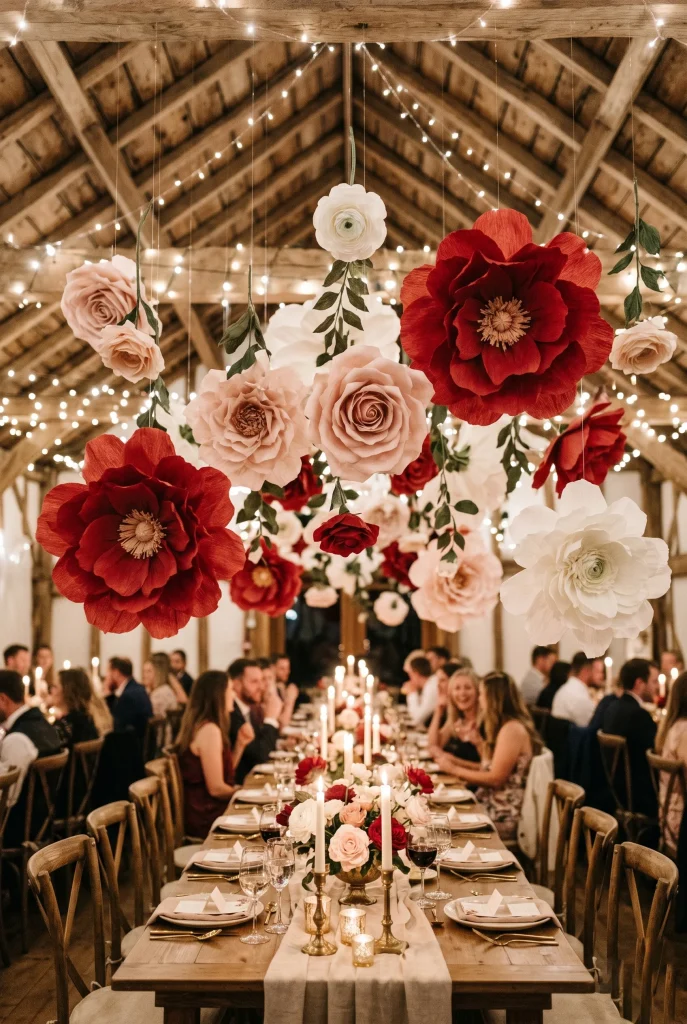
26. Hang Oversized Paper Flowers From the Ceiling
Giant paper flowers are a staple for good reason they fill vertical space without costing much. Make them from tissue paper or cardstock and hang them at different heights above your main table or dessert spread.
Mix sizes for a natural, garden-like canopy effect. They also double as room decor long after the party ends.
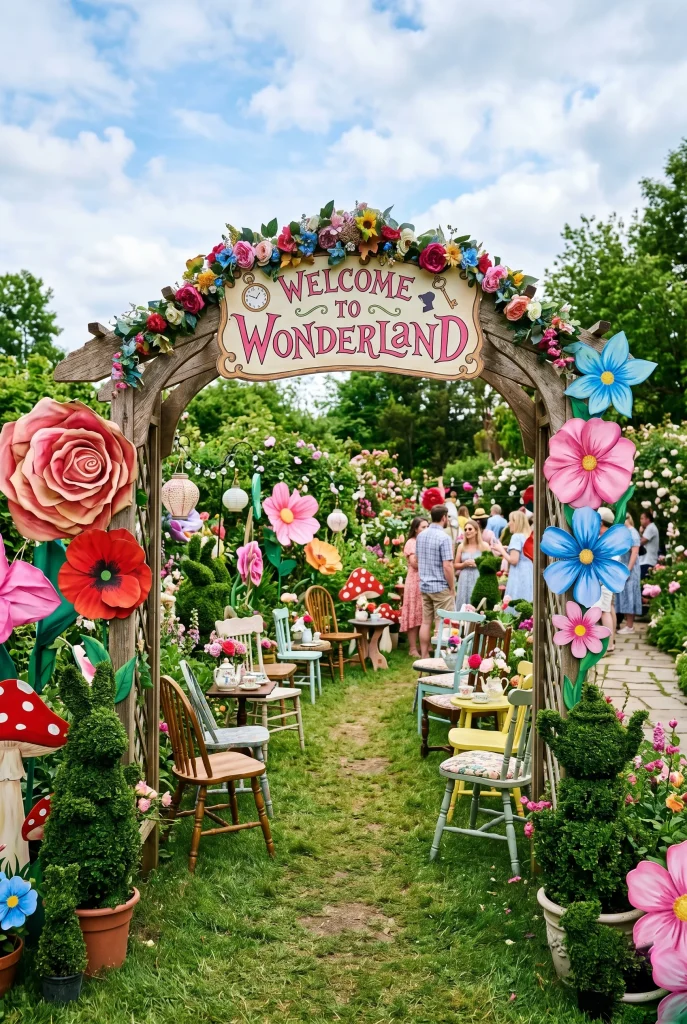
27. Set Up a “Wonderland Garden” Outdoor Zone
Take the party outside with a dedicated garden zone. Use oversized flower cutouts, topiaries, and a simple archway covered in faux roses. Set up mismatched chairs and small tables throughout the space.
It feels like stepping into the story. This setup works especially well for spring and summer parties.
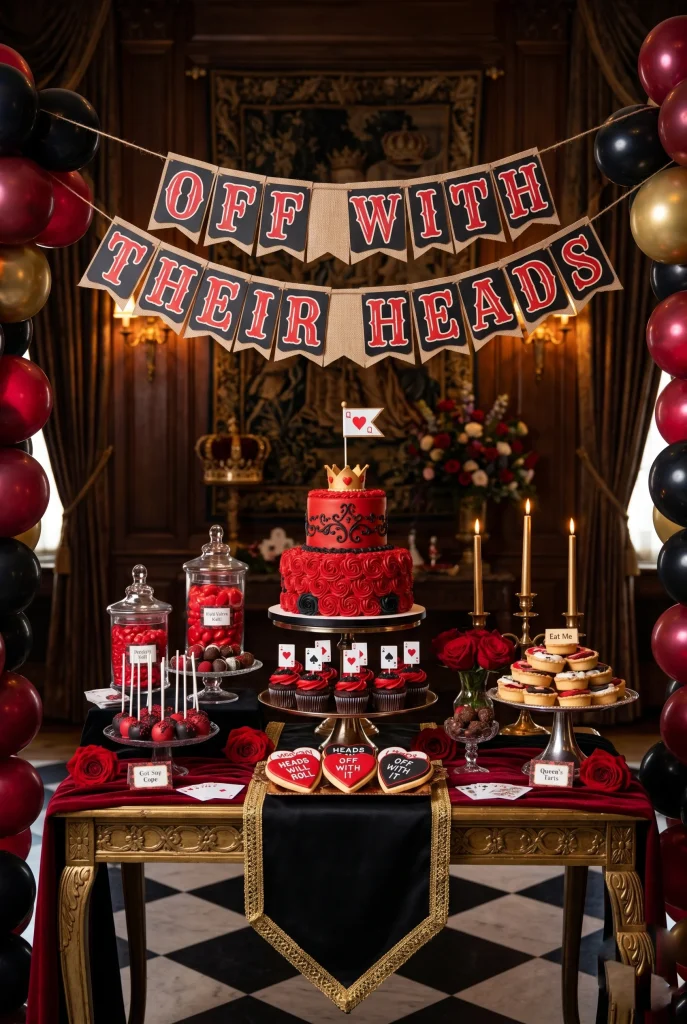
28. Finish With a “Off With Their Heads” Dessert Table
Save your most dramatic setup for the dessert table. Go all-in on the Queen of Hearts palette deep reds, blacks, and golds. Stack red velvet cakes, heart-shaped cookies, and chocolate truffles dusted in edible red glitter.
Hang a bold “Off With Their Heads” banner above it. It’s theatrical, it’s fun, and it photographs like a professional shoot.
Conclusion
You don’t need a huge budget or a professional event planner to pull off an Alice in Wonderland party. Pick five to ten ideas from this list, stay consistent with your color palette, and let the details do the talking. Mismatched teacups, playing card garlands, and a few well-placed signs go a long way. The goal isn’t perfection — it’s the feeling of stepping into a world where nothing quite makes sense, and that’s exactly the point.