

Untangling one necklace usually means knotting two more. A jewelry box piles everything together, so chains twist every time you open the lid. Earrings lose their partners, and you end up wearing the same few pieces every week.
Store-bought organizers can fix that, but some cost more than the jewelry inside them. You can build your own with a few hooks, some fabric, or a thrifted frame, and most projects take one afternoon. Nobody needs a workshop or a pile of tools.
These DIY jewelry organizer ideas all follow one simple rule. Every piece gets its own hook, slot, or pocket, so nothing rubs against anything else. When nothing touches, nothing tangles.
Some of these hang on a wall and some sit on a dresser. A few slide into a drawer or fit inside a suitcase for trips. Pick the one that matches your space, your budget, and how much jewelry you own.
Screw Cup Hooks Into a Stained Wood Board for Long Chains
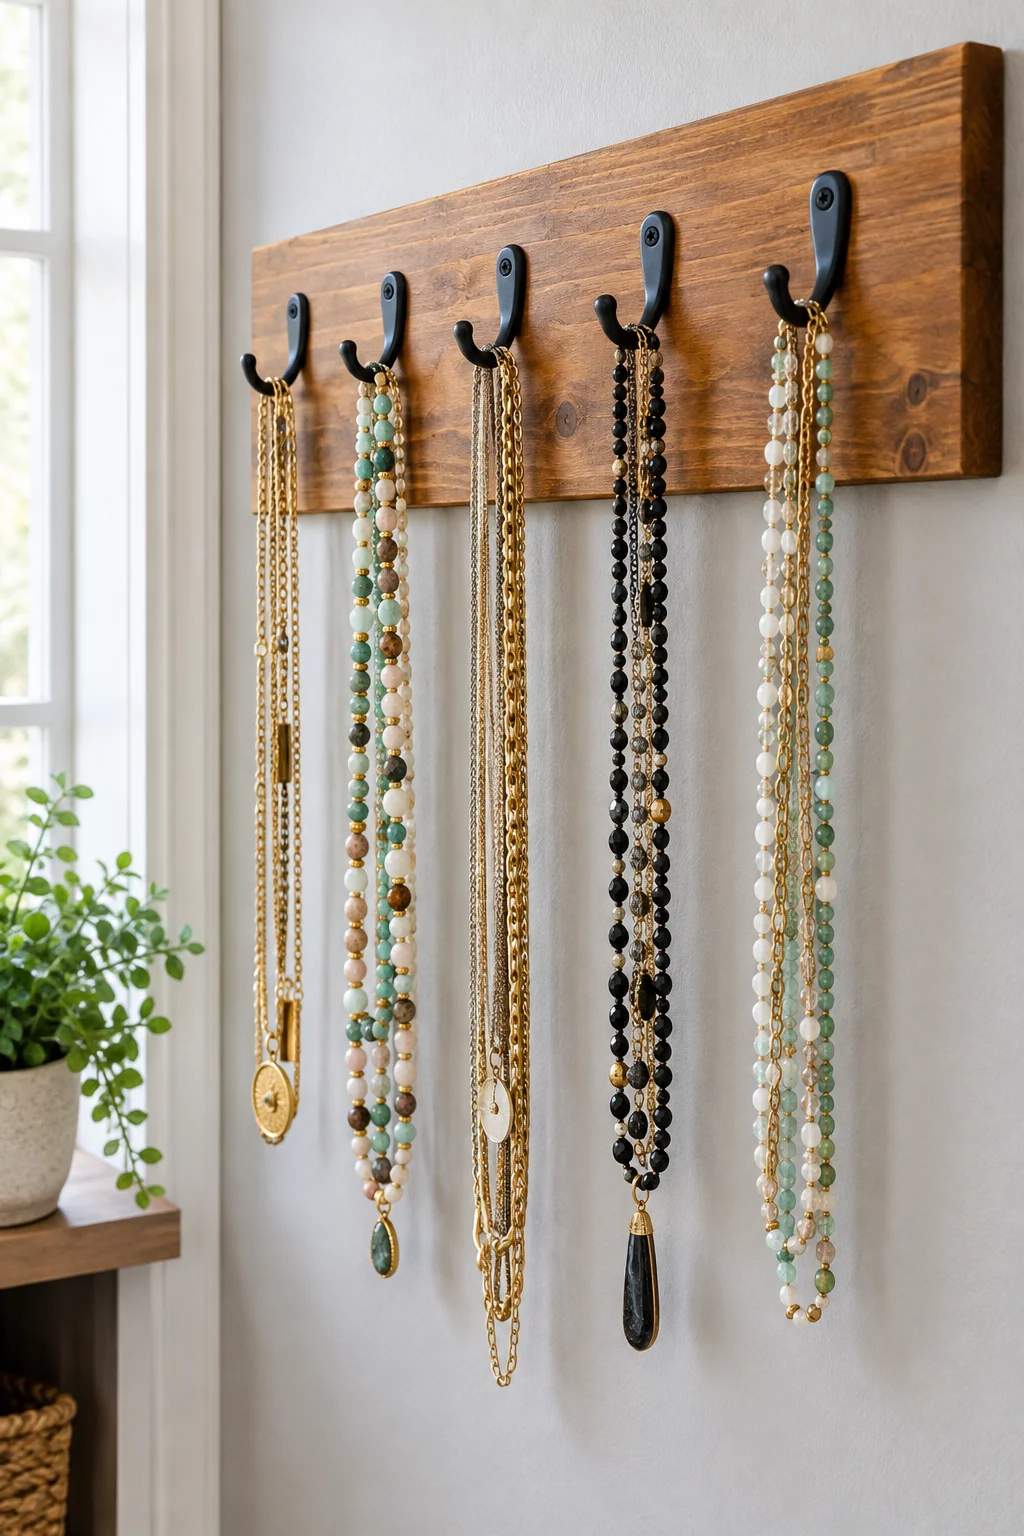
Long chains hang straight down, so they can’t twist around each other.
Cut a pine board to fit your wall space and stain it. Pre-drill a hole every inch and a half, then twist a small cup hook into each one. Mount the board with anchors so heavy chains don’t pull it loose.
Here’s a simple layout:
- Top board: short and medium necklaces
- Bottom board: long and layered chains
- Far end: a few empty hooks for new pieces
Black hooks look sharp on light wood, and brass hooks warm up a dark stain.
Wrap an Old Picture Frame in Fabric and Add a Lace Band for Necklaces
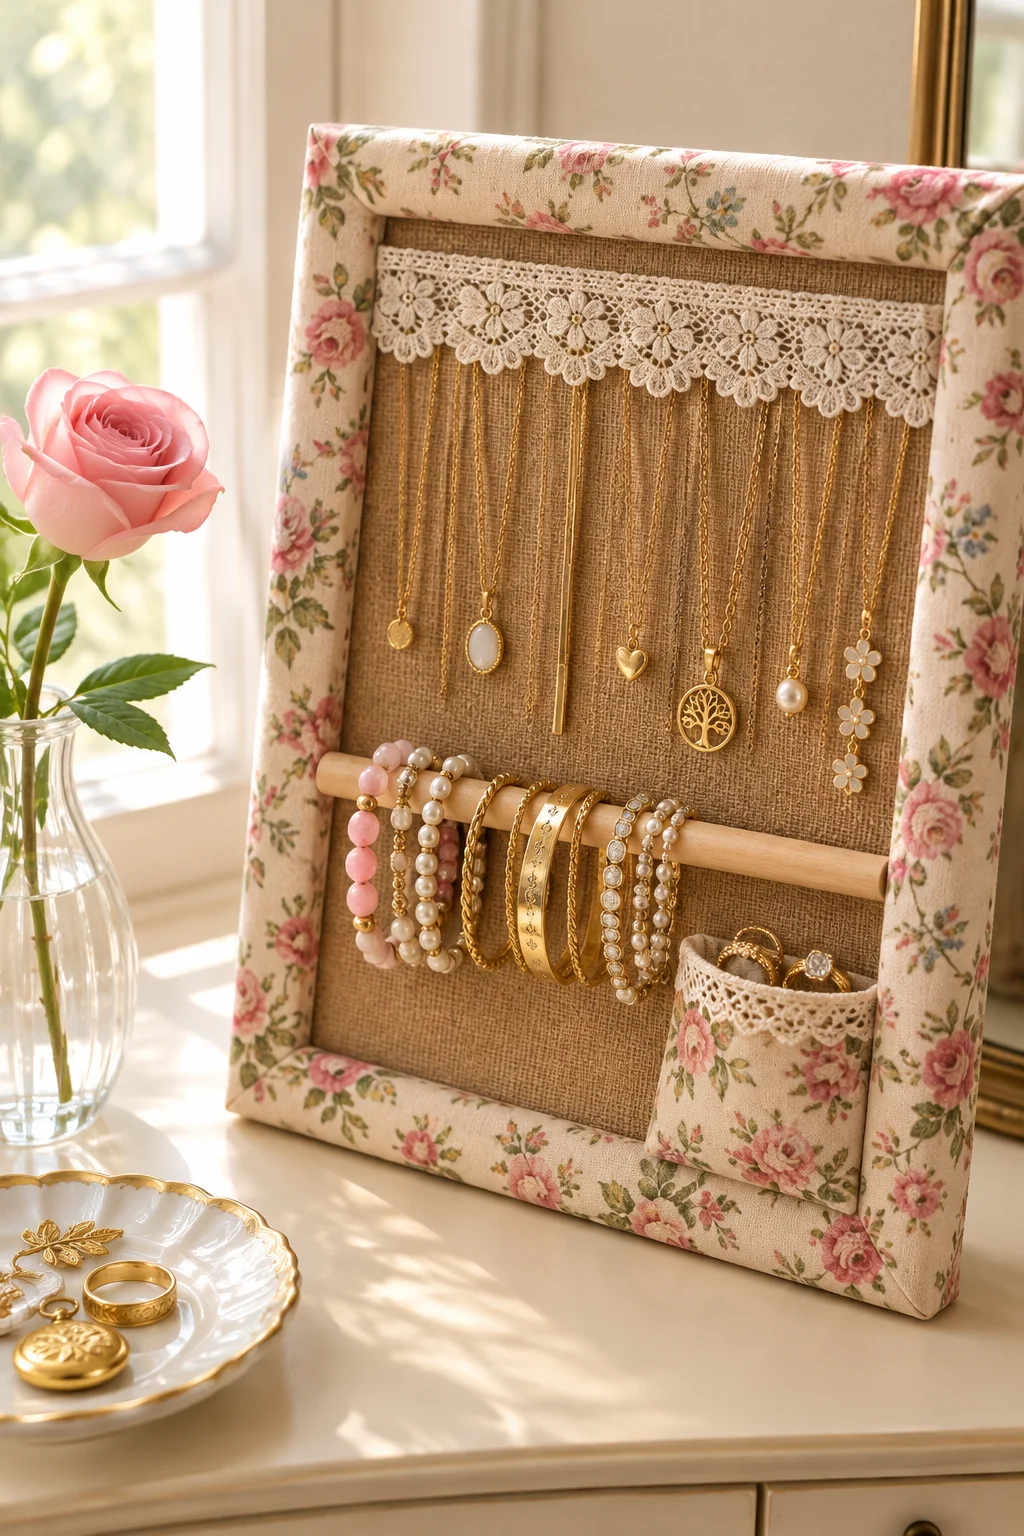
A scratched thrift store frame holds more than you’d think.
Remove the glass and stretch burlap across the opening. Staple it at the back, then wrap the frame itself in floral cotton. Glue the edges down with fabric glue.
Split the frame into three jobs:
- Top section: pins or small hooks for necklaces
- Middle: a fabric wrapped dowel for bracelets
- Bottom: a glued fabric pocket for rings and studs
Glue a strip of lace across the top so it covers the staples and frames the necklaces.
What to gather
Cover a Corkboard in Burlap and Use Push Pins for Earrings
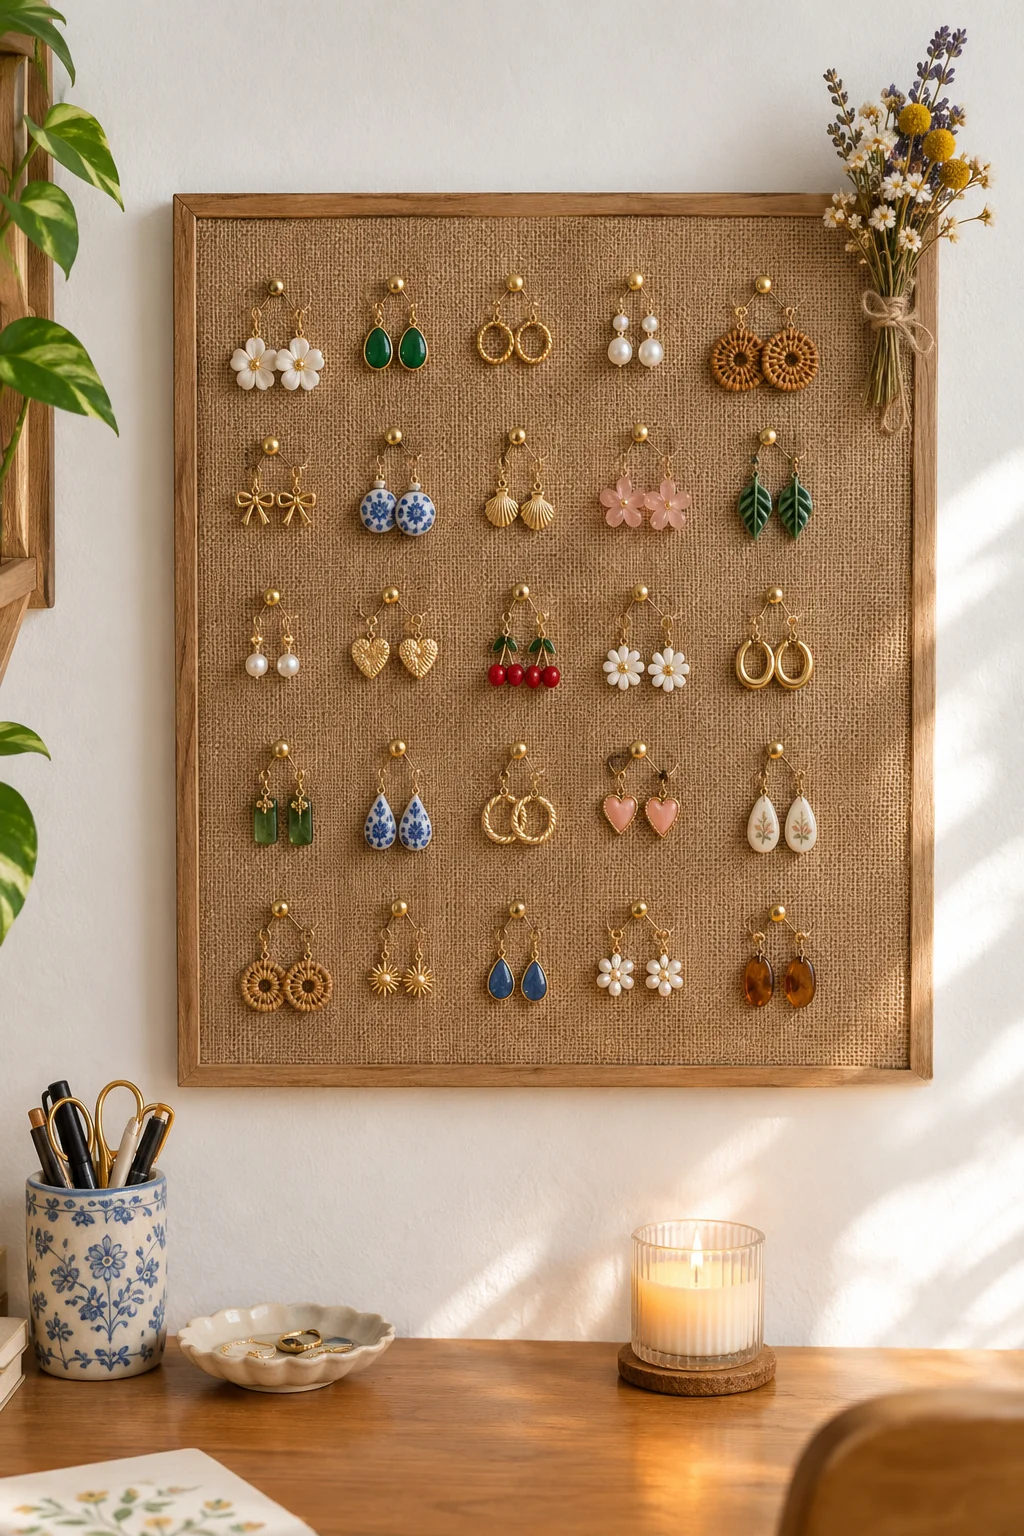
Crowded earrings snag each other just like chains do.
Start with a plain cork board. Pull burlap tight over the front and staple it to the back. Hang it with a nail or sawtooth hanger so it sits flat against the wall.
Then fill it in:
- Hook earrings: hang them from pins
- Studs: press posts through the burlap into the cork
- Spacing: leave an inch between pairs
This one works best above a desk, where you’ll see it every morning.
Use flat head pins so hooks slide on easily.
Fill the top row first so you can see the gaps.
Hanging heavy drop earrings from thin pins.
Using thin fabric that rips around each pin.
Knot Macrame Cord Around Dowels for a Hanging Display
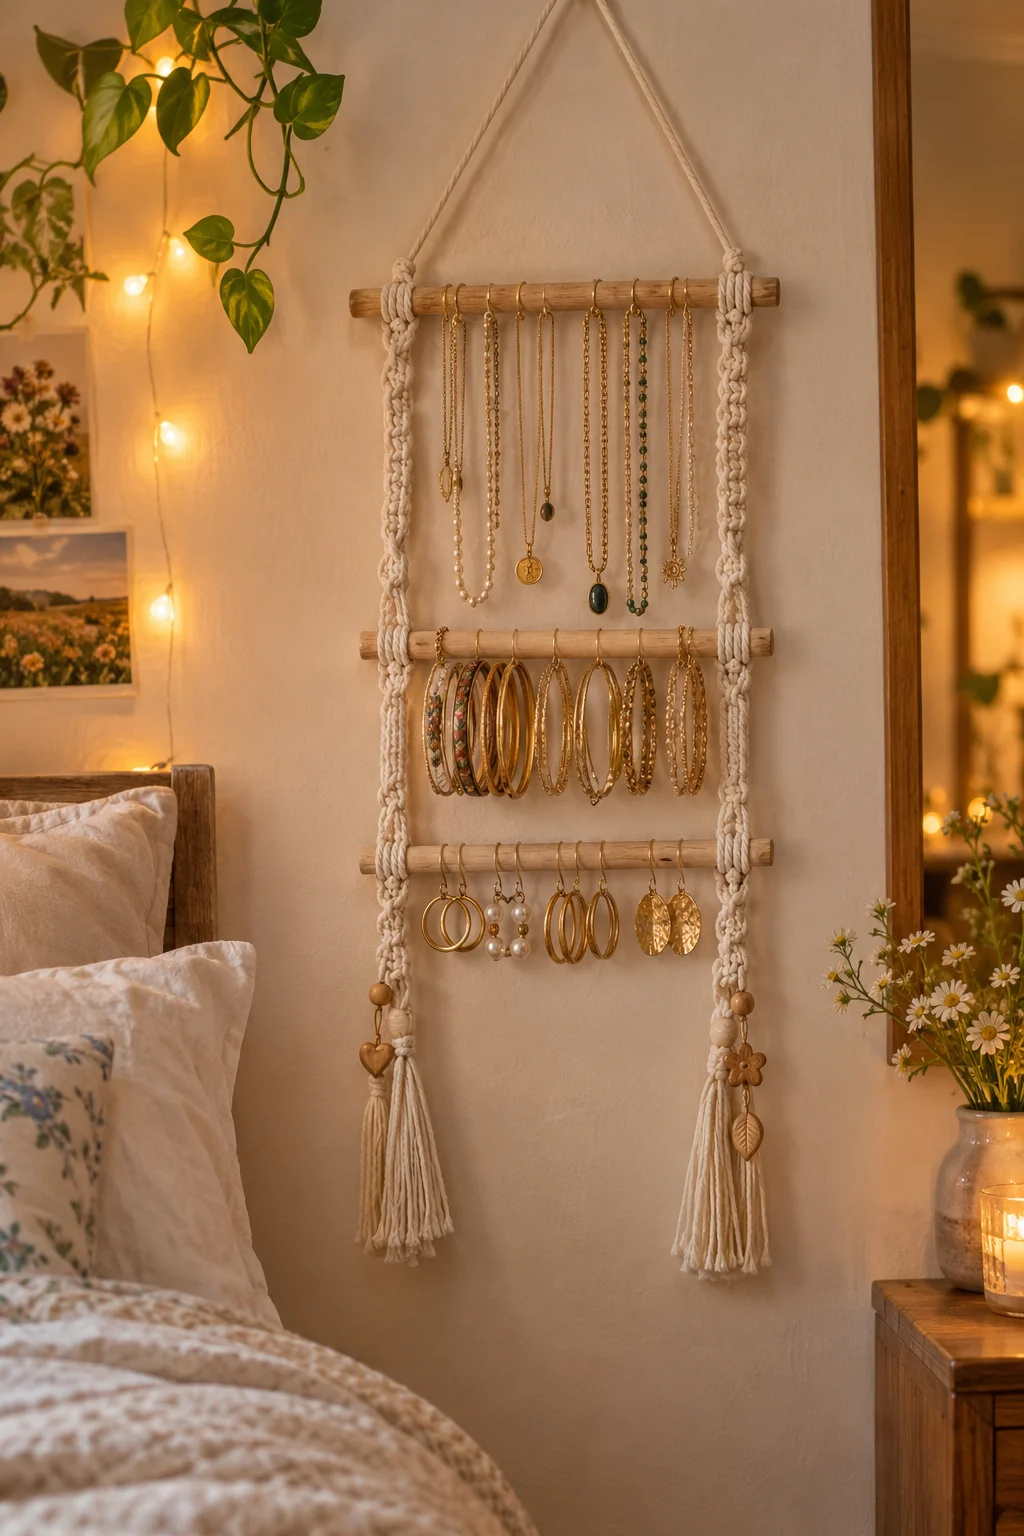
Wall height is free storage, and macrame uses all of it.
Two long cords hold wooden dowels like rungs on a ladder. Thick cotton grips the dowels better than slippery ribbon. Each rung carries a different kind of piece.
- Top rung: necklaces
- Middle rung: bangles and hoops
- Bottom rung: loose hair clips or a small knotted basket
Tie a few wooden charms to the cord ends. They add weight, so the whole piece hangs straight.
Cut cords much longer than the finished piece, since knots use up length.
Knot each dowel in place at both ends so it can’t slide.
Hang it from a wooden ring on a wall hook, then trim the cord tails even.
Stick Dowel Pegs Into a Wooden Lazy Susan for a Spinning Bracelet Tower
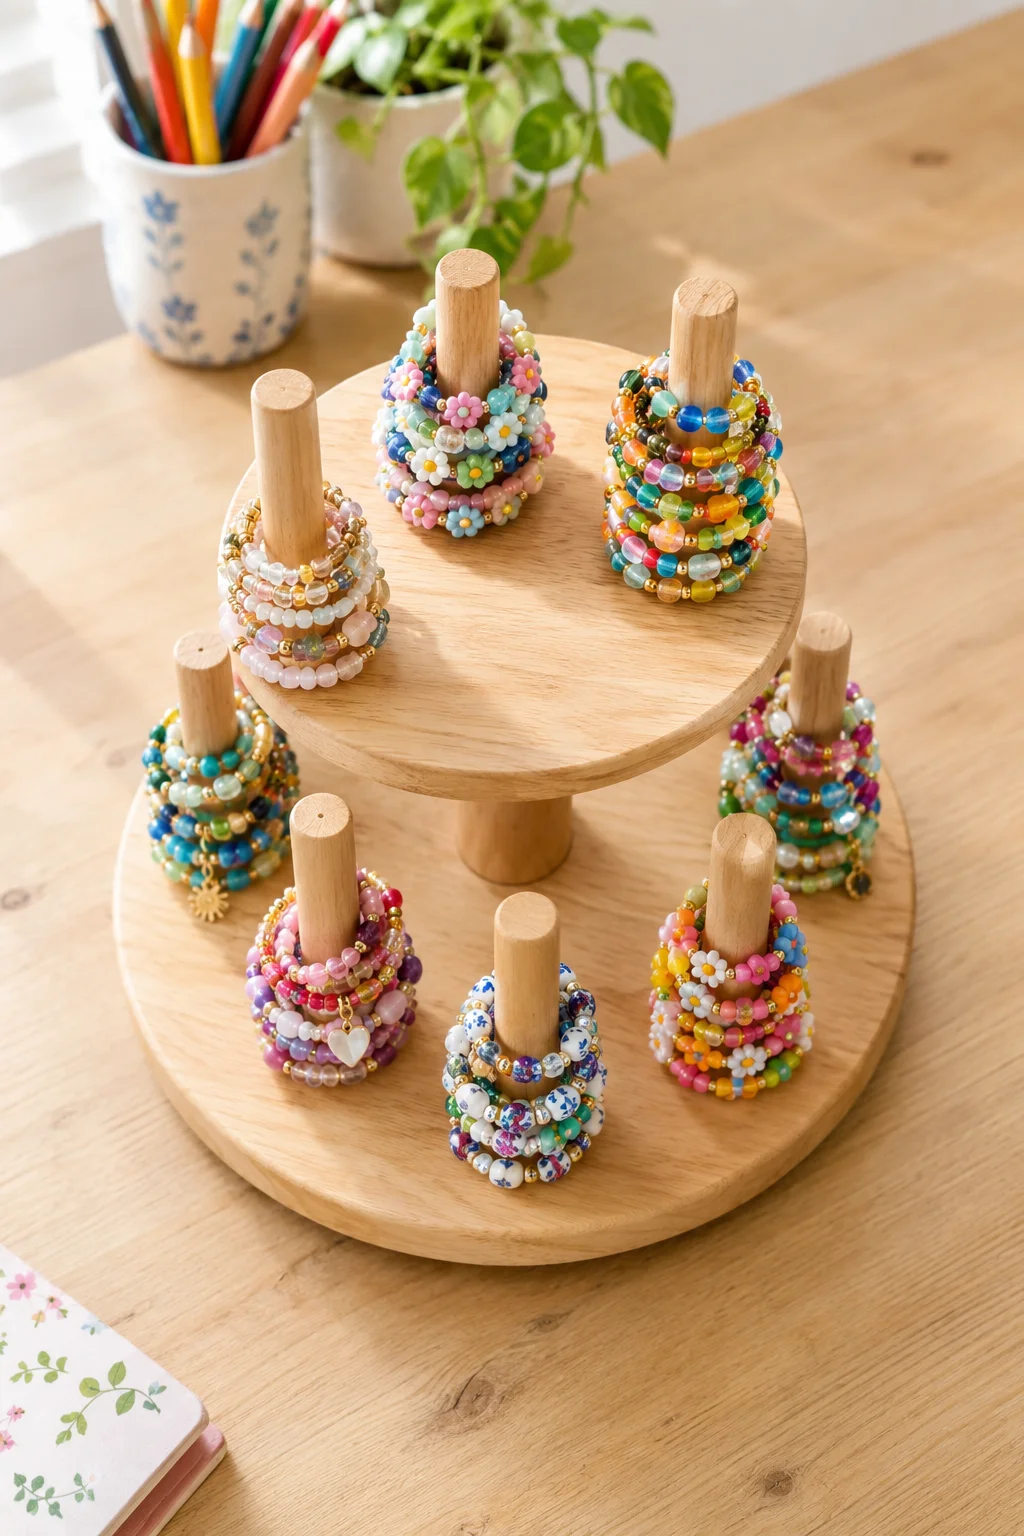
One peg holds one bracelet. That’s the only rule.
Buy an unfinished wooden lazy susan and drill holes around the edge that match your dowel width. Glue short dowels in place and sand the tops smooth so nothing snags.
- Want more room? Stack a second, smaller round on a center post.
- Leave space between tiers so nothing rests on the layer below.
Spin it each morning and pick what you want without digging.
Stand Felt Wrapped Cardboard Tubes Inside a Shoebox for Bracelets
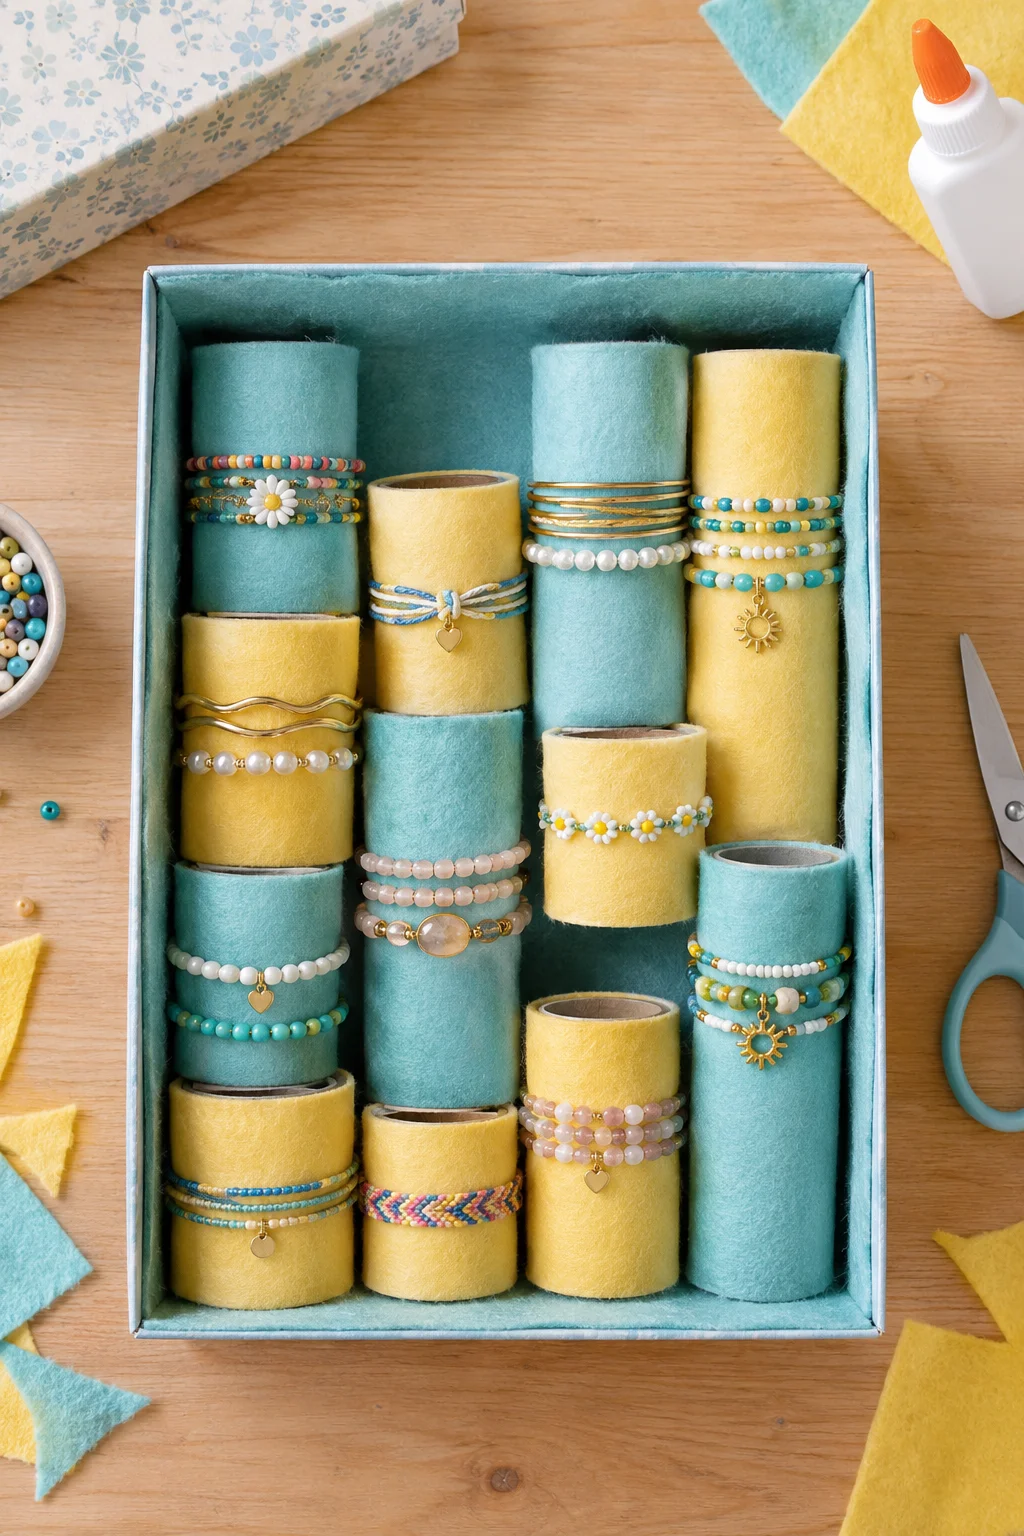
A cardboard tube holds a bracelet just fine.
Cut paper towel tubes into a few different heights and glue felt around each one. Stand them upright in a shoebox, packed close enough that they can’t tip. Line the box with felt too, so metal bangles don’t scratch the cardboard.
Sort by height:
- Tall tubes: cuffs and stacked bangles
- Short tubes: thin chain bracelets
- Lid on: slides under a bed or into a drawer
💡 Quick Tip
Cut the felt a little taller than each tube and fold the extra inside the top. Raw cardboard edges can snag thin chains.
Stick Adhesive Hooks Inside a Cabinet Door to Hide the Mess
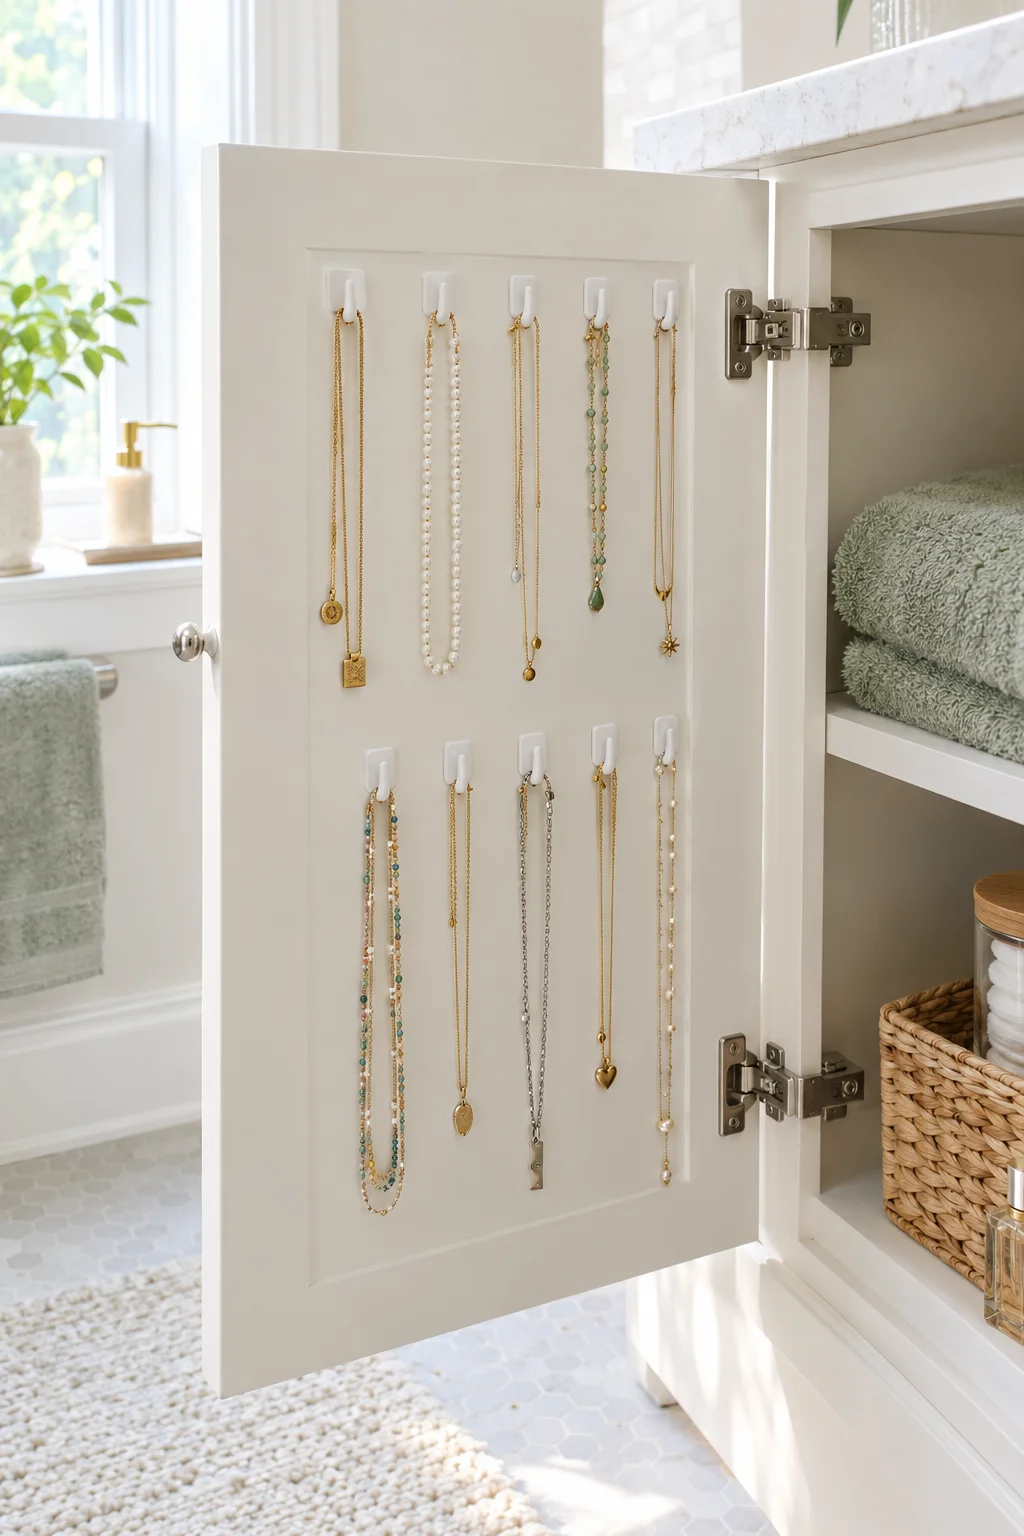
Look at the back of your vanity or closet door. It’s blank, flat, and hidden. That’s free space for a whole collection.
Wipe the door clean, then press adhesive hooks into even rows. Put daily pieces at eye level and special pieces up high. Wait the time the package says before hanging anything.
- Weight: check the rating on the package, because chunky necklaces add up
- Spacing: two fingers apart, since chains swing when the door opens
Close the door and the clutter disappears.
Necklaces pile up in a dish on the vanity and knot whenever you reach for one.
Each chain hangs on its own hook inside the door, and you see the whole set the moment you open it.
Cut Up an Ice Cube Tray to Sort Studs and Rings in a Drawer
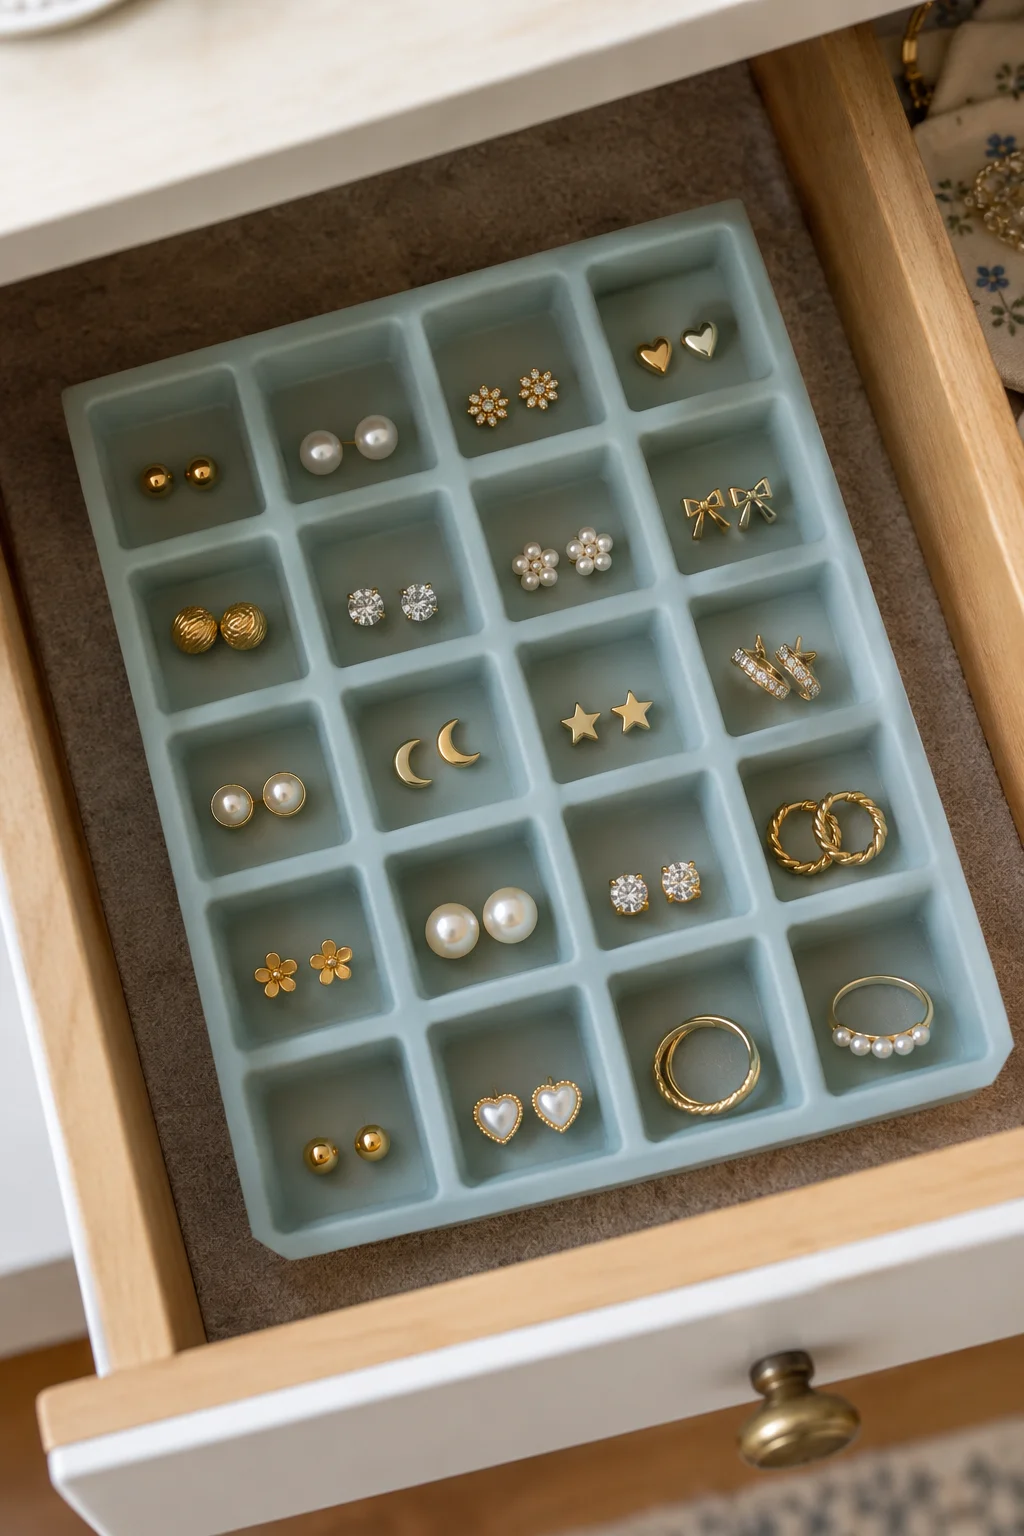
A bare drawer turns studs and rings into one slippery pile. Dividers fix that, and you can make them from a tray.
Silicone ice cube trays cut cleanly with scissors, while hard plastic can crack. Trim one to fit the drawer, then line up a few side by side.
Fill it like this:
- One square: one pair of studs or one ring
- Felt in the bottom: stops the rattle
- Empty squares: extra backs and loose charms
| Silicone ice cube tray | Egg carton |
|---|---|
| Best for rings and studs | Best for charms, beads, and earring backs |
| Wipes clean and keeps its shape | Softens if it gets damp |
| Trim with scissors to fit the drawer | Cut the lid off and set it inside |
Paint a Real Branch and Plant It in a Pot as a Necklace Tree

An empty dresser corner finally gets a job.
Find a forked branch that’s thick enough to stand straight. Let it dry for a few days, then sand off rough bark. Paint it white or gold, or leave it bare.
Pack the base into a small pot with plaster so it can’t tip when you pull a chain off.
Sort the branches:
- Short chains go on the upper twigs
- Heavy pendants go near the trunk
Small forks hold more than you’d expect.
A heavy base matters more than a pretty branch, because a tipping tree tangles everything on it.
Hang a Clear Shoe Organizer on the Back of Your Door
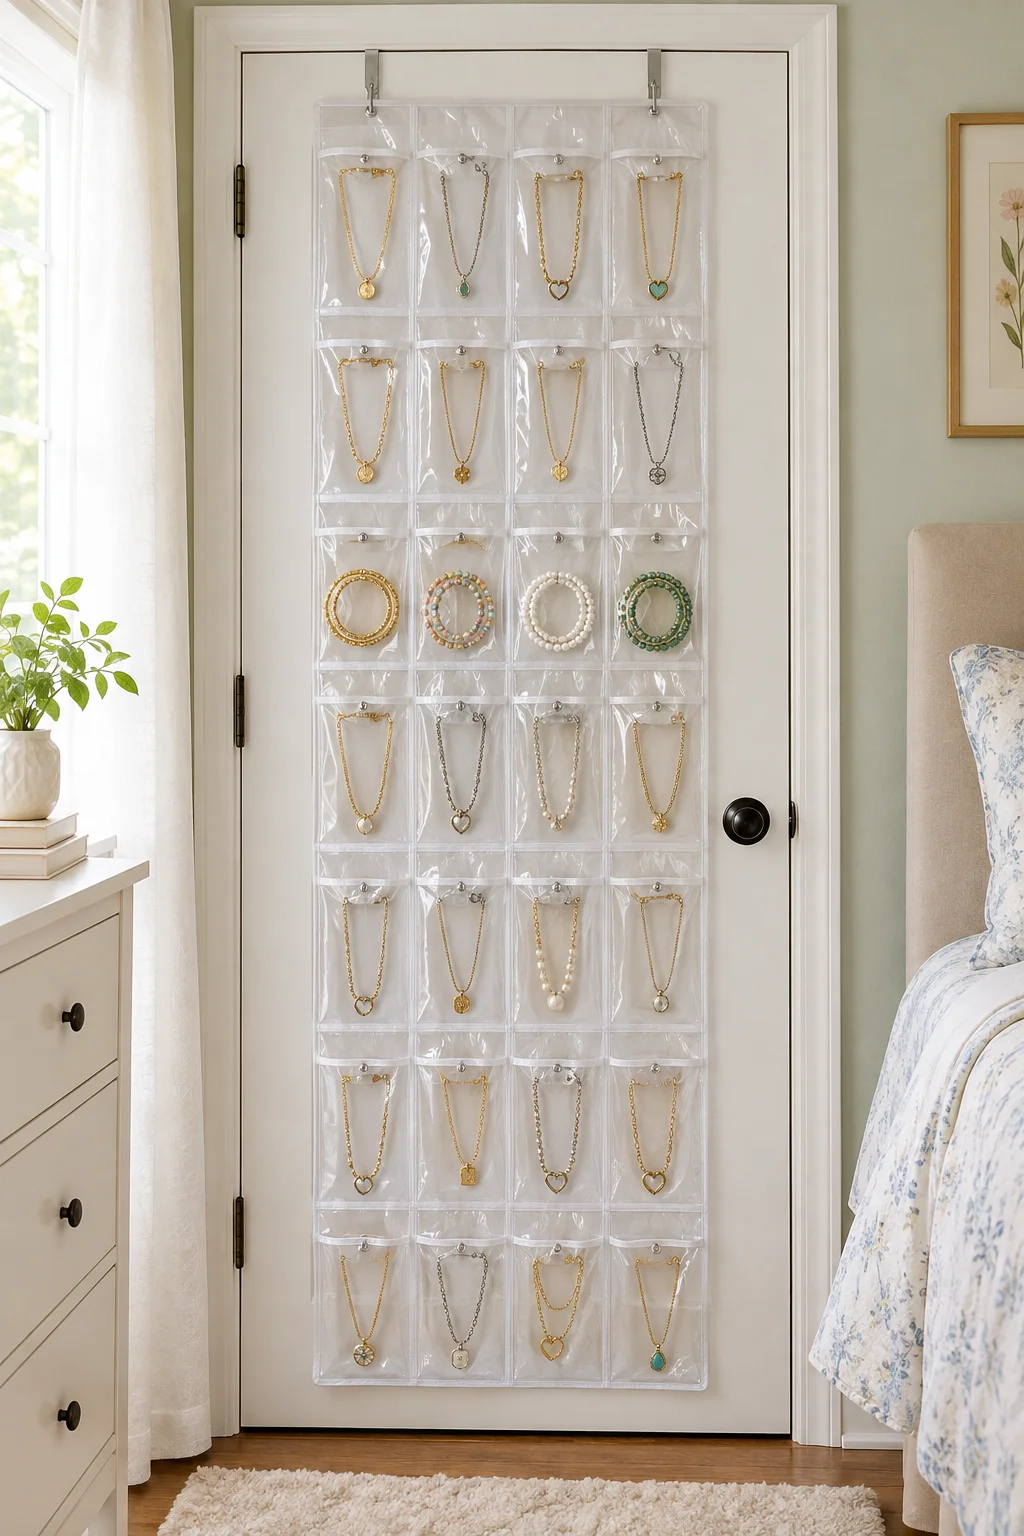
Clear pockets keep every necklace in its own little room.
Hang a clear over the door shoe organizer on a bedroom or closet door. Lay each necklace flat in its own pocket with the clasp closed. Use the larger pockets for chunky pieces.
Closed clasps matter most, since open ones catch the next chain in line. It suits small rooms best, since it uses a door instead of a dresser top.
What goes in each pocket
Thread Chains Through Drinking Straws in a Felt Travel Roll
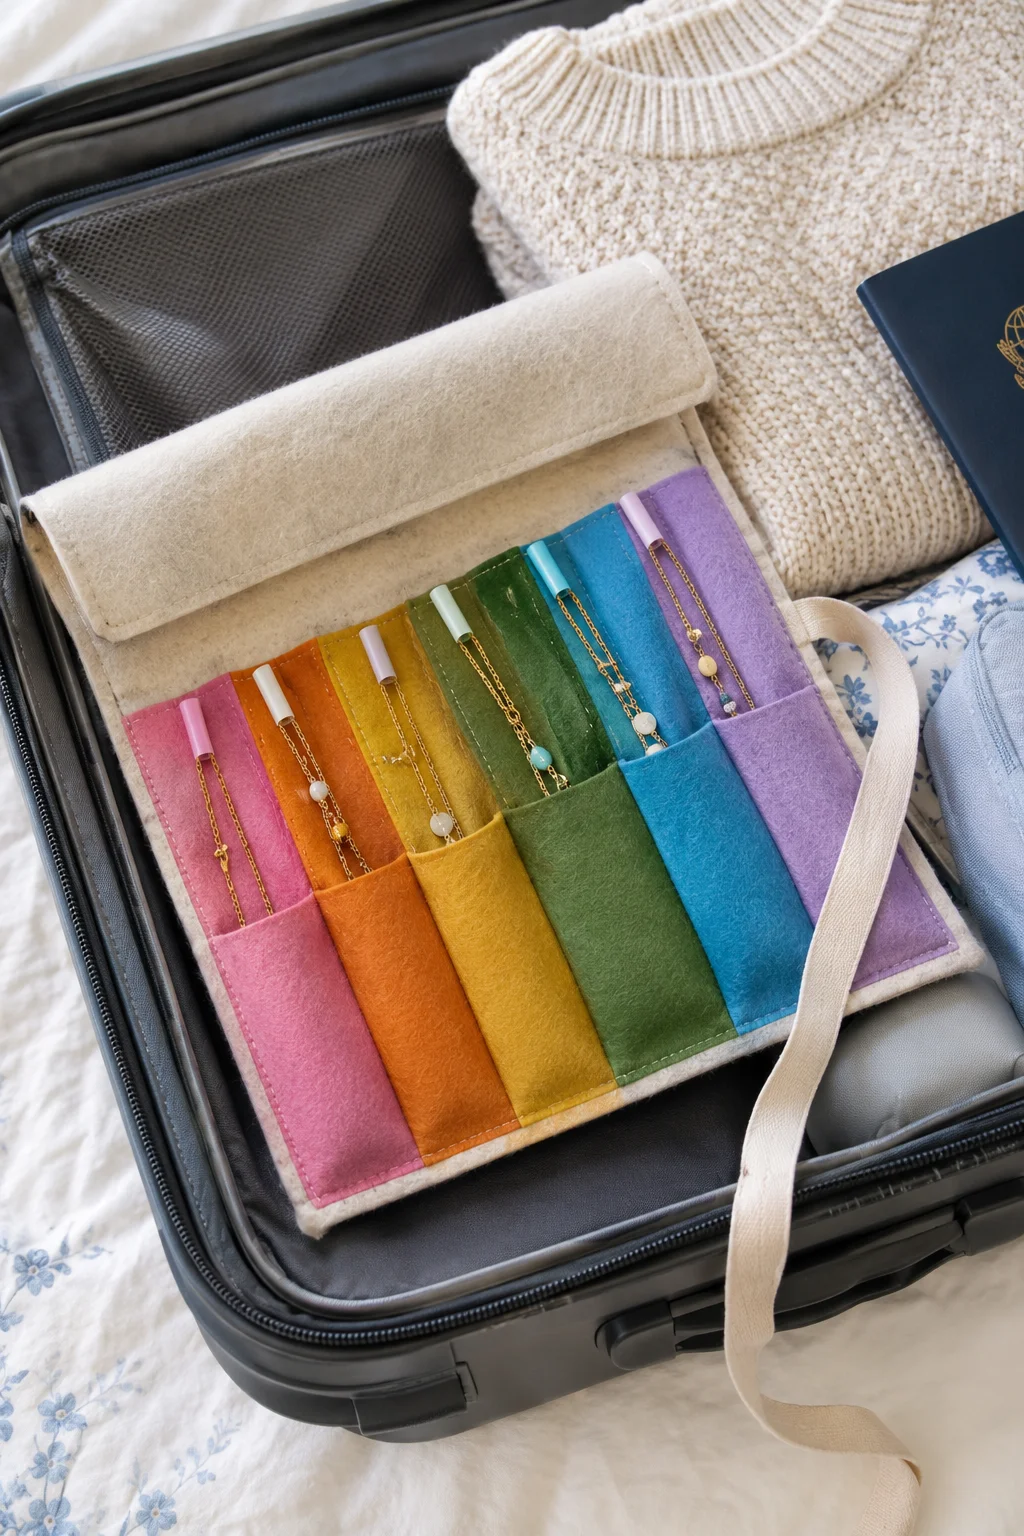
Suitcases are where chains go to knot.
Cut a drinking straw a little shorter than each chain. Thread the chain through the straw, then fasten the clasp outside one end. The straw keeps it straight, so nothing can twist.
Then build the roll:
- Sew or glue a row of felt pockets onto a felt rectangle
- Slip one strawed chain into each pocket
- Roll it up and tie it with ribbon
Fine chains benefit most, since thin links knot fastest.
Wedge a Tension Rod Into a Closet Corner With S Hooks
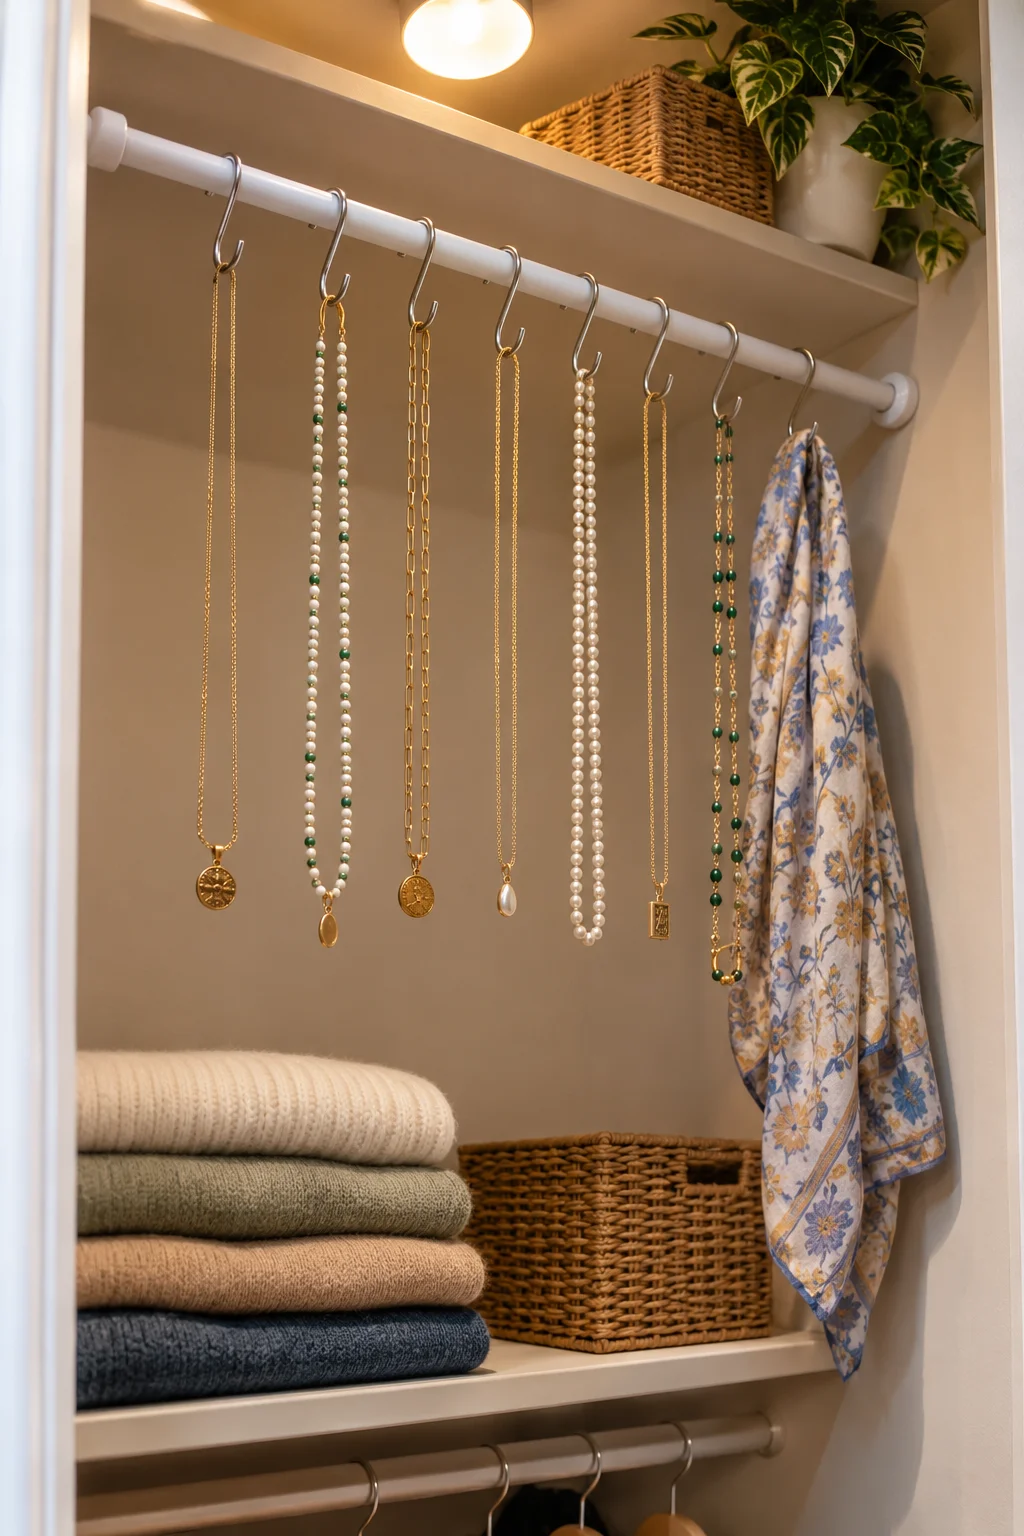
Renters, this one’s for you.
A tension rod needs no drilling. Wedge it between two closet walls or across a cubby, then twist it tight. Hang S hooks along the rod, then hang one chain on each hook.
Match the rod to the load, since thin rods bend:
- Short rods: fine chains and pendants
- Sturdy rods: chunky statement necklaces
- Spare hooks: belts, scarves, or bracelets
Test it with your heaviest necklace before you fill it up.
⚠️ Watch Out
Give the rod a firm tug before you hang anything. A slipping rod drops every chain at once, and the pile is worse than the one you started with.
Stack Thrifted Plates on Candlesticks for a Ring and Bracelet Tower

Mismatched dishes work better than a matching set. Different patterns look collected, not staged.
Glue a candlestick to the center of a large plate. Glue a smaller plate on top of it. Use strong adhesive made for glass and ceramic, and let it cure overnight.
Sort by size:
- Top plate: rings and stud earrings
- Bottom plate: bracelets and watches
Choose plates with a slight lip so rolling rings can’t escape onto the floor.
Staple Chicken Wire Into a Wooden Frame for Dangly Earrings
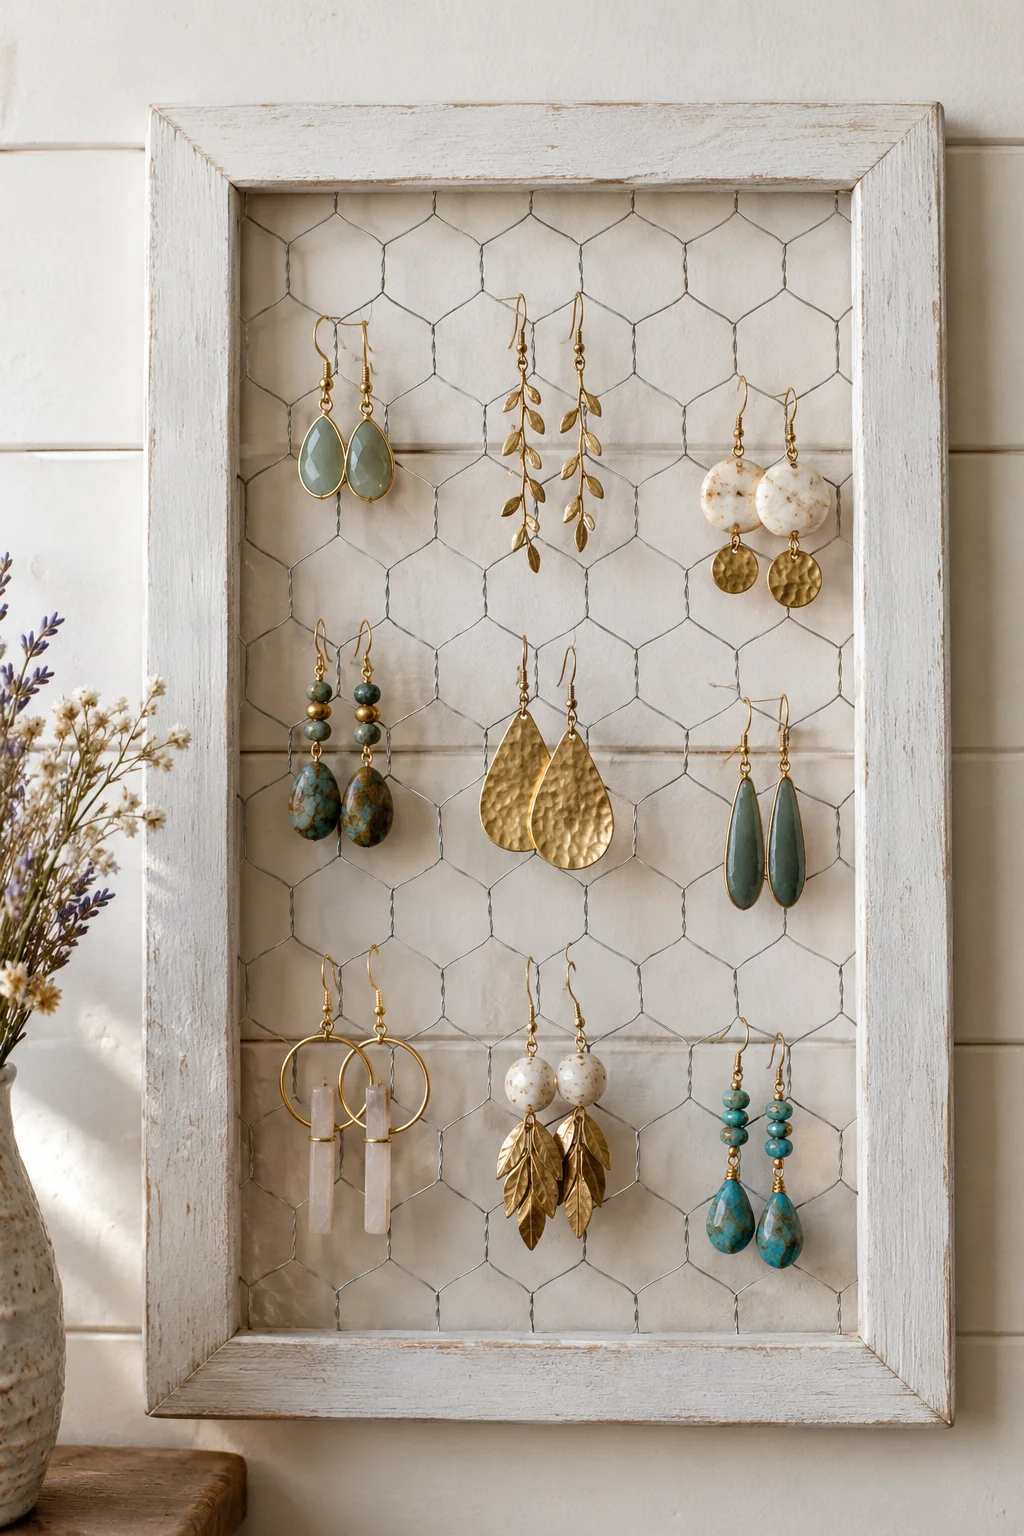
Chicken wire looks rough, but it’s easy to shape.
Hook earrings slip right through the holes, so each pair hangs on its own. Wire cutters trim it to size quickly, and a few staples hold it to the back of the frame.
Before you hang it:
- Fold cut edges under or cover them with tape
- Spray the wire white or gold if you want it to match the room
Wear gloves while you cut, because the ends are sharp.
Remove the glass and backing from a wooden frame, then sand any rough spots.
Cut chicken wire a bit larger than the opening and fold the cut edges under.
Staple the wire to the back of the frame every few inches, then add a sawtooth hanger.
Pin Earring Cards to a Twine Line With Mini Clothespins
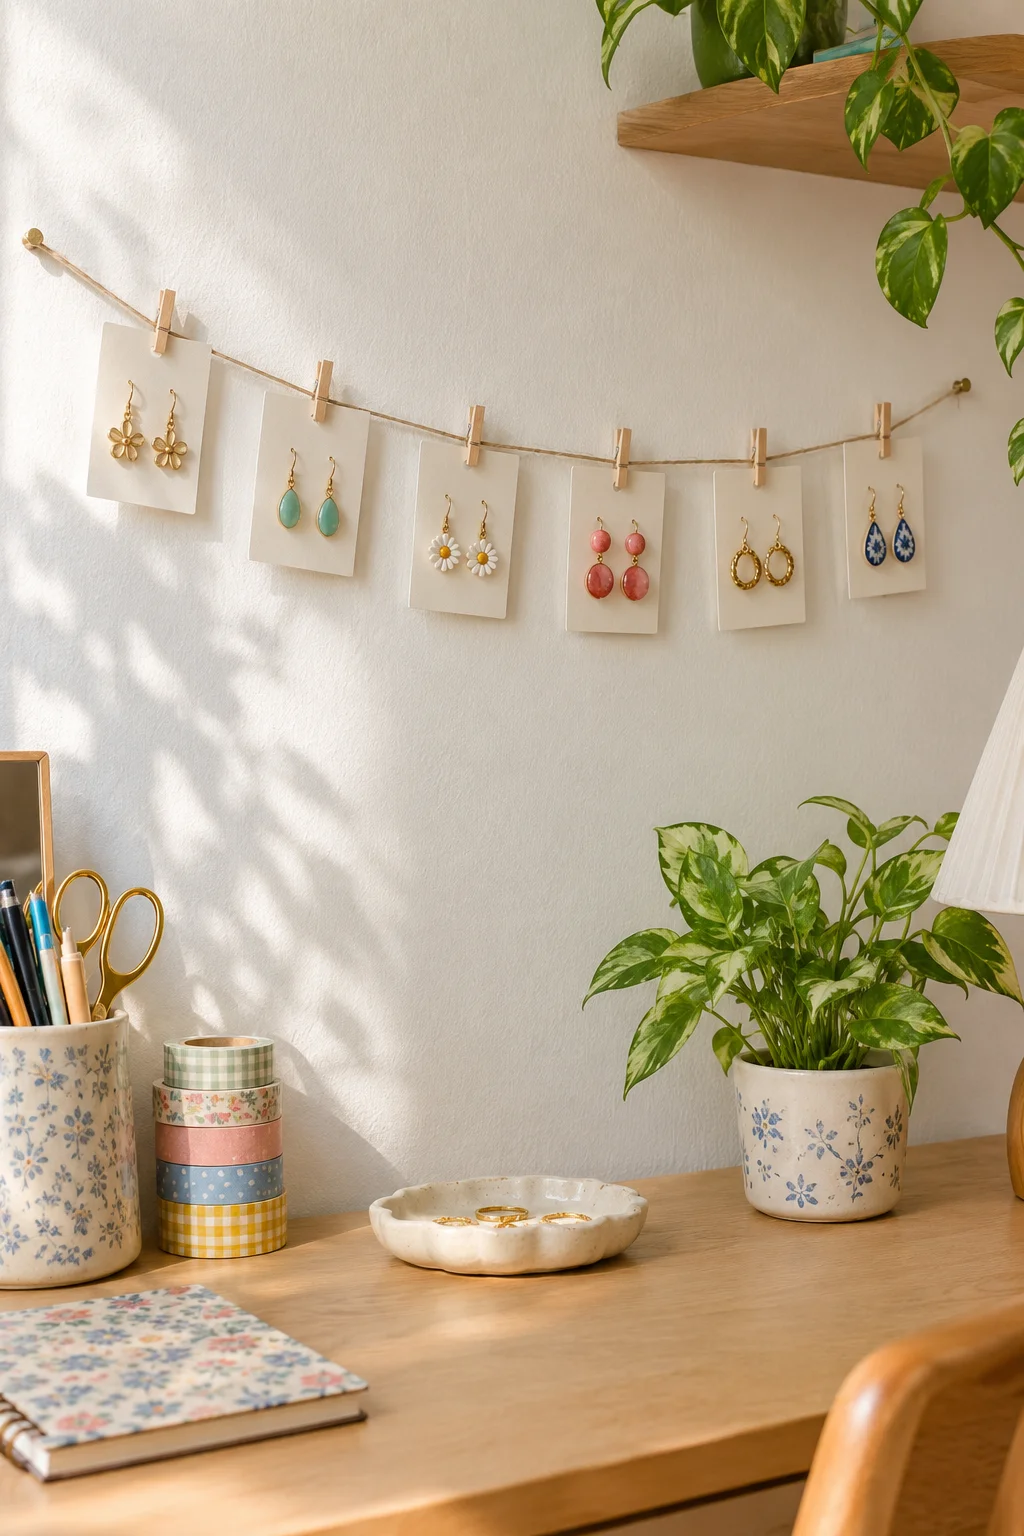
Stores display earrings on cards for a reason.
Cards keep each pair together and hold the posts straight. Poke two small holes in each cardstock rectangle, push the posts through, and clip the card to a twine line.
String the twine between two nails or small hooks on the wall. Keep it snug, so the cards don’t sag.
- Studs: poke through the card and add the backs
- Hooks: slip the wire through the same holes
Write a label on the back of each card, like gold or silver, so finding a pair is quick.
Earrings sit loose in a dish, and half the pairs go missing.
Each pair clips to the line on its own card, easy to see and easy to grab.
Start With One Hook, Then Build From There
Tangles start when jewelry touches. Give every piece its own hook, peg, or pocket, and most of the knots disappear.
Pick one project this weekend. A cup hook board or a tension rod takes the least time, while a fabric frame or macrame hanging gives you something pretty to look at. Once the first one’s up, you’ll probably want a second for your earrings.
Save this list of DIY jewelry organizer ideas for the next time your necklaces look like a bowl of noodles. Pin it to a board you’ll actually open, so the next project is one tap away.
Pick your first project