
Most people assume they need a garage full of power tools before they can call themselves a woodworker. That assumption stops more beginners than any real lack of skill ever does.
The truth is most wood crafts diy projects come down to a handsaw, some sandpaper, and a free Saturday. You don’t need a table saw sitting in the corner or a stack of expensive walnut boards. You need a plan that matches the tools you already own, plus maybe one thing you can borrow or grab cheap at the hardware store.
This list sticks to that idea. Every project here uses basic lumber, a short tool list, and steps that actually wrap up in a weekend instead of stretching into three because step four assumed you owned a router table. Some projects use scrap wood sitting in your garage right now. Others need one quick trip to the store.
Grab a pencil, pick the project that fits your weekend, and get started.
1. A Floating Shelf That Hangs With Zero Visible Brackets
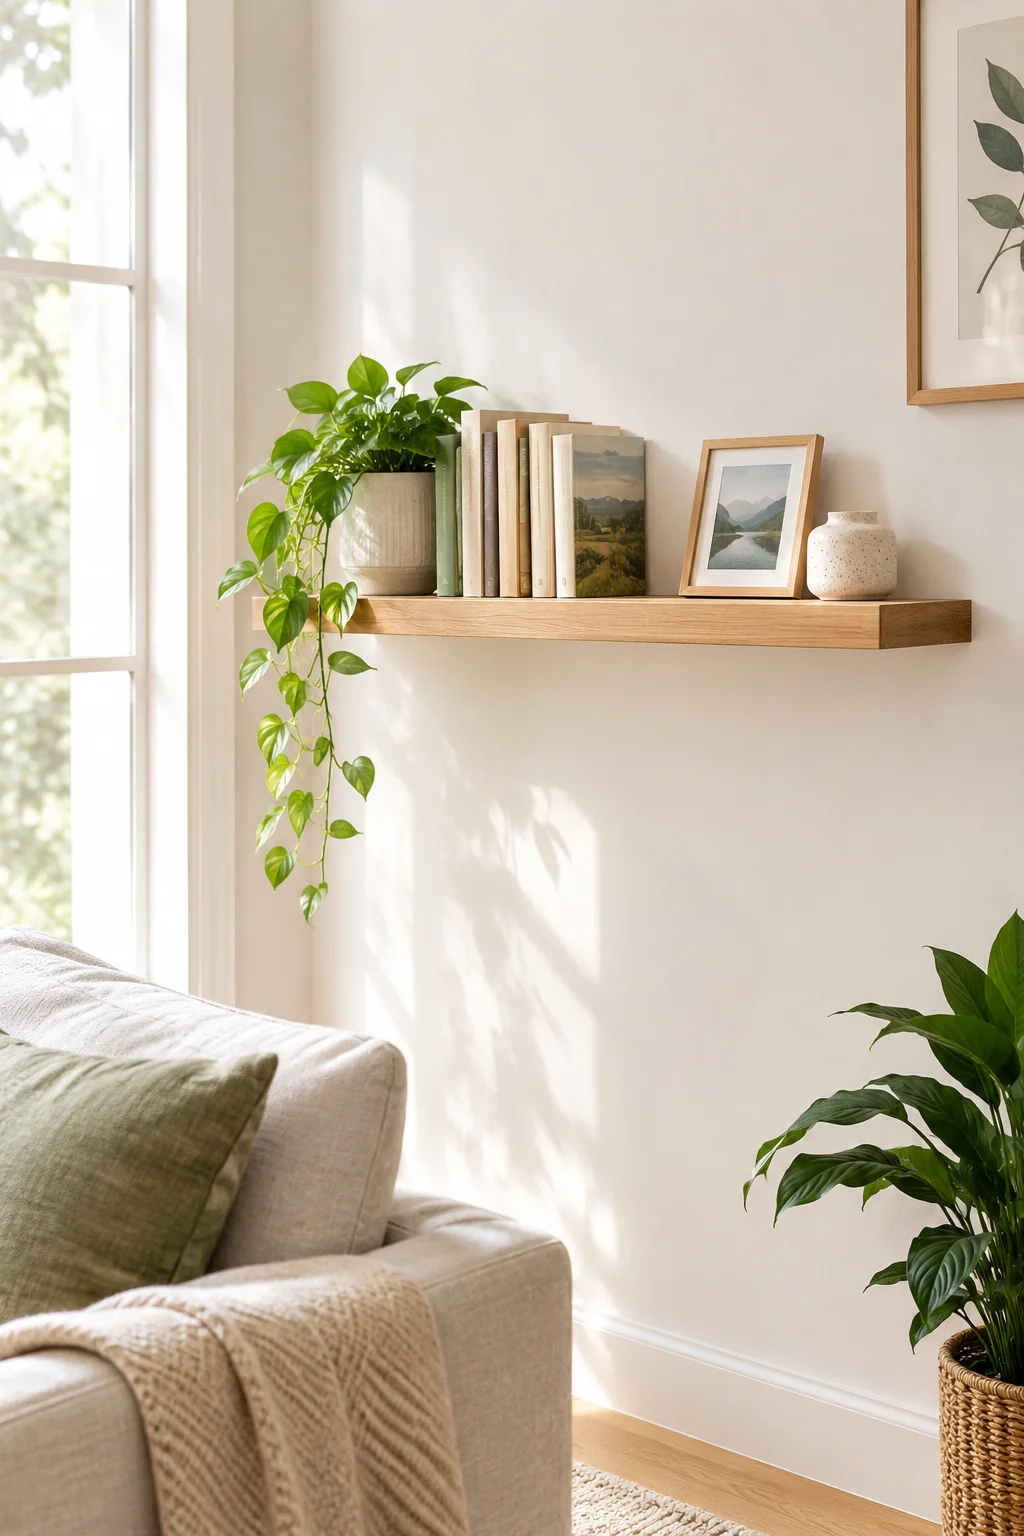
A shelf with no visible hardware looks like it’s glued straight to the wall.
The trick is hidden inside the board instead of on top of it.
- Drill a channel through the back of a thick board.
- Slide that channel over two steel rods anchored into wall studs.
Use a board at least 1.5 inches thick, since anything thinner tends to flex or crack around the drilled channel. Pine and poplar both work well, and most hardware stores will cut a board to length for you on the spot.
Skip this one if your wall doesn’t have a stud within your shelf length. The rods need solid wood behind them, not just drywall.
html
2. Scrap Wood Coasters That Turn Your Cutoff Pile Into Something Useful

Most people toss short offcuts because they look too small to use for anything.
That’s exactly the wood you want for coasters. A coaster only needs to be about four inches square, so even a random pile of cutoffs can turn into a full set.
Two finish options work well here, and both beat regular polyurethane, which can soften and turn sticky under a hot mug:
- Food safe mineral oil, which soaks in and holds up fine against heat.
- Beeswax finish, which feels smoother but needs reapplying every few months.
These make an easy gift for the coworker who always ends up hosting the office potluck.
Dig through your scrap bin for
3. A Corner Plant Stand You Can Build From Four Boards
A corner plant stand solves the one problem most small rooms have, which is floor space that never seems to fit anything else.
This design uses four boards and an angled X shaped base, so it holds a plant a few feet up without wobbling on floors that aren’t perfectly level.
Quick build order:
- Cut four boards to identical length.
- Join them at a slight angle, not straight up and down.
- Attach a round top piece sized to your planter’s base.
That angle in step two is what keeps the whole thing steady, so don’t skip it just to save time. Leave a little room around the pot’s edge so water drips don’t pool in the center of the top piece.
4. A Serving Tray With Handles Cut Right Into The Wood
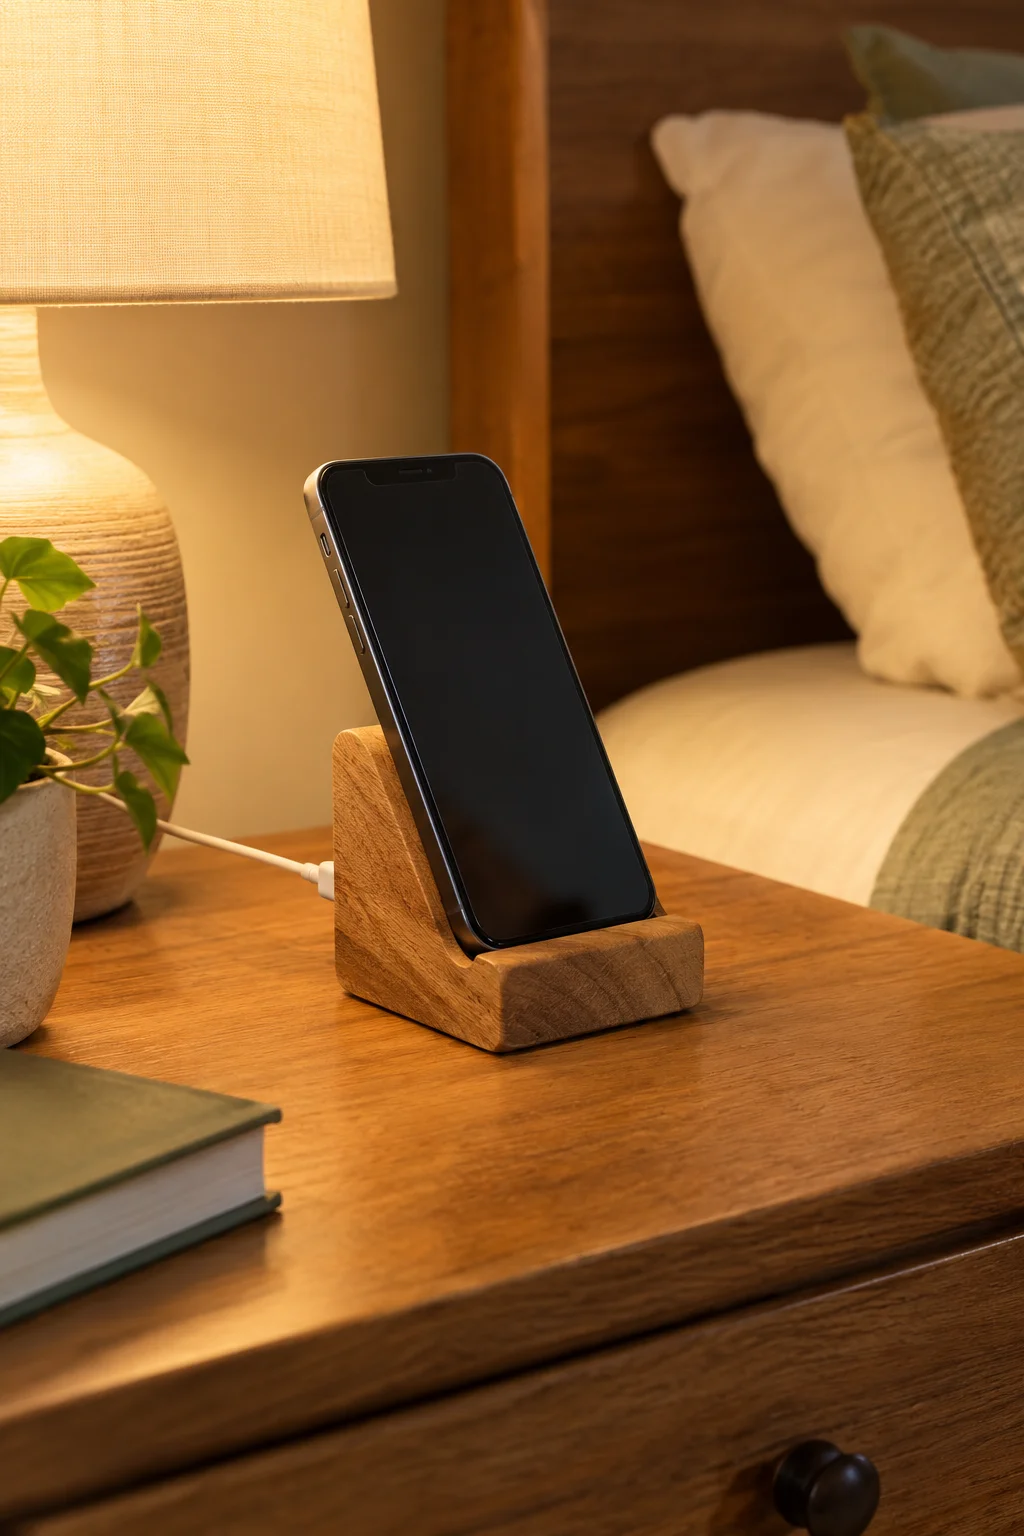
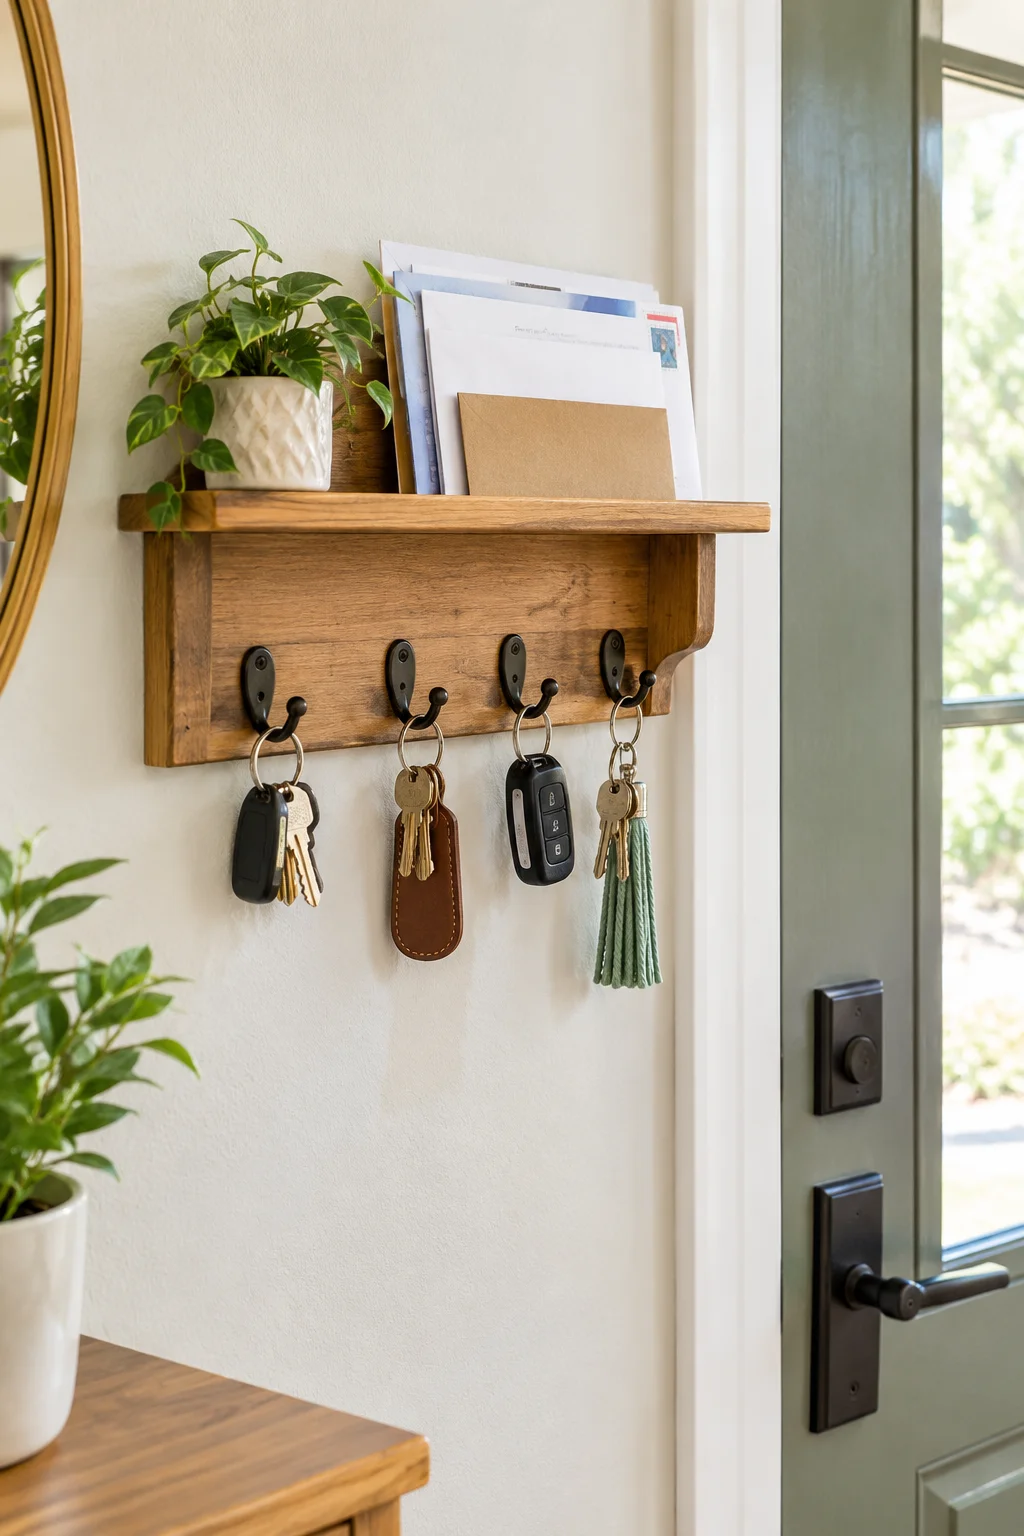
Carrying a tray with clip on handles always feels like one hot dish away from the handle popping loose.
Cut the handles straight into the board instead, and there’s nothing left to snap off.
- Mark two oval shapes near each end of the board.
- Drill a starter hole inside each oval.
- Finish the cutout with a jigsaw, following your marked line.
Sand the inside of each handle opening more than feels necessary. That’s the part your fingers touch every time you carry the tray, so rough edges there get noticed fast.
💡 Quick Tip
Drill your starter hole at the widest point of the oval, then turn the jigsaw slowly around the curve instead of pushing straight through. Rushing that curve is what chips the top face of the wood.
5. A One Board Key Holder That Actually Holds Every Key You Own
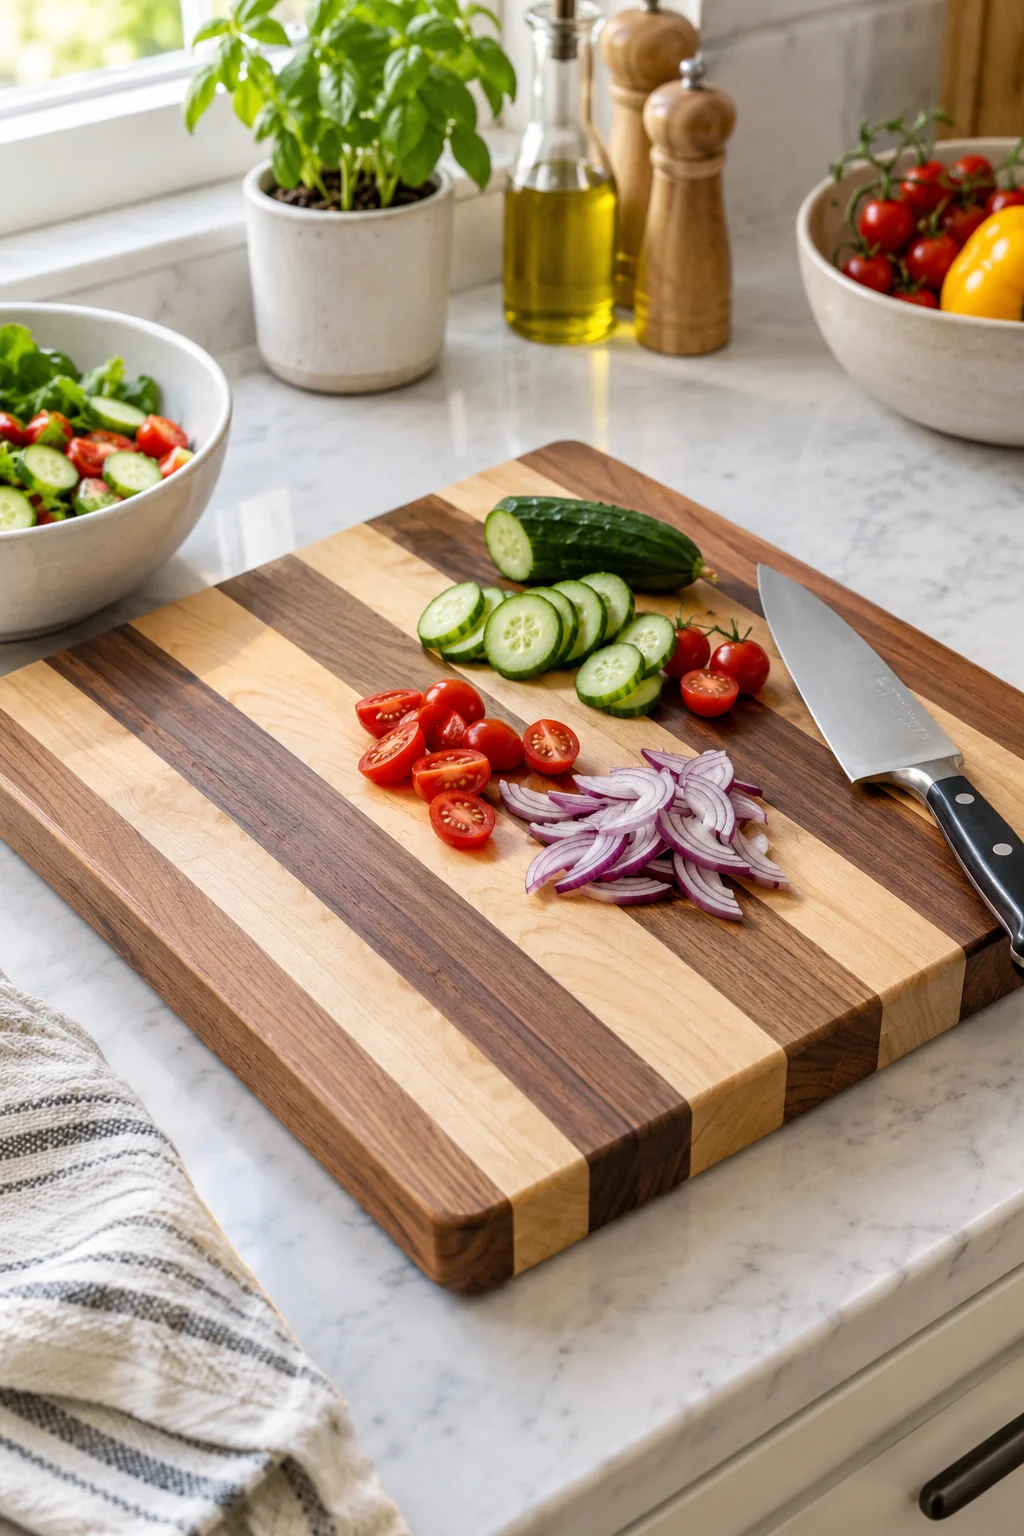
A lot of key holders fail within a month because the hooks sit too close together, and every key ends up tangled into one clump.
The fix is spacing, not fancier hooks.
- Space each hook about two inches apart.
- Stagger hooks into two rows if you’re placing more than five.
- Pick a board no thicker than three quarters of an inch so your screw eyes have room to bite into the wood.
Get the spacing right and you’ll actually see every key at a glance instead of digging through a tangle by the door.
Space hooks about two inches apart.
Stagger into two rows once you pass five hooks.
Cramming every hook into one tight row.
Driving screw eyes into a thick board with no pilot hole.
Varying closing styles and openings across remaining sections.
6. A Windowsill Herb Planter With A Drip Tray Built In
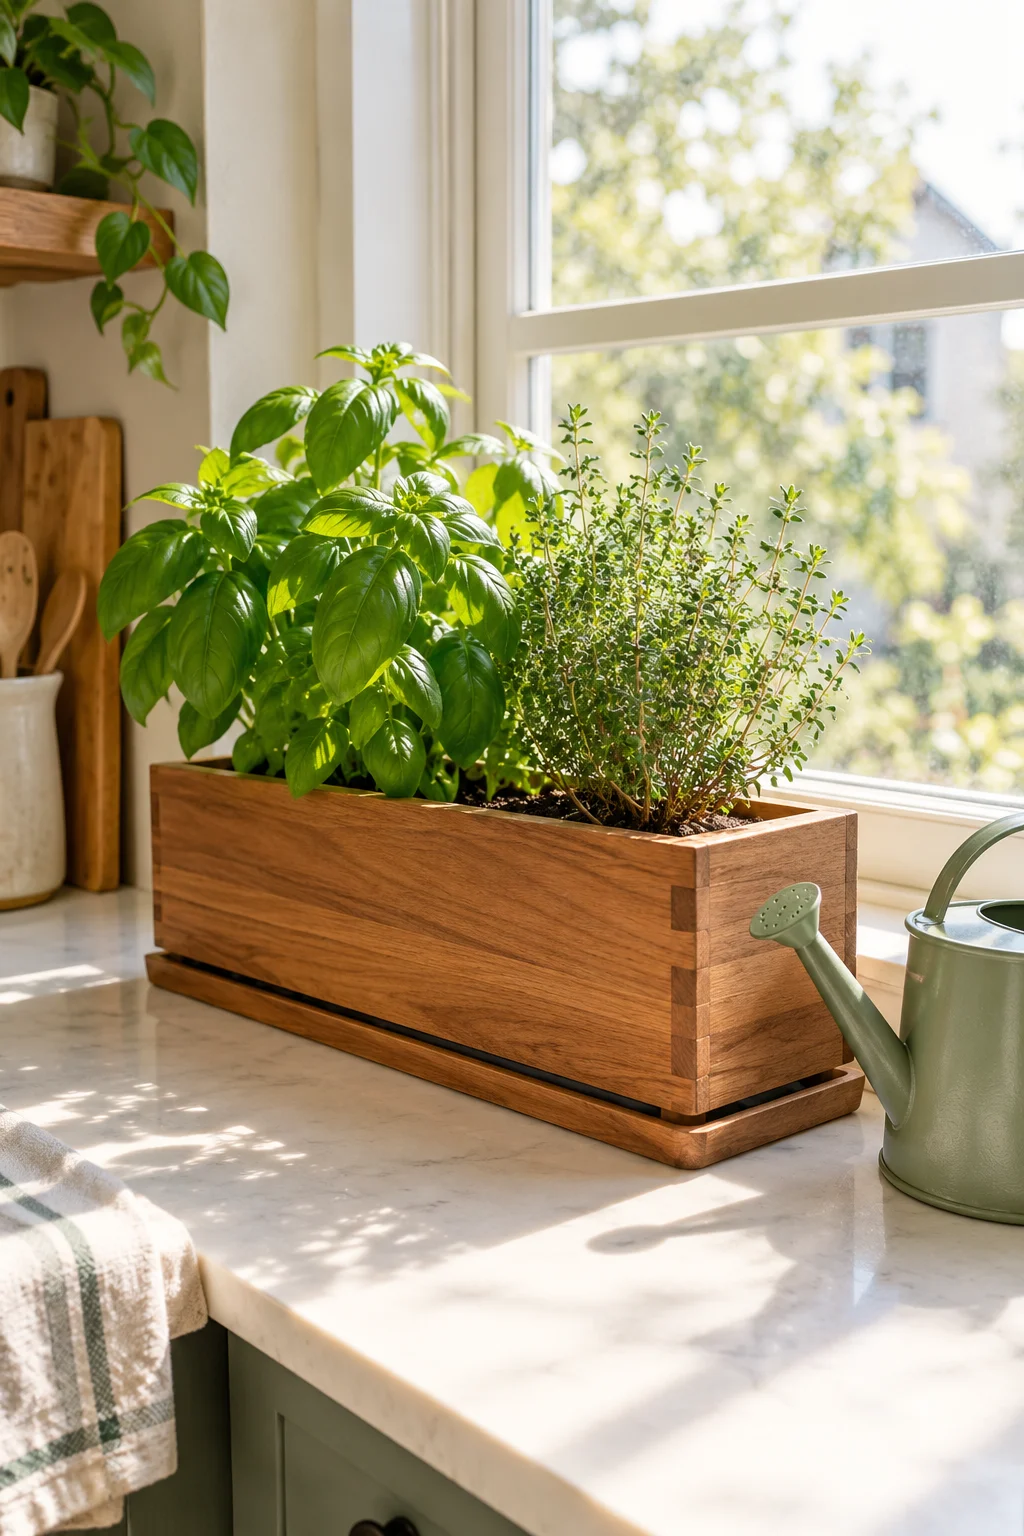
People assume any container works for windowsill herbs as long as it gets sun. It doesn’t, not without somewhere for the water to go.
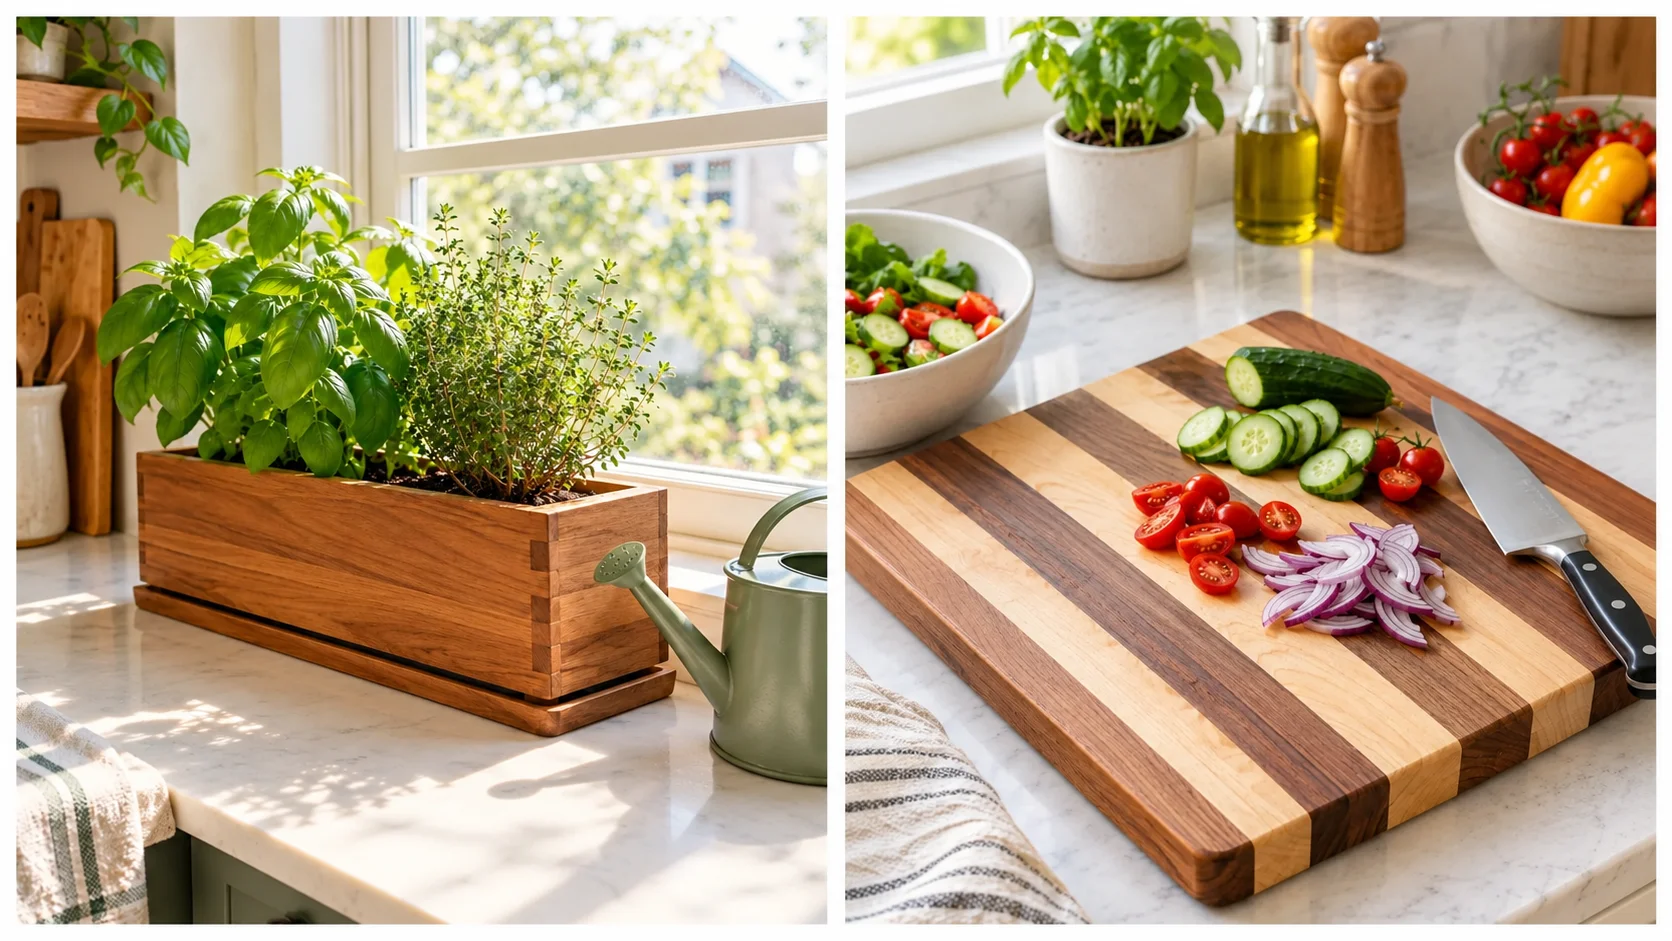
This planter box solves that with a slanted bottom and a narrow gap along one edge, so extra water runs into a catch tray instead of pooling around the roots. Build the tray from a scrap piece of plastic or a cut down aluminum pan, since bare wood left wet under a drainage gap will eventually swell and warp.
Basil and thyme both do fine in a planter this size. Give mint its own container, since it tends to crowd out everything else sharing the box.
html
| With A Liner | Without A Liner |
|---|---|
| Wood stays dry and lasts for years. | Wood absorbs moisture over time and can warp. |
| Tray lifts out for easy cleaning. | Mineral buildup has to be scrubbed off bare wood. |
| Costs a few extra cents in scrap plastic. | Costs nothing upfront but shortens the planter’s life. |
7. A Picture Frame Built From Old Fence Boards
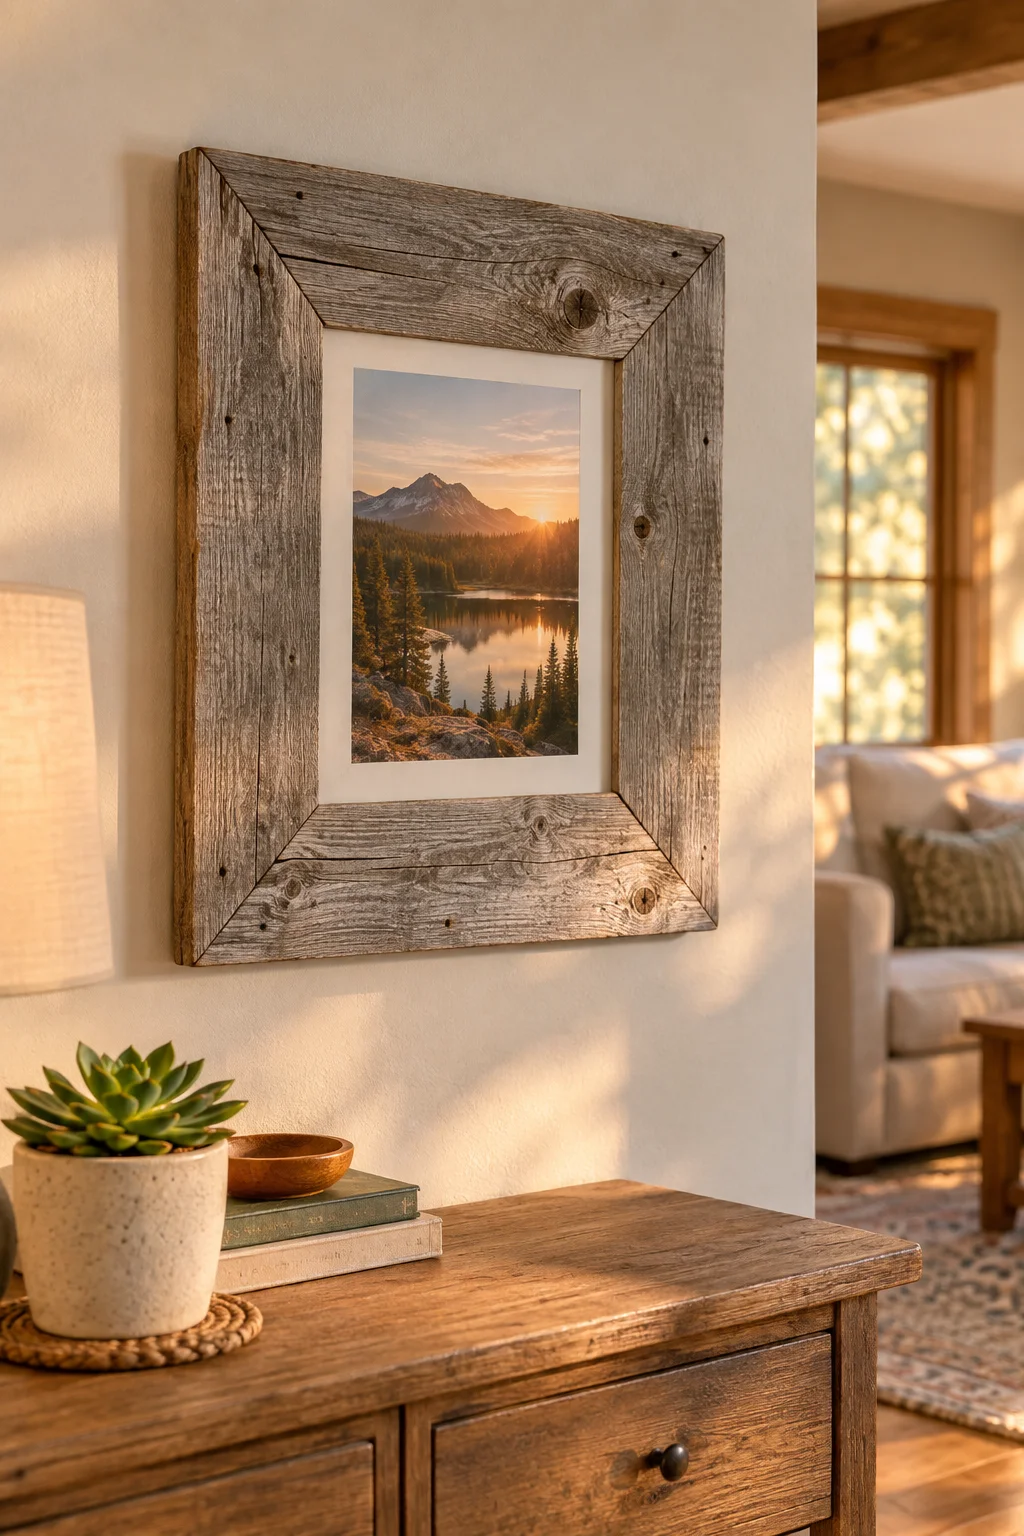
That gray, weathered board sitting behind the shed has more character than anything you’d find in a frame shop.
Cut it into four mitered pieces, sand only the front face lightly so the texture stays, and join the corners with wood glue and thin nails. Skip painting over that weathered gray. It came from years of actual sun and rain, and no stain matches it exactly.
This frame works best for black and white photos, or that calligraphy print that’s been sitting in a drawer waiting for something that actually suits its mood.
html
A pile of gray, splintery fence boards leaning against the shed, waiting to be hauled off.
A weathered gray frame on the wall, holding a photo that actually deserves the texture.
8. A Wobble Free Step Stool With Just Six Cuts
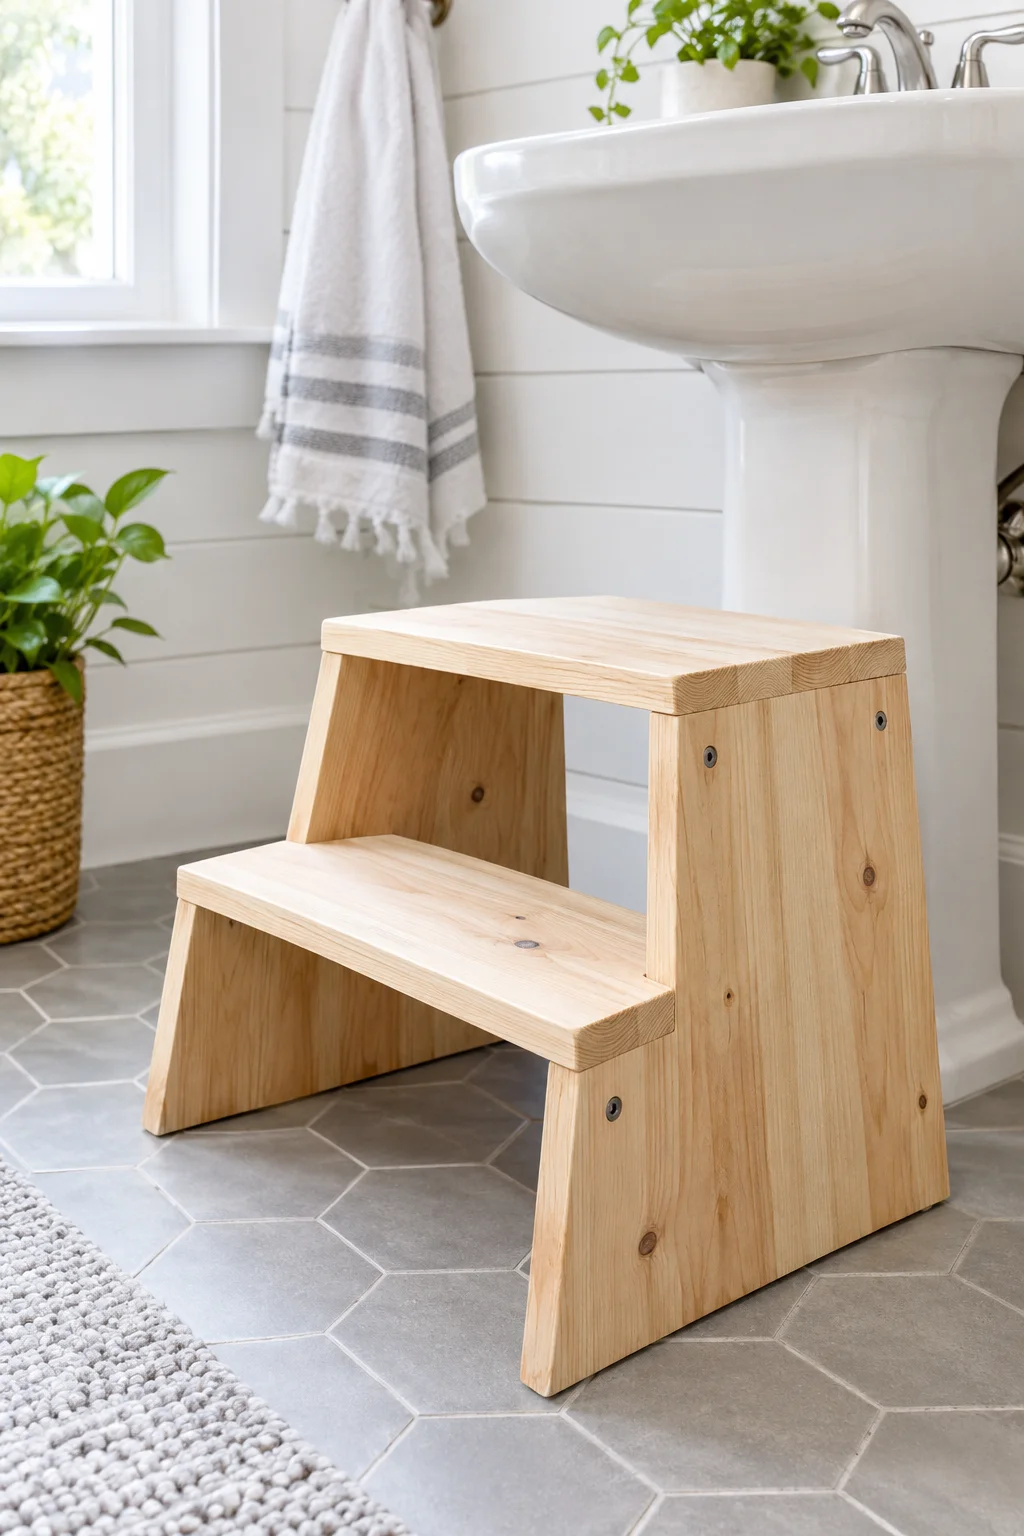
Cut two side panels, one seat, and one center support brace. That’s the whole cut list for this stool.
The part most beginners skip is checking that all four legs sit flat before any glue goes on. Set the dry, unglued pieces on a flat floor and rock the assembly gently. Whichever leg lifts is the one that needs trimming, not the one you glue anyway and hope for the best.
Only add glue once everything sits flat without rocking. Skip that check and the wobble becomes permanent instead of fixable.
html
Cut the two side panels, seat, and center brace to size.
Dry fit everything and rock it gently on a flat floor to check for lift.
Sand the high leg down, then glue and clamp once it sits flat.
9. A Stackable Wood Crate Storage Bin
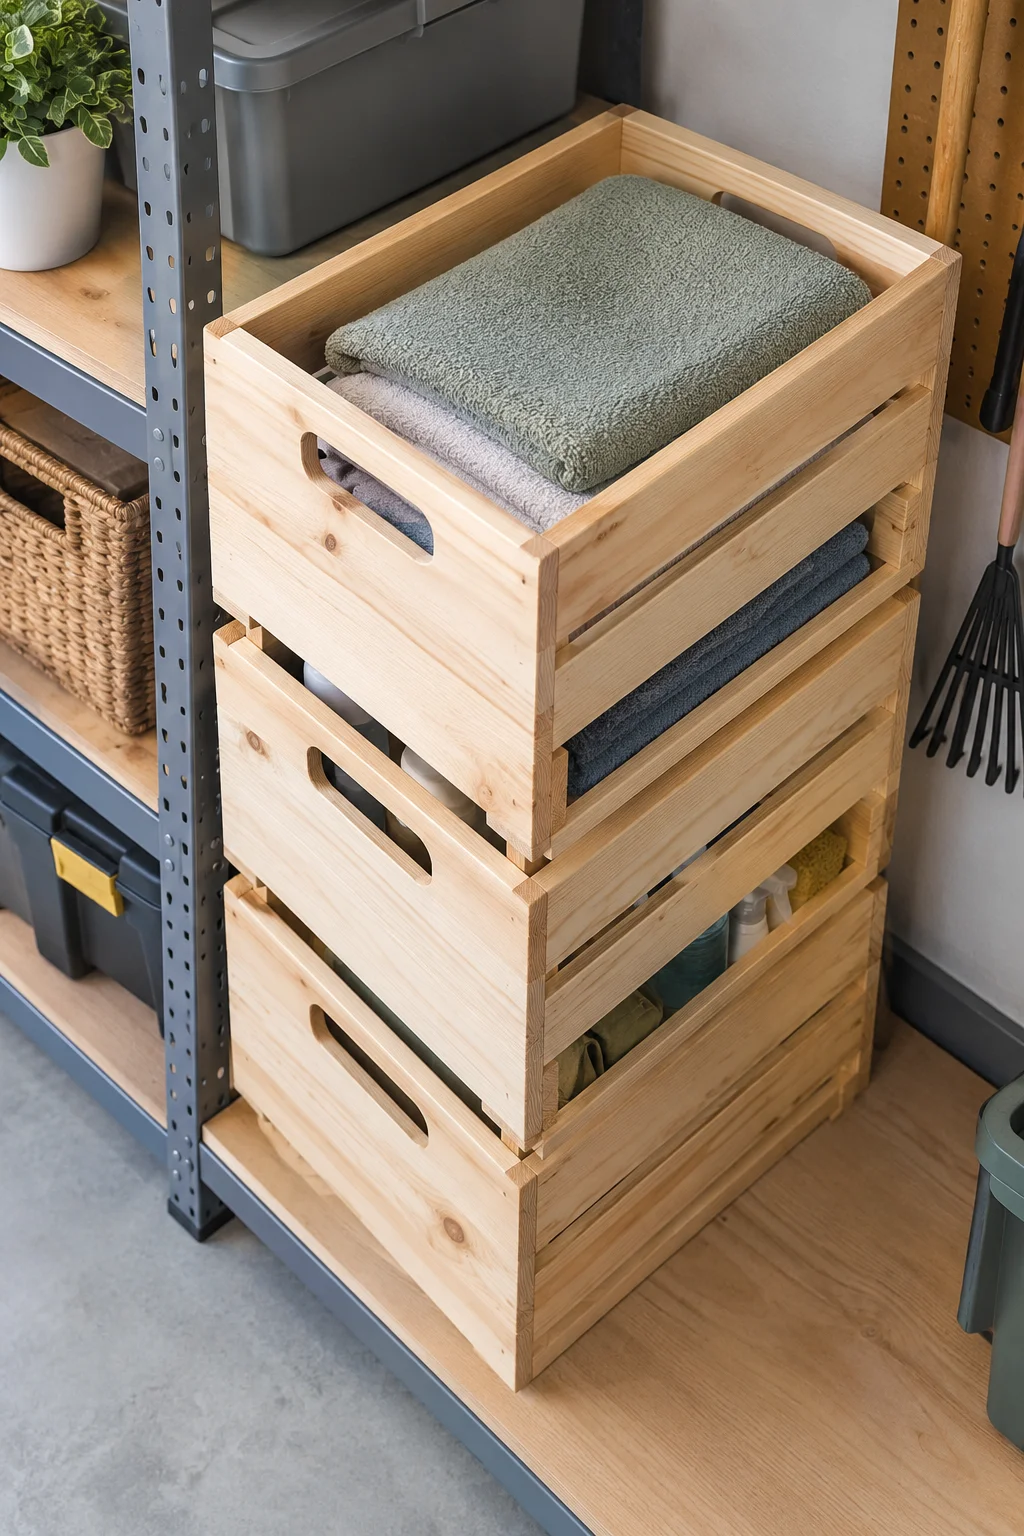
A lot of people think crates get wobbly because the wood is too thin. Usually it’s the joints, not the boards.
Butt joints, where two flat edges just meet at a corner, hold fine on paper but loosen fast once a crate gets stacked and shifted around a garage or closet. Rabbet joints, where one board sits notched into the other, spread the weight across more surface and hold up far longer.
Build the base slightly recessed from the side walls too, so crates nest into each other when stacked instead of sliding apart. Get this right once, and every crate after it stacks true without extra fixing.
Rabbet joints, not thicker wood, are what keep a stacked crate from loosening over time.
10. A Stenciled Welcome Sign Made From One Fence Picket
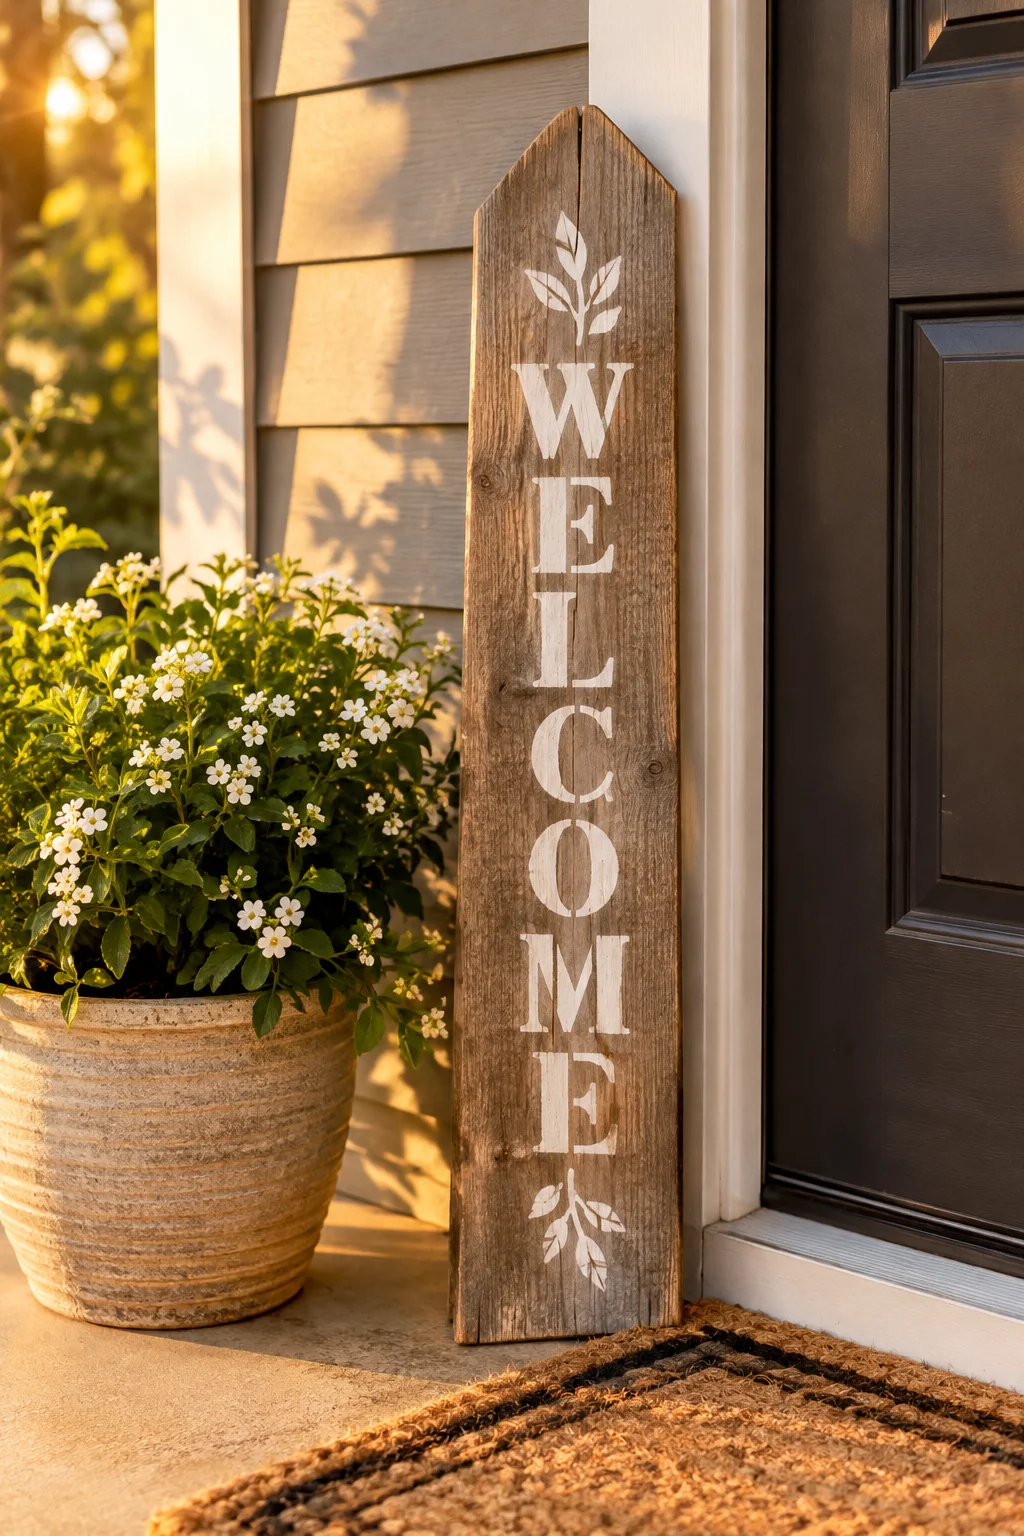
Paint bleeding under the edge of a stencil is what turns a clean welcome sign into a smudged mess.
Press painter’s tape over the stencil first, then dab paint on with a nearly dry brush instead of a wet one. Wipe most of the paint off onto a paper towel before the brush ever touches the wood.
Let each color dry completely before adding the next layer. Impatience is the main reason two stencil colors end up smearing into each other.
💡 Quick Tip
Skip paper stencils if you’re making more than one sign. A stencil cut from thin plastic sheeting holds its shape through several uses, while paper ones go soft after the first coat of paint.
11. A Freestanding Knife Block Sized For A Real Kitchen Drawer
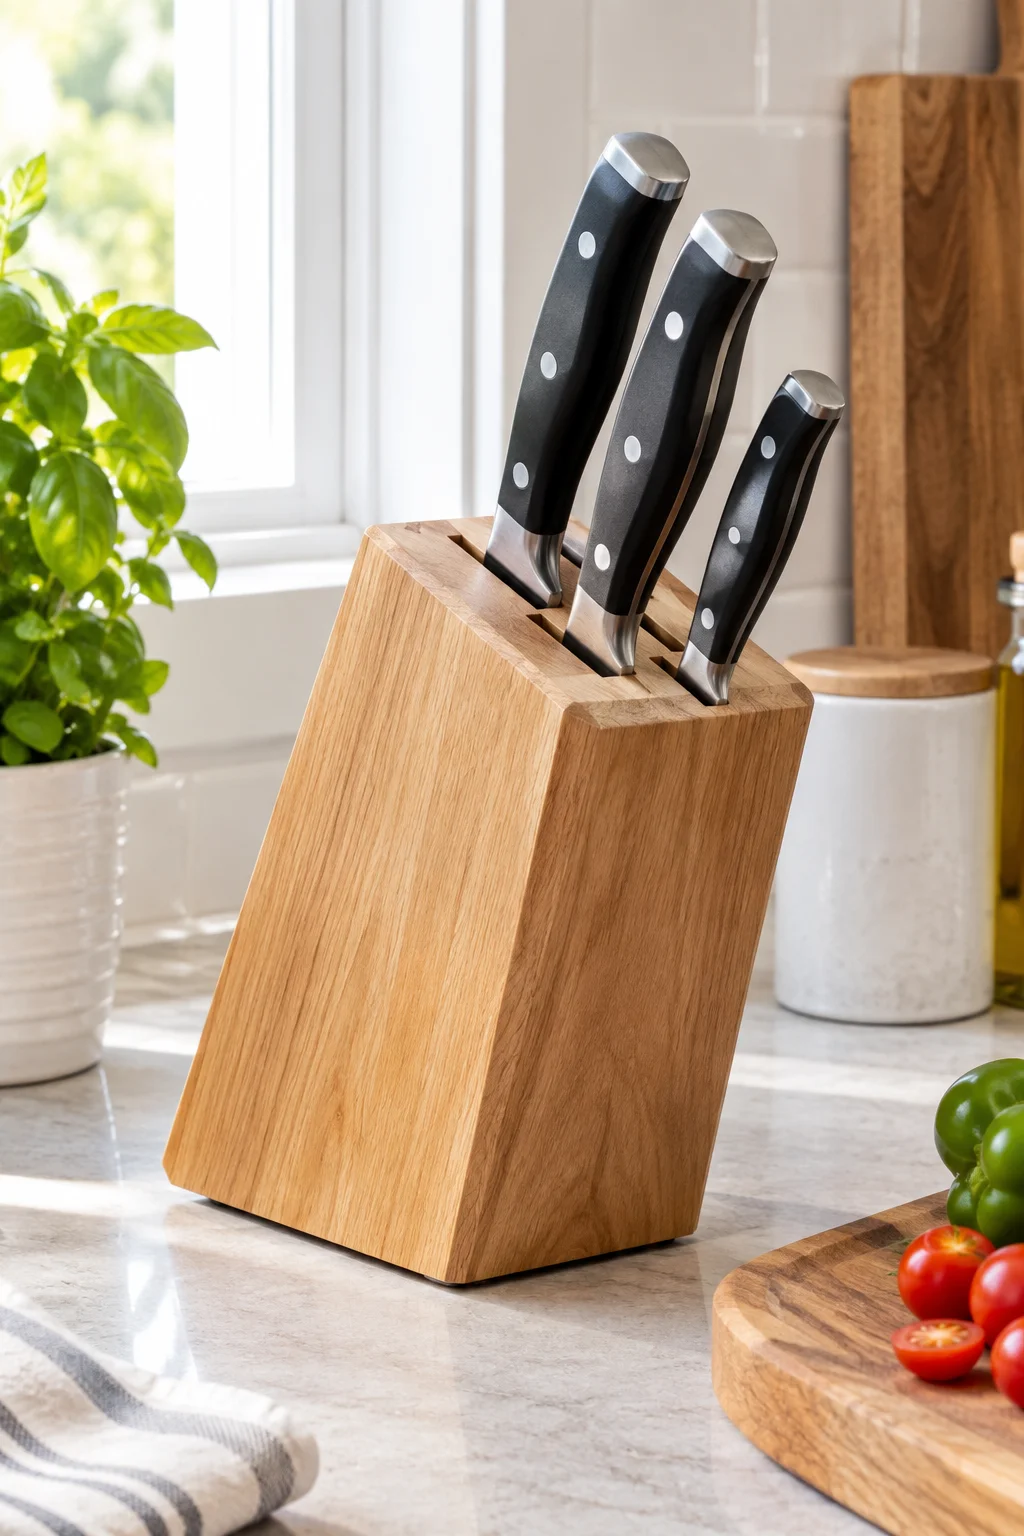
Every knife slot needs a little extra room, not a snug fit.
Cut slots exactly to blade width and you trap moisture against the steel, which speeds up rust on knives that go back in the block still damp from washing.
- Angle each slot about 15 degrees so blades lean against one wall instead of standing straight up.
- Drill slots at least a half inch apart to keep handles from knocking into each other.
Stick with hardwood too. Pine slots widen and go soft after a few months of daily use.
Angle each slot about 15 degrees.
Space slots at least a half inch apart.
Cutting slots exactly to blade width.
Using pine or other soft wood for the block.
12. A Leaning Ladder Shelf That Skips The Wall Anchors
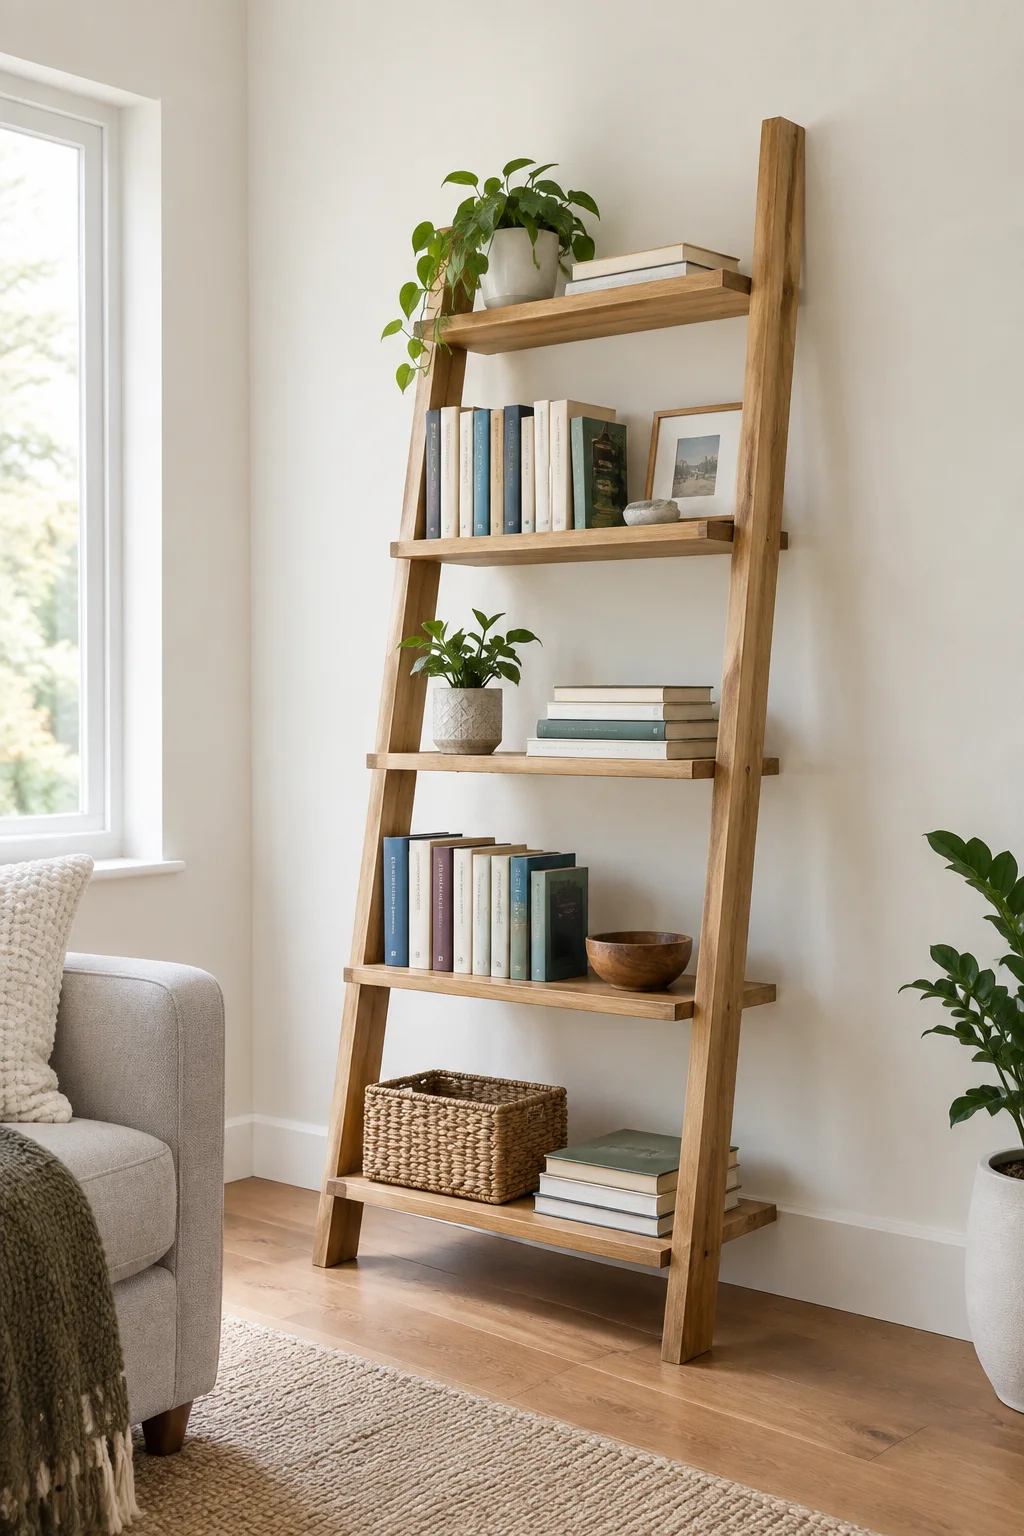
A leaning shelf skips the whole debate about wall anchors and stud finders.
Building one comes down to a few key measurements:
- Cut side rails at a 15 degree backward lean.
- Space shelves evenly, a little closer together near the bottom.
- Keep the top shelf shallow, under eight inches deep.
Get the angle right and the shelf presses into the wall on its own weight. Skip it, and even a light stack of books can tip the whole thing forward.
| Leaning Shelf | Wall Mounted Shelf |
|---|---|
| No drilling into the wall required. | Needs anchors or a stud to hold weight. |
| Can be moved to a new spot anytime. | Fixed in place once installed. |
| Needs some floor space at the base. | Frees up floor space entirely. |
13. A Two By Four Entryway Bench With Room Underneath For Shoes
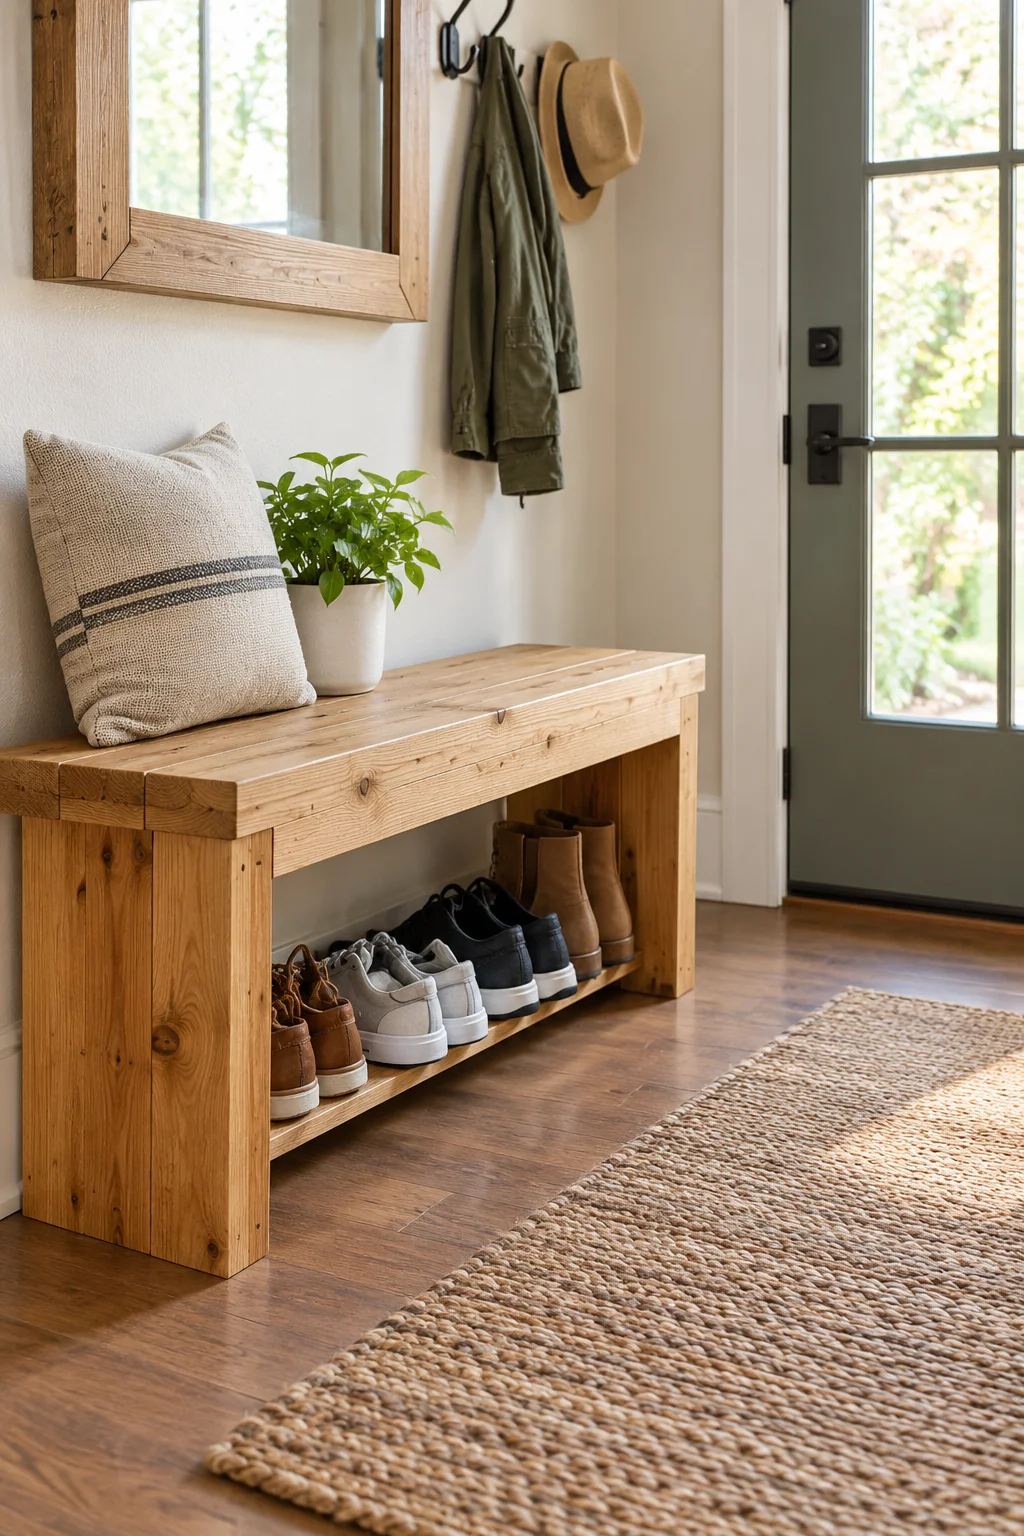
The pile of shoes by the front door never seems to shrink, no matter how many times you kick it into a neater pile.
A bench built from two by fours solves that by lifting the sitting surface about 18 inches up, leaving open space underneath for a row of shoes or a low basket. Use three horizontal supports along the underside instead of two. Two supports flex under regular sitting weight over time, while three keep the seat solid for years.
This one works best right inside a door, not tucked into a hallway where people only pass through it.
html
A messy heap of shoes piled right inside the front door.
A bench seat with every pair tucked into a neat row underneath.
14. A Vertical Pallet Planter That Turns One Pallet Into Garden Space
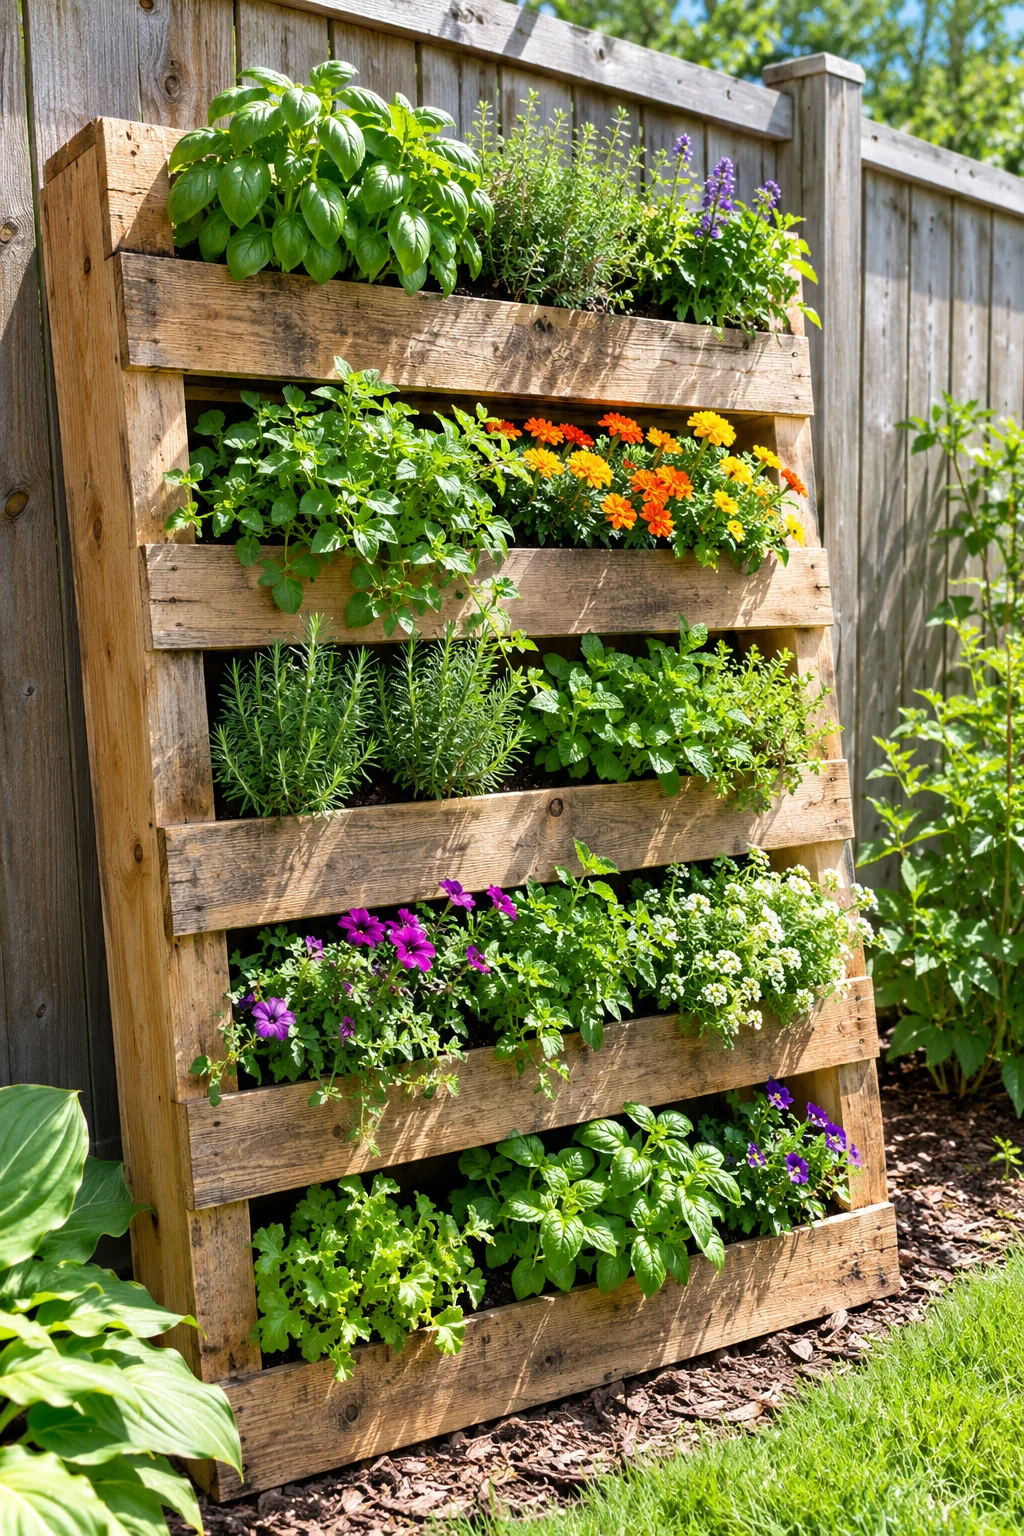
Skipping the sealant step is the main reason pallet planters fall apart after one season instead of lasting for years.
Stand the pallet upright, then staple garden fabric across the back and bottom of each slot so soil stays put instead of spilling through the gaps.
Before you start, check the stamp on the pallet:
- HT means heat treated, which is safe to use.
- MB means chemically treated, and it should stay far away from anything you plan to grow food in.
Herbs and shallow rooted flowers do best here, since each slot only holds a few inches of soil.
Gather before you start
15. A Wood Catchall Tray For Keys, Mail, And Loose Change

The kitchen counter collects mail, keys, and loose change in the same spot no matter how many times you clear it off.
A shallow tray with a few divided sections gives all three a place to land instead of drifting into one messy pile. Cut a thin center divider about an inch tall, just enough to keep mail from sliding into the coin section.
Round over every edge with sandpaper before finishing. A tray like this gets picked up and set down constantly, and sharp corners get noticed fast.
Conclusion
None of these projects call for a full workshop or years of practice behind you. A drill, a saw, and a spare afternoon get you further than most people expect, whether you’re leveling a wobbly bench leg or angling knife slots so the blades sit right. What ties these wood crafts together is that each one fixes something small and real around the house, not just fills a corner with more stuff. Pick whichever idea matches what’s actually bothering you right now and start there instead of trying to knock out all 15 in one weekend. Save this list for the next time you want a project that gets finished instead of stalling out half built in the garage.
Pin this list now so it’s here the next time you’ve got a free Saturday and a pile of scrap wood.