
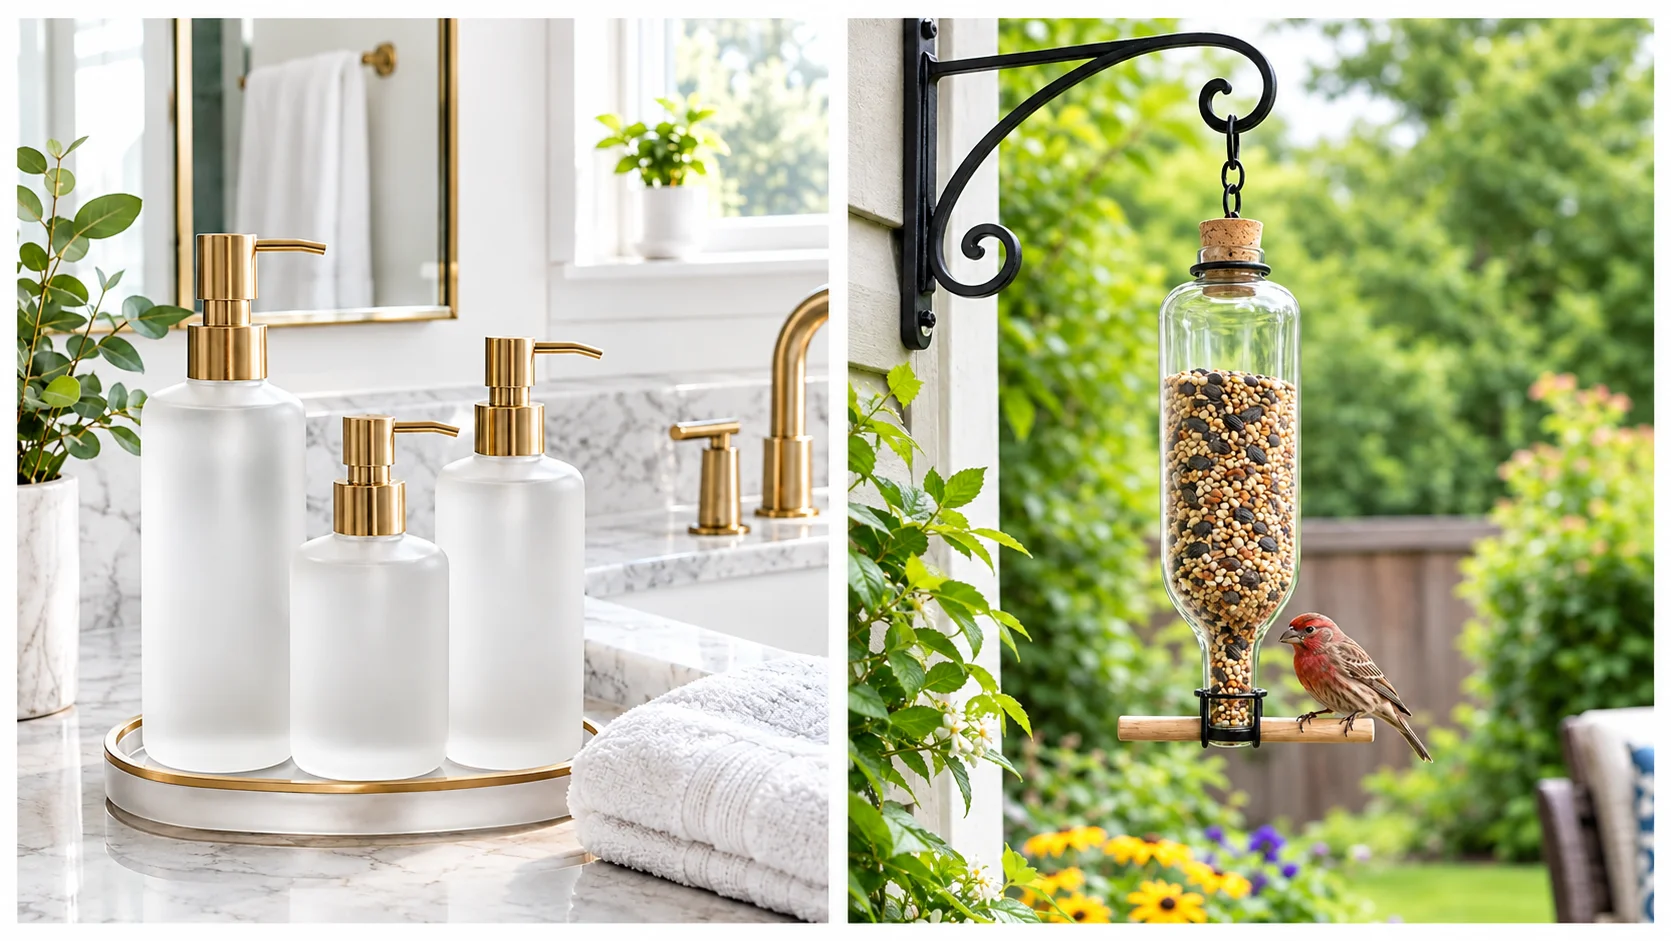
Every wine night ends the same way. You rinse out the bottle, set it by the back door, and tell yourself you will do something with it eventually. Most people never do, and it is not because they lack ideas. It is because glass crafts have a reputation for needing a wet saw, safety goggles, and a free Saturday nobody actually has.
That reputation is mostly wrong. These 17 DIY glass bottle crafts to brighten any room use tools you probably already own, things like hot glue, spray paint, and a strand of fairy lights. A few take an afternoon. Several take fifteen minutes and whatever bottle is already sitting on your counter.
This list moves through the whole house on purpose. There is a lamp for a nightstand, a planter for a balcony rail, a feeder for the patio, and a labeling trick for a pantry shelf that never quite matches.
Grab a bottle or two and start with whichever room needs the most help right now.
1. Turn an Empty Wine Bottle Into a Self-Watering Herb Planter for Your Kitchen Window
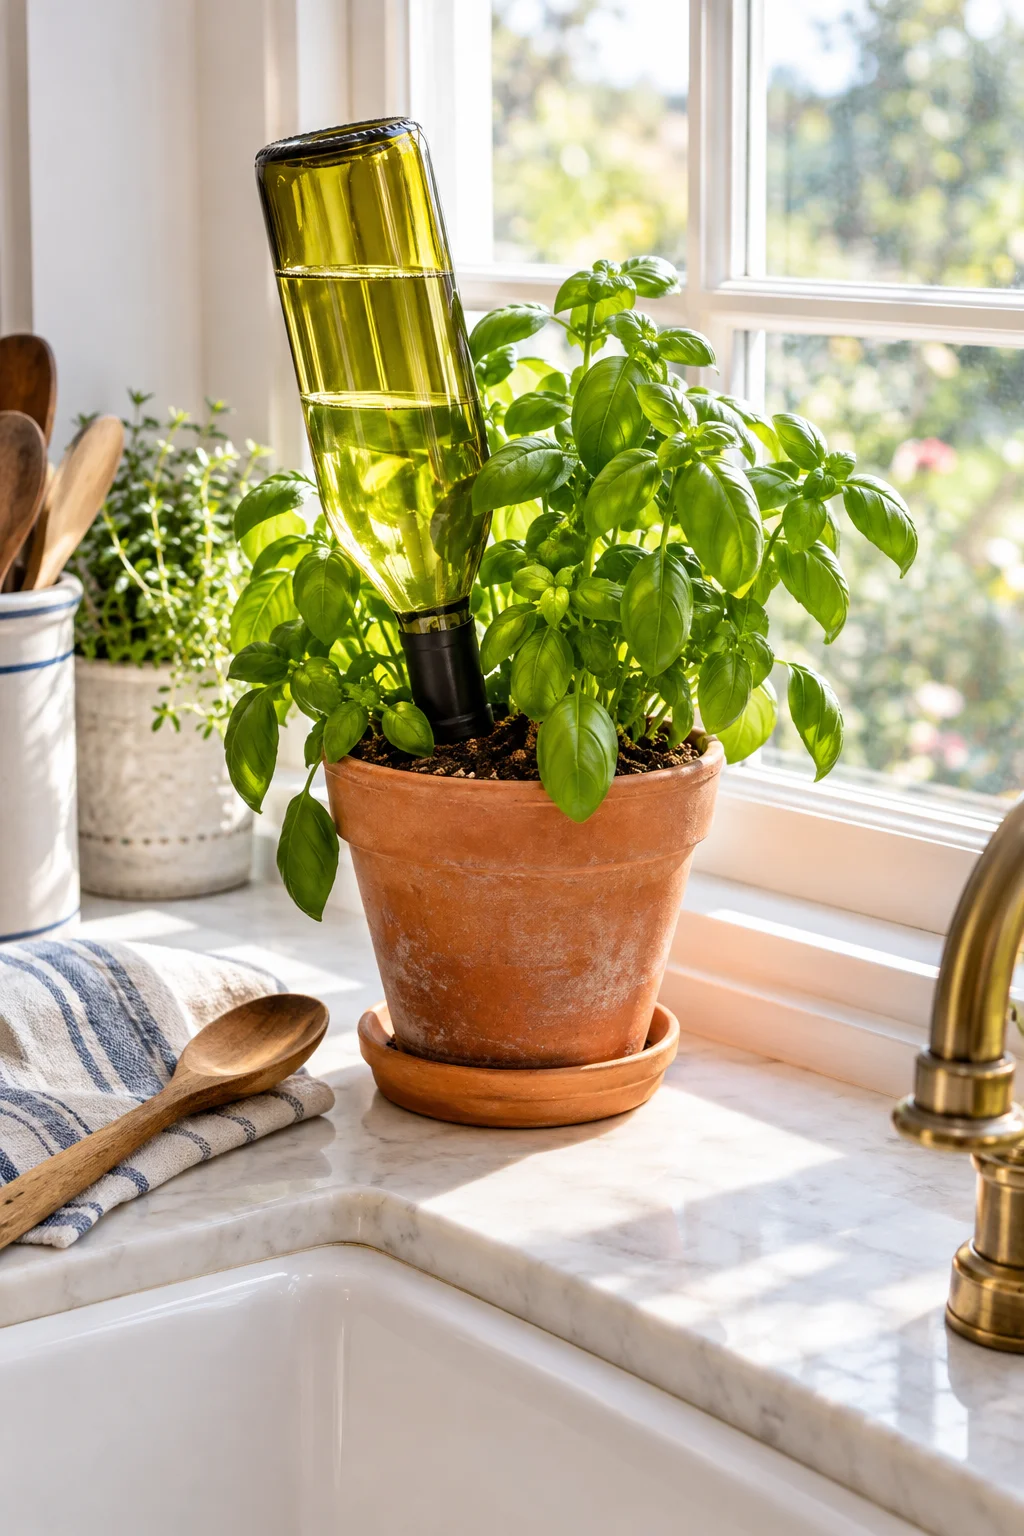
Herbs on a sunny sill dry out fast, especially if you travel a lot or forget to check them.
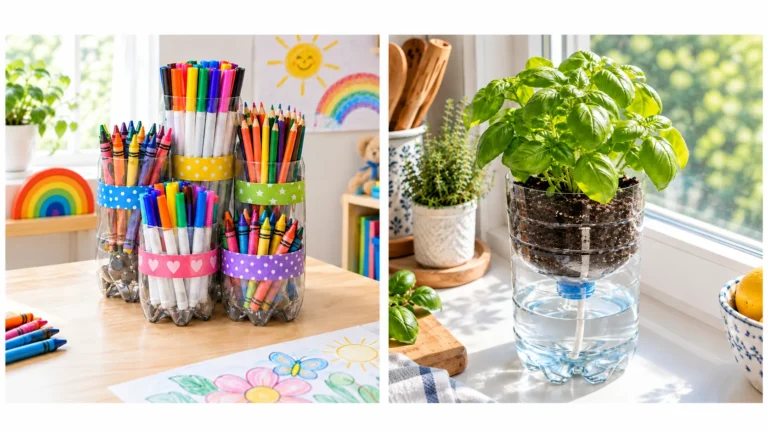
A wine bottle turned upside down fixes that without any extra gadgets. Fill it with water, flip it neck down into damp potting mix using a terra cotta spike or a cork with a small hole drilled through, and it releases moisture slowly over several days instead of all at once.
Herbs that take to this well:
- Basil
- Mint
- Parsley
Refill the bottle every few days and skip the watering can until it runs dry again.
html
2. Fill a Bottle With Fairy Lights for a Soft Glow Nightstand Lamp
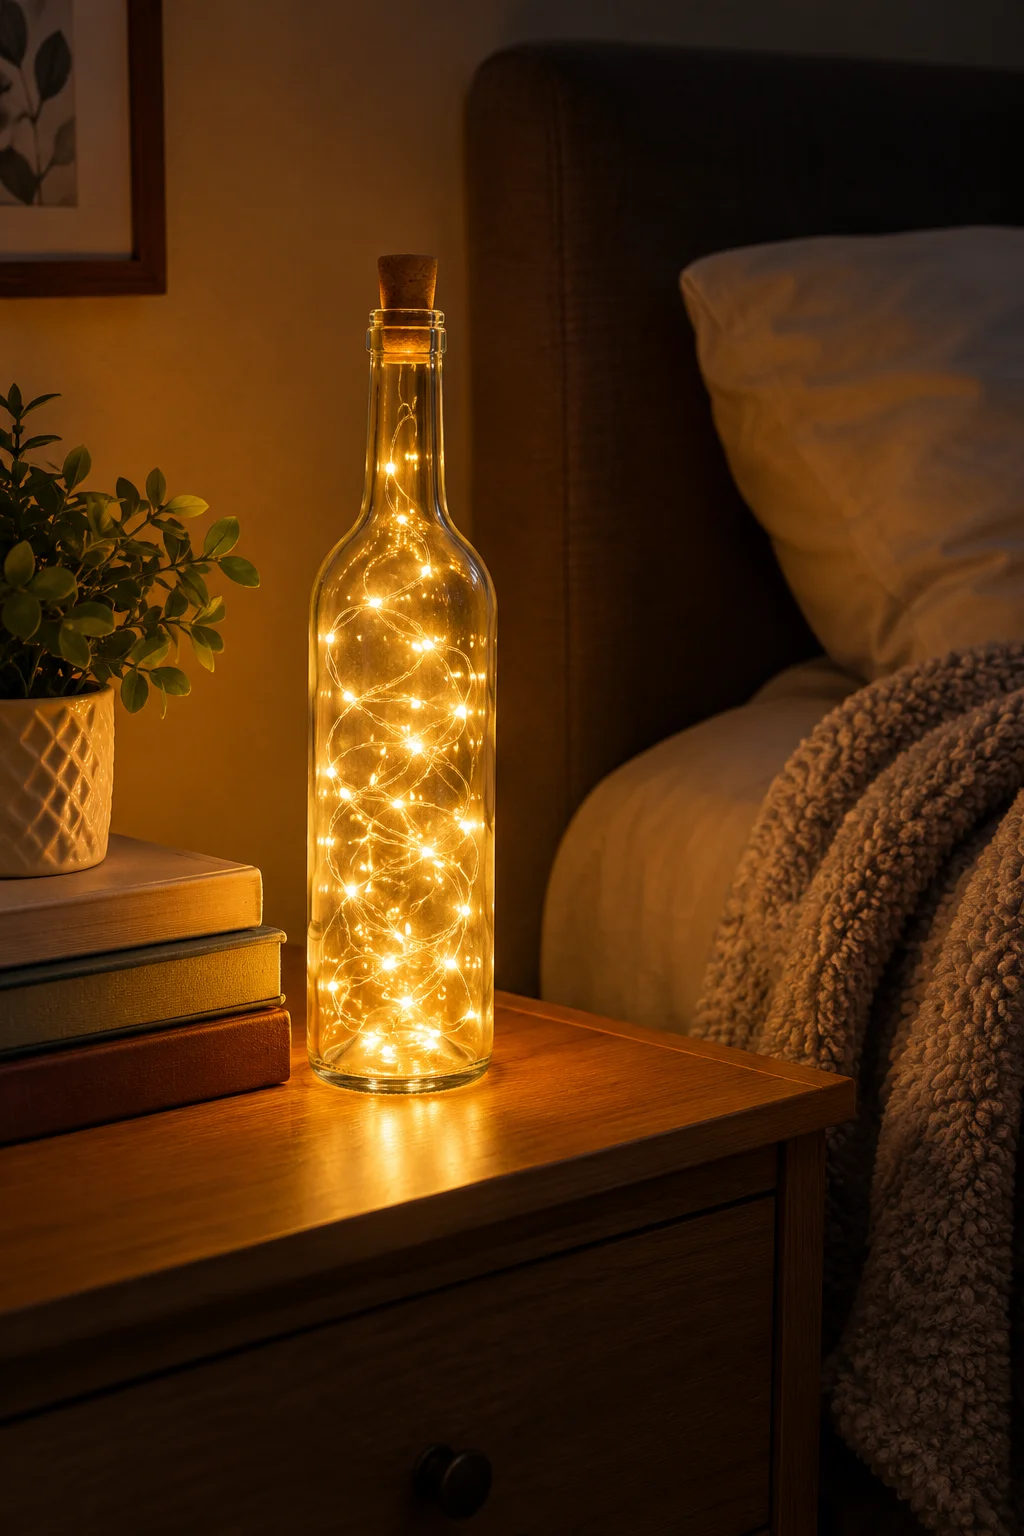
Feed a strand of battery fairy lights into an empty bottle and set it where a lamp used to sit.
The glass scatters the light instead of throwing one bright beam, so the room gets a glow instead of a spotlight.
Clear bottle: light stays bright and warm.
Colored bottle: light turns into a soft tint, better for winding down before bed.
Tuck the battery pack behind a stack of books so only the glow shows, not the wires.
html
What to grab first
3. Frost Glass Bottles Into a Matching Vanity Set That Looks Store-Bought

Frosted glass bottles are not sandblasted, most are just sprayed.
A few light coats of frosted glass spray paint on a clean, dry bottle gives you that soft, store-bought vanity set look, the kind that makes a perfume bottle, a lotion pump, and a cotton swab jar all match without a single label showing. Let each coat dry fully before adding the next one, since rushing it is what causes the streaky spots people complain about.
Skip using it on anything that will sit in direct water, since the finish can wear thin over time near a running faucet.
html
Clean and fully dry the bottle first.
Spray light, even coats from about a foot away.
One heavy coat that ends up dripping.
Spraying a second coat before the first one dries.
4. Wrap Bottles in Twine for Rustic Vases That Cost Almost Nothing
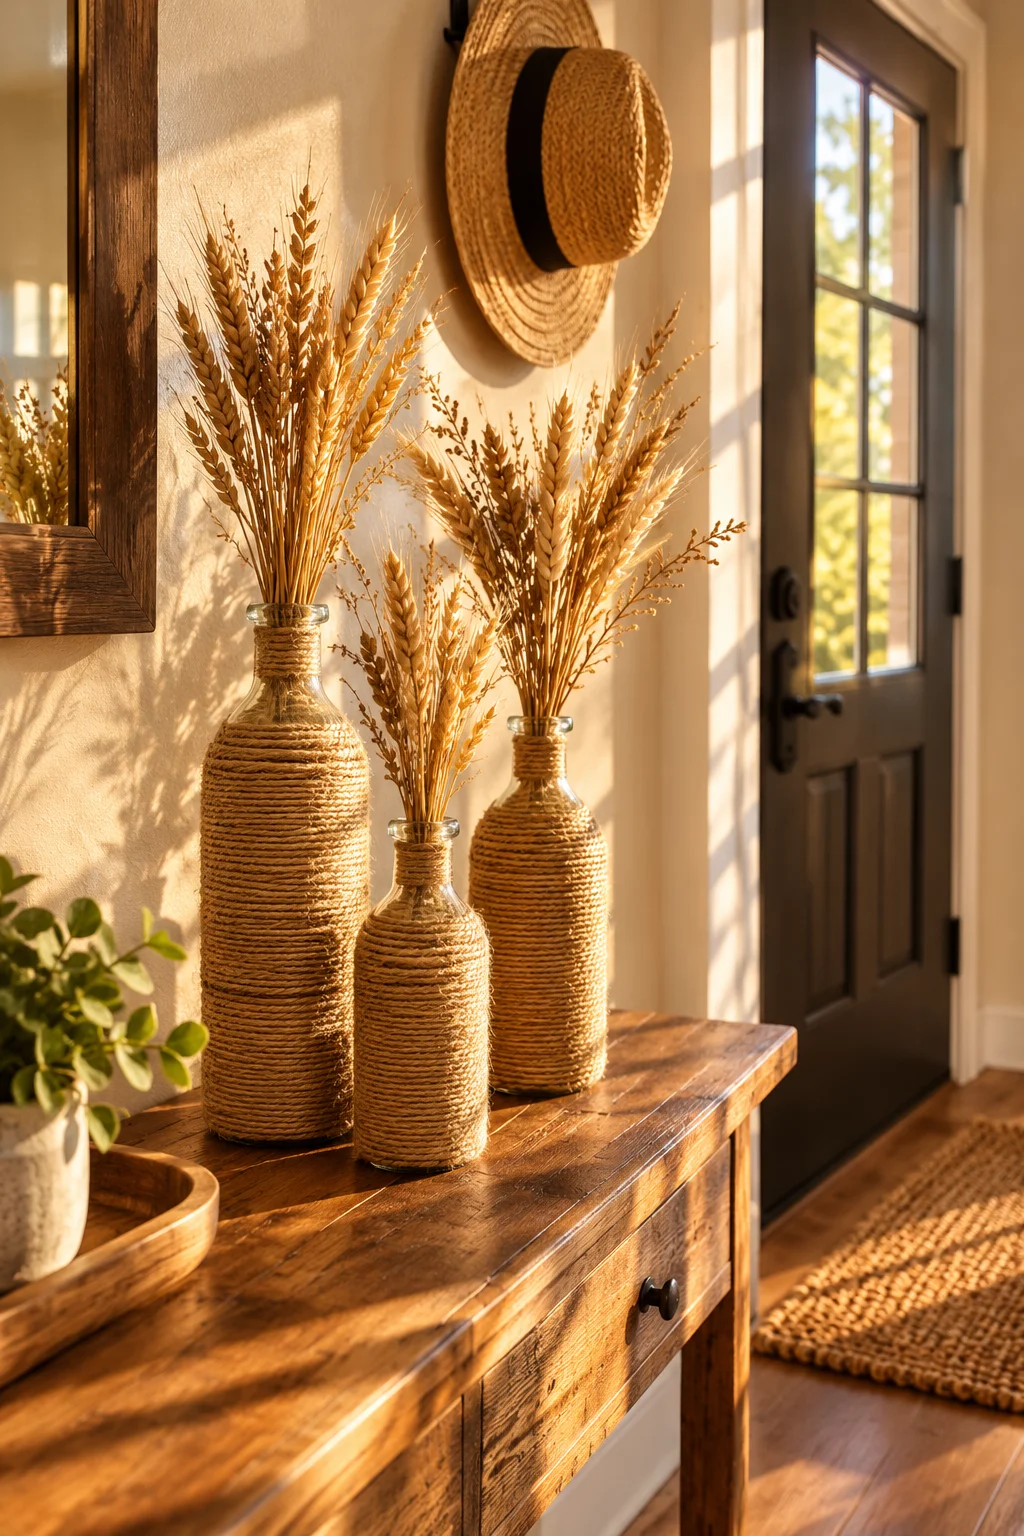
The empty bottle on your entryway shelf has been staring at you for weeks.
A line of hot glue around the neck, then wound twine pressed into it row by row, turns that plain glass into something that looks pulled from a farmhouse catalog. Start at the base and work up so the rows stack evenly, and leave the very top bare if you want a spot to tuck in a few dried stems.
A trio of these in different bottle heights looks more finished than just one.
💡 Quick Tip
Wind the twine around a scrap of cardboard first so it unrolls smooth instead of tangling while your hands are sticky with glue.
5. Turn Bottles Into Sun Catchers With Glass Stain and a Sunny Window

Light through a stained bottle throws colored patches across the wall that move with the sun all afternoon.
Glass stain paint, the kind sold in small pots for stained glass projects, goes on with a small brush in a thin coat. It dries a little cloudy at first and clears up as it cures, so do not judge the color right away. Two or three bottles in different shades on one windowsill create more movement than a single bottle alone.
Works best on a window that gets a few hours of direct sun, not just bright shade.
6. Build a Tiny Succulent Terrarium Inside a Wide-Mouth Bottle
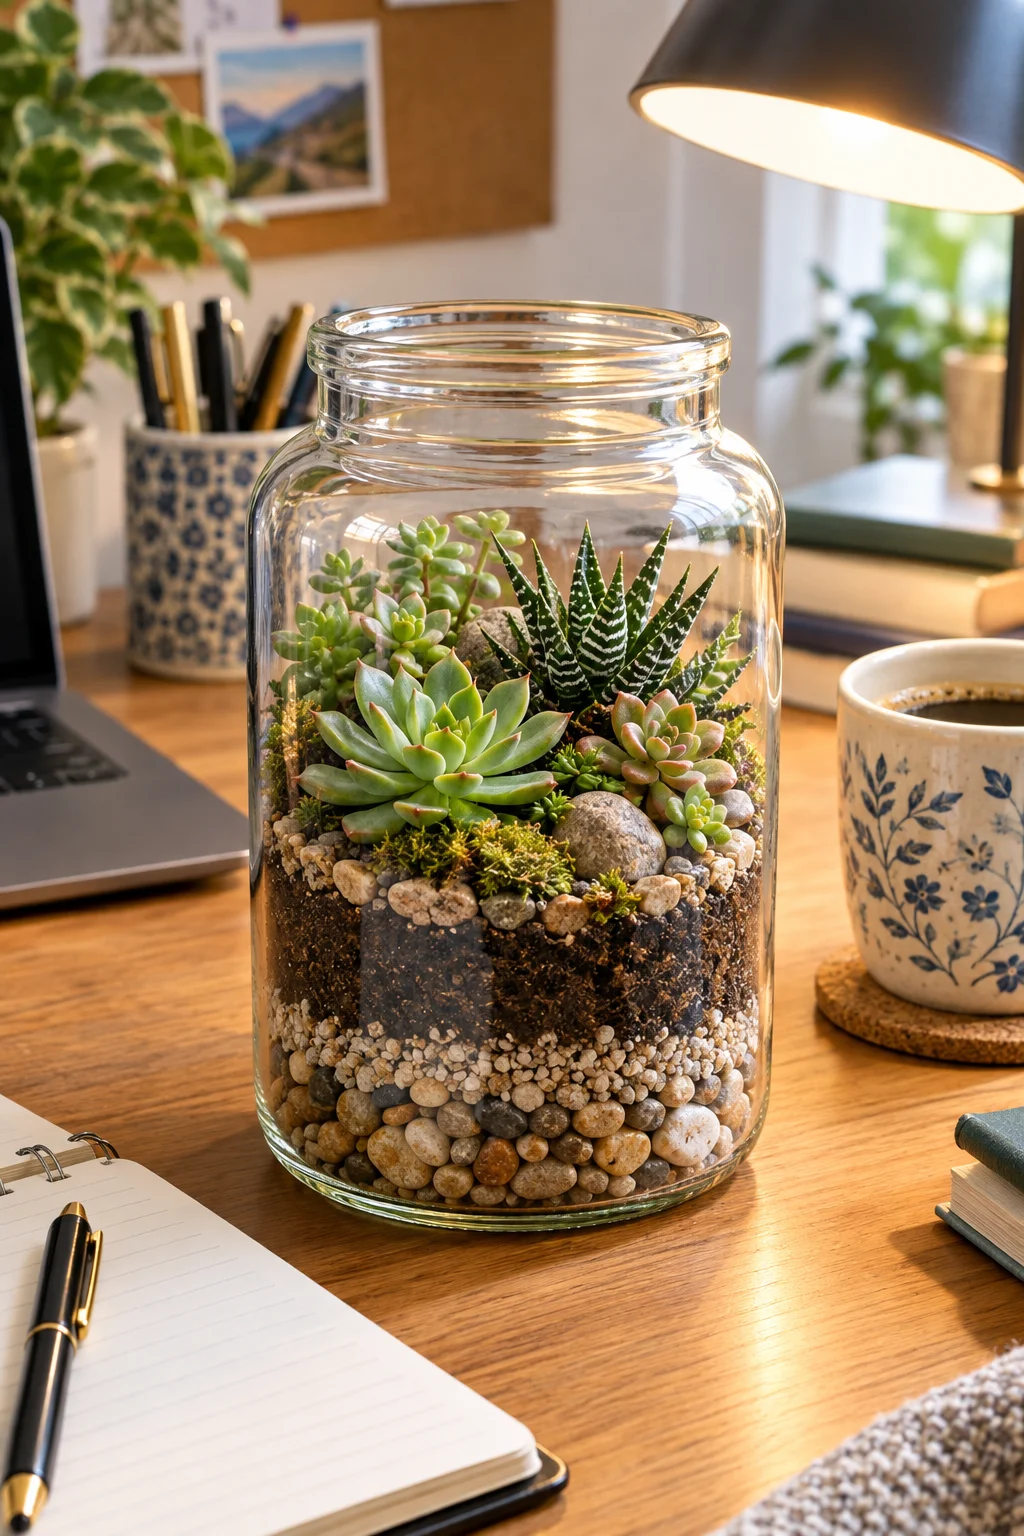
A terrarium bottle only works if the layers go in a specific order. Skip a step and the plant either drowns or dries out within days.
Layer it from the bottom up: pebbles for drainage, a thin line of activated charcoal to keep things from smelling musty, then potting mix made for cactus or succulents. Nestle in a small succulent cutting with a chopstick so you do not crush the leaves against the glass. Mist lightly once a week instead of pouring water straight in.
A terrarium like this needs water only once every couple of weeks, sometimes less once the bottle settles in.
Add a base layer of small pebbles for drainage.
Sprinkle in a thin layer of activated charcoal.
Top with cactus soil and nestle in the plant.
7. Repurpose a Bottle Into a Bird Feeder That Actually Gets Used

A bottle feeder means one refill covers a full week, not a daily trip out to the yard.
Drill a small hole a couple inches up from the base, thread in a wooden dowel as a perch, and fill the bottle with seed through the top. Turned upside down and hung from a bracket, seed drops slowly through the gap near the neck as birds land to eat.
Hang it somewhere squirrels cannot easily reach, or the seed disappears in a single afternoon.
The patio corner sits quiet, no visitors, just an empty hook.
Same corner now gets regular visits from finches and sparrows.
8. Label Pantry Bottles So Everything Looks Uniform on the Counter
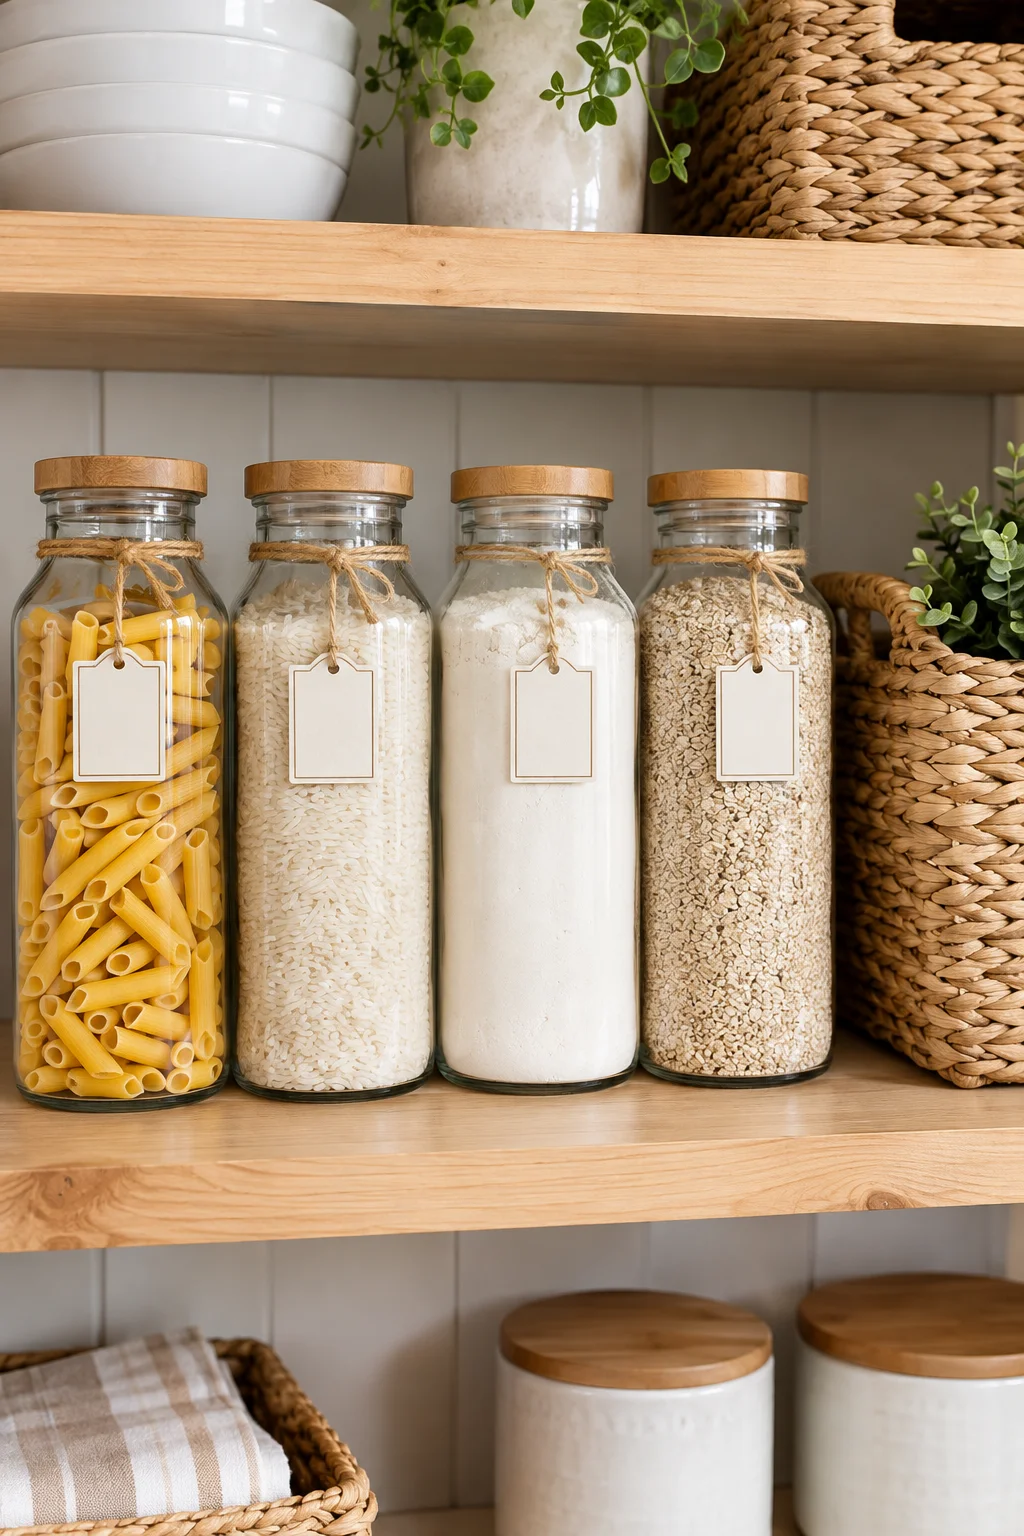
Chalk paint labels and stick on vinyl labels give two very different looks, and picking between them comes down to how often the contents change.
Chalk paint holds up through dishwasher cycles and refills, and it wipes off with rubbing alcohol whenever it is time to relabel. Vinyl looks crisper and more uniform for something like a spice lineup that never changes. Either way, wipe the bottle down with alcohol first so the label actually sticks.
Best for anyone who buys pantry staples in bulk and keeps refilling the same set of bottles.
| Chalk Paint Labels | Vinyl Labels |
|---|---|
| Soft, handwritten look | Crisp, printed look |
| Wipes off with rubbing alcohol | Peels off, may leave residue |
| Best for contents that rotate | Best for a fixed spice set |
9. Cut Glass Rings From Old Bottles for Wind Chimes That Catch the Breeze

Most people try to cut a bottle with regular scissors or a hacksaw, and that is exactly how you end up with a jagged, unusable ring.
A proper bottle cutting jig scores a clean line around the glass. Wrap the score line with acetone soaked string, light it briefly, then dunk the bottle in ice water so the ring pops free along the score. Sand the cut edge with wet sandpaper until it is smooth to the touch, then string several rings at different lengths from a wood dowel.
Skip this one entirely if you do not have safety glasses within reach.
Score and snap glass slowly, with safety glasses on, never in a rush between the flame and the ice water.
10. Cover a Bottle in Broken Tile for a One of a Kind Mosaic Lamp

Break an old tile plate into small pieces, press them into thick tacky glue around a bottle, and let the mismatched pattern be the whole point.
Work in sections instead of covering the whole bottle at once, so the glue does not skin over before the tiles go on. Leave small gaps between pieces for grout, and once the glue cures overnight, spread grout over the surface and wipe the excess off with a damp sponge. Fit the finished bottle with a small lamp kit made for narrow necks.
Let the grout dry a full day before switching the lamp on, or the heat can crack it.
What to grab first
11. Slice a Bottle in Half for Candle Holders That Set a Real Table
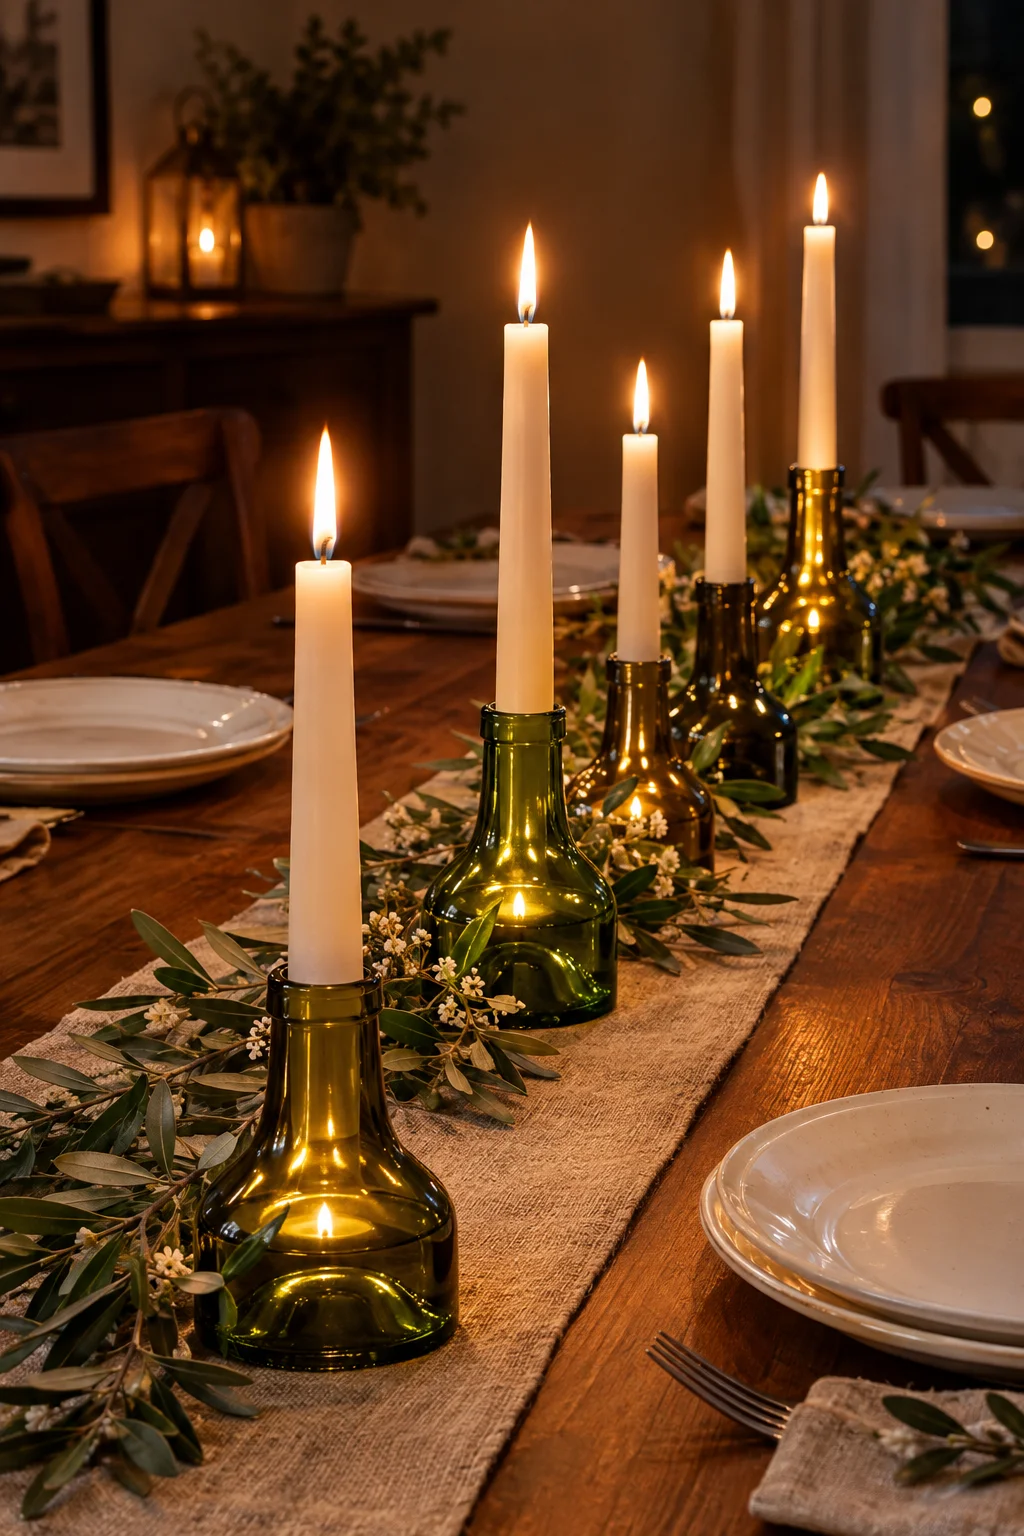
A dinner table looks different lit by real candlelight instead of an overhead bulb.
Score a line around the bottle with a glass cutter, then use the same hot and cold method from the wind chime method to separate the halves. Sand the cut edge until it stops feeling sharp under a finger. The bottom half becomes a hurricane style holder deep enough to shield a taper from drafts, while the top half turns into a narrow bud vase.
Wide, straight sided bottles cut far cleaner than curved ones, so start there for a first try.
Score one clean, even line around the glass.
Let the two halves separate on their own in the ice water.
Trying to saw through the glass by hand.
Forcing the halves apart before the score fully releases.
12. Swap Plastic Pumps for a Glass Bottle Soap Dispenser by the Sink

Plastic pump bottles turn cloudy and streaked within a few months of sitting by a wet sink.
Unscrew the pump top from the old bottle, and if the neck opening does not match, wrap the base of the pump in a thin strip of rubber cut from an old bike inner tube before pressing it into the glass. Fill with liquid soap or lotion and it works exactly like before.
- Wine or olive oil bottles work best, the necks are usually a close match
- Thick shampoo can clog a narrow pump, thin it slightly with water first
The whole sink area reads more finished with one small swap.
💡 Quick Tip
Test the pump in the bottle dry before filling it with soap, so you are not troubleshooting a bad fit with a mess already inside.
13. Hang a Row of Bottles on the Balcony Wall as a Vertical Planter

A blank rail on a small balcony usually just ends up holding laundry clips.
Drill two small holes near the base of each bottle, thread rope or wire through, and hang the row from a horizontal board mounted to the rail. Fill each with potting mix and a trailing plant, something like pothos or string of pearls that can spill over the opening instead of needing to stand upright.
Stagger the bottle heights slightly so the vines overlap as they grow instead of hanging in a flat, even line.
A bare rail with nothing on it except a folding chair.
A hanging row of trailing plants catching the afternoon light.
14. Spray Paint Bottles in Ombre Shades for an Instant Bookshelf Styling Trick
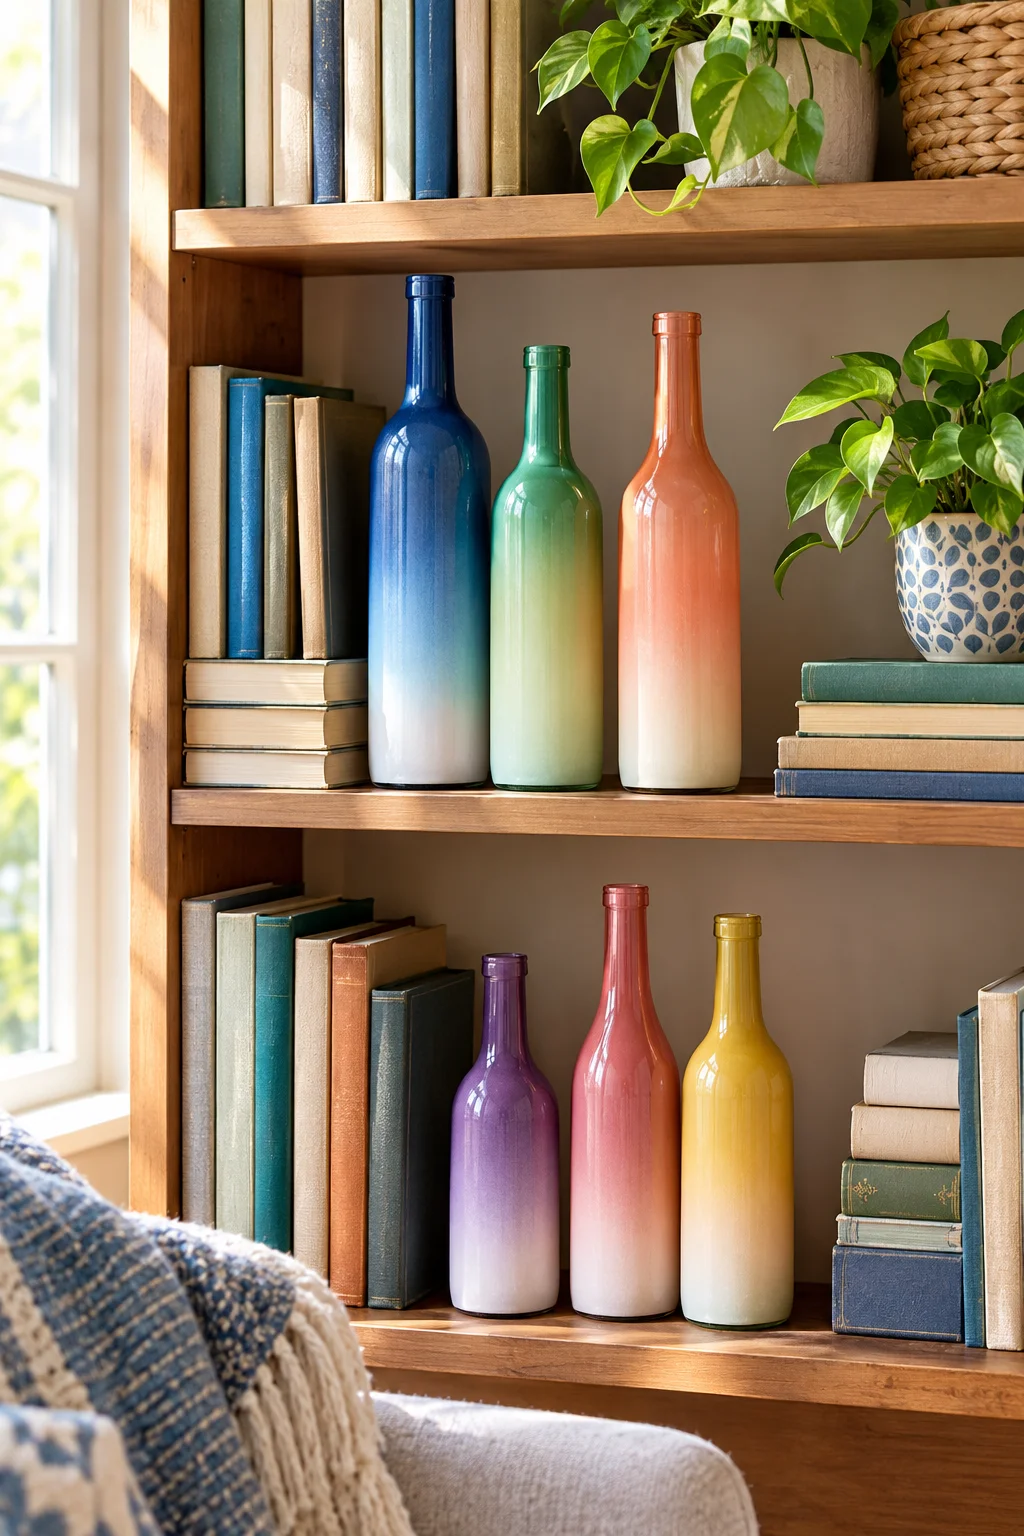
Tape off the bottom third of a bottle before the first coat of spray paint goes on.
Spray that exposed section, let it dry, move the tape line up an inch, and spray again with the same color. Each pass builds the color darker toward the base while the top stays lighter, no blending or gradient spray needed. Three or four bottles at slightly different heights make a small ombre set for styling between books.
Work in a well ventilated spot and keep coats thin, heavy spray tends to pool at the tape line and leave a ridge.
Tape off the bottom third and spray one light coat.
Let it dry, move the tape line up, and spray again.
Repeat once more, then peel the tape while the paint is still fresh.
15. Use a Bottle Neck as a No-Snag Ring and Bracelet Holder
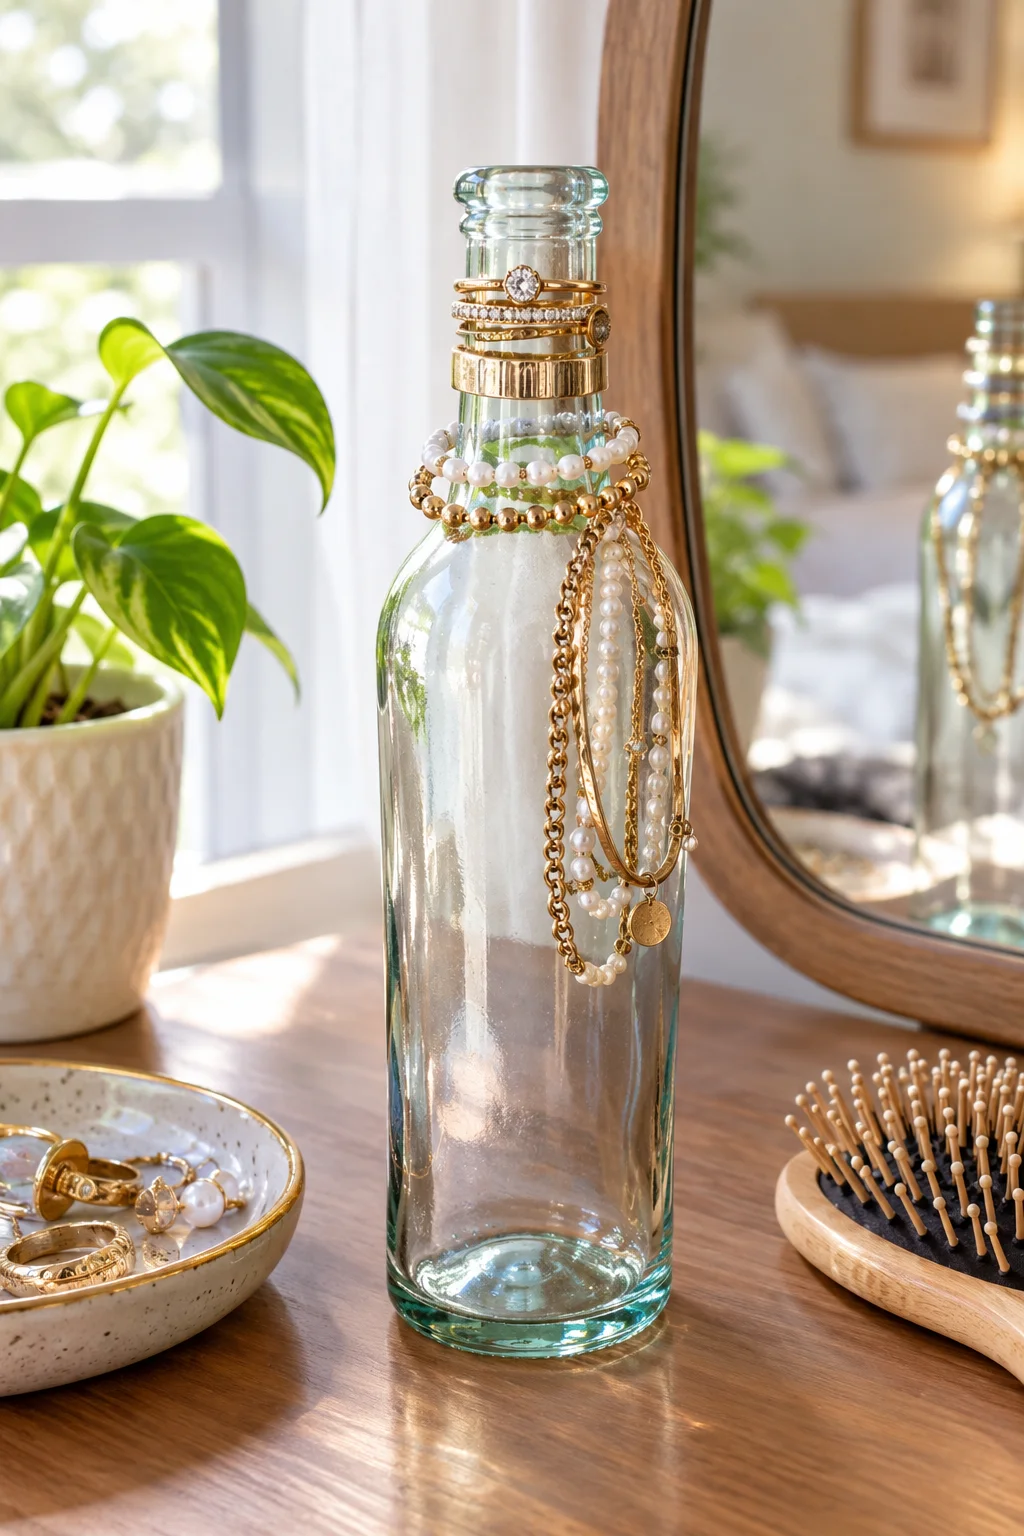
A bottle neck holds rings snug against the glass instead of letting them slide onto a dish and get lost in the shuffle of other jewelry.
No cutting or gluing here. Set an empty bottle upright on the dresser and slide rings down over the neck where it narrows, right below the opening. Bottles with a defined taper, like an old wine or olive oil bottle, hold jewelry better than straight sided ones.
Best for someone who takes rings off every night and wants them somewhere obvious by morning.
16. Etch a Pattern Into Glass for Vases That Look Hand Blown

Etched glass is not chiseled by hand, it comes from a cream that eats into the surface wherever a stencil blocks the rest.
Press a vinyl stencil onto a clean, dry bottle, smooth out any air bubbles, then brush on a thick layer of etching cream and let it sit for the time listed on the label, usually five to ten minutes. Rinse under warm water, peel the stencil back, and the pattern is permanent. It will not scratch off the way a painted design can.
Works well on curved surfaces where frosted spray tends to pool unevenly in the grooves.
| Etching Cream | Frosted Spray |
|---|---|
| Permanent, will not chip | Can wear thin near water |
| Best for stenciled patterns | Best for solid, all-over coverage |
| Needs gloves and ventilation | Needs ventilation only |
17. Drop Solar Lights Into Bottles for a Pathway That Glows After Dark
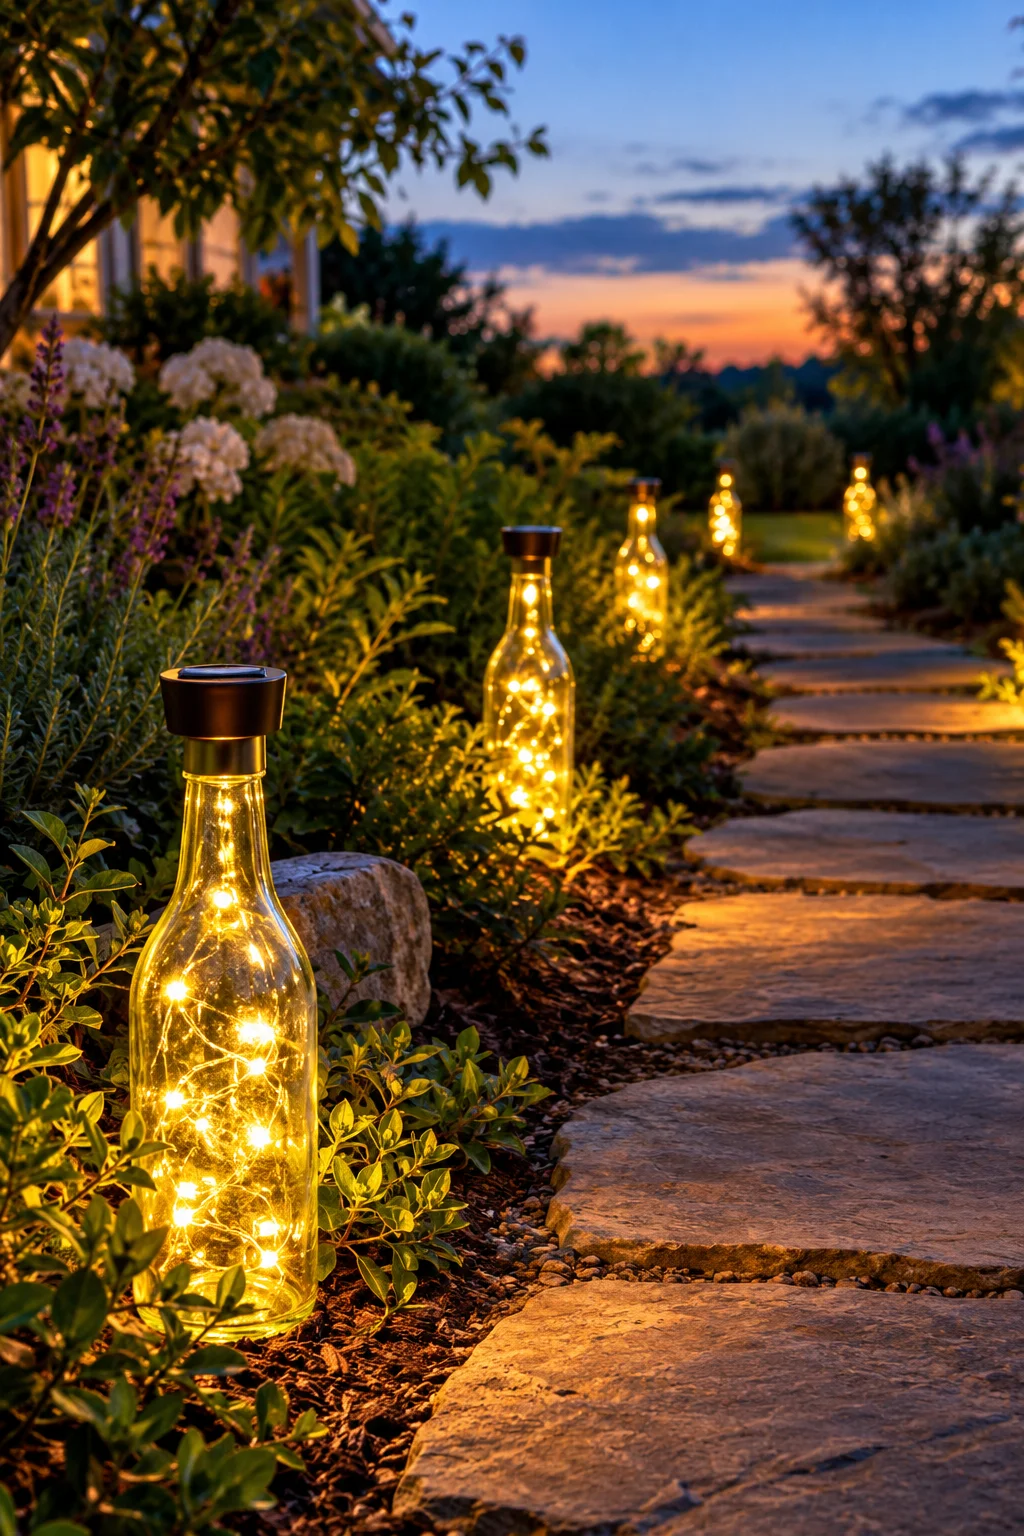
Solar caps only pull enough charge from real daylight, not the light coming through a window, so where you leave these during the day decides whether they glow at all once the sun goes down.
Drop a small solar garden light, cap and all, straight into a clear or lightly tinted bottle, then push the bottle neck into the soil along a path or flower bed. Space them a few feet apart so the light pools overlap slightly after dark.
- Clear bottles throw the brightest, most direct light
- Colored bottles soften it into a low, quiet path marker
Move them out of deep shade during the day or the charge runs out well before ten at night.
Face the solar panel straight up toward open sky, not toward a wall or overhang, or the bottle will sit dark come nightfall.
Save This for Later
Seventeen ideas is a lot to try at once, and that is not really the point. Keep this list bookmarked and come back to it room by room, a bottle here for the kitchen window, another for the porch, whenever you have one sitting on the counter and a few spare minutes.
What ties every one of these DIY glass bottle crafts together is that none of them asked you to buy anything fancy. A bottle you were about to recycle turns into a lamp, a planter, or a feeder with tools most people already own.
Start with whichever room feels most overdue for a little brightness, then let the rest follow when you are ready.
Easiest ones to start with