
Most closets are not too small. They are just badly used. The rod sits at one height, the shelf above it holds a single stack of towels, and the floor turns into a pile of shoes and a laundry bag nobody wants to look at.
Store bought closet systems promise to fix that, and some do. But they cost a lot and rarely fit an odd corner or a rental with slanted walls. A few boards, some crates, a wood dowel, and a free weekend can do more than you would expect.
That is what this list is about. These 16 DIY closet organization hacks to maximize every inch use cheap materials, simple cuts, and tools you probably own already, mostly a drill and a tape measure. Some take twenty minutes. A couple need a full afternoon. All of them go after the same thing: space you already have but are not using.
Start with the ideas that match your closet, skip the rest, and come back later for round two.
Stack Wooden Crates Into a Floor to Ceiling Shelf Tower

Look at a wooden crate turned on its side and you will see a ready made cubby. Stack six or seven and you have a tower.
The build is simple:
- Stack the crates open side out, with the slats running the same direction.
- Screw each crate to the one below it through the inside corners.
- Anchor the top crate to a wall stud with an L bracket so the tower cannot tip.
Sand rough slats first, because splinters snag knits. One coat of the same stain on every crate also hides the fact that they came from three different places.
One deep shelf with one tall pile of sweaters. Anything at the bottom has been forgotten for a long time.
One category per crate. Hoodies in one, tees in another, gym gear in the third. Fold, stand up, grab.
Mount a Shelf Above the Rod to Claim the Dead Space Up High
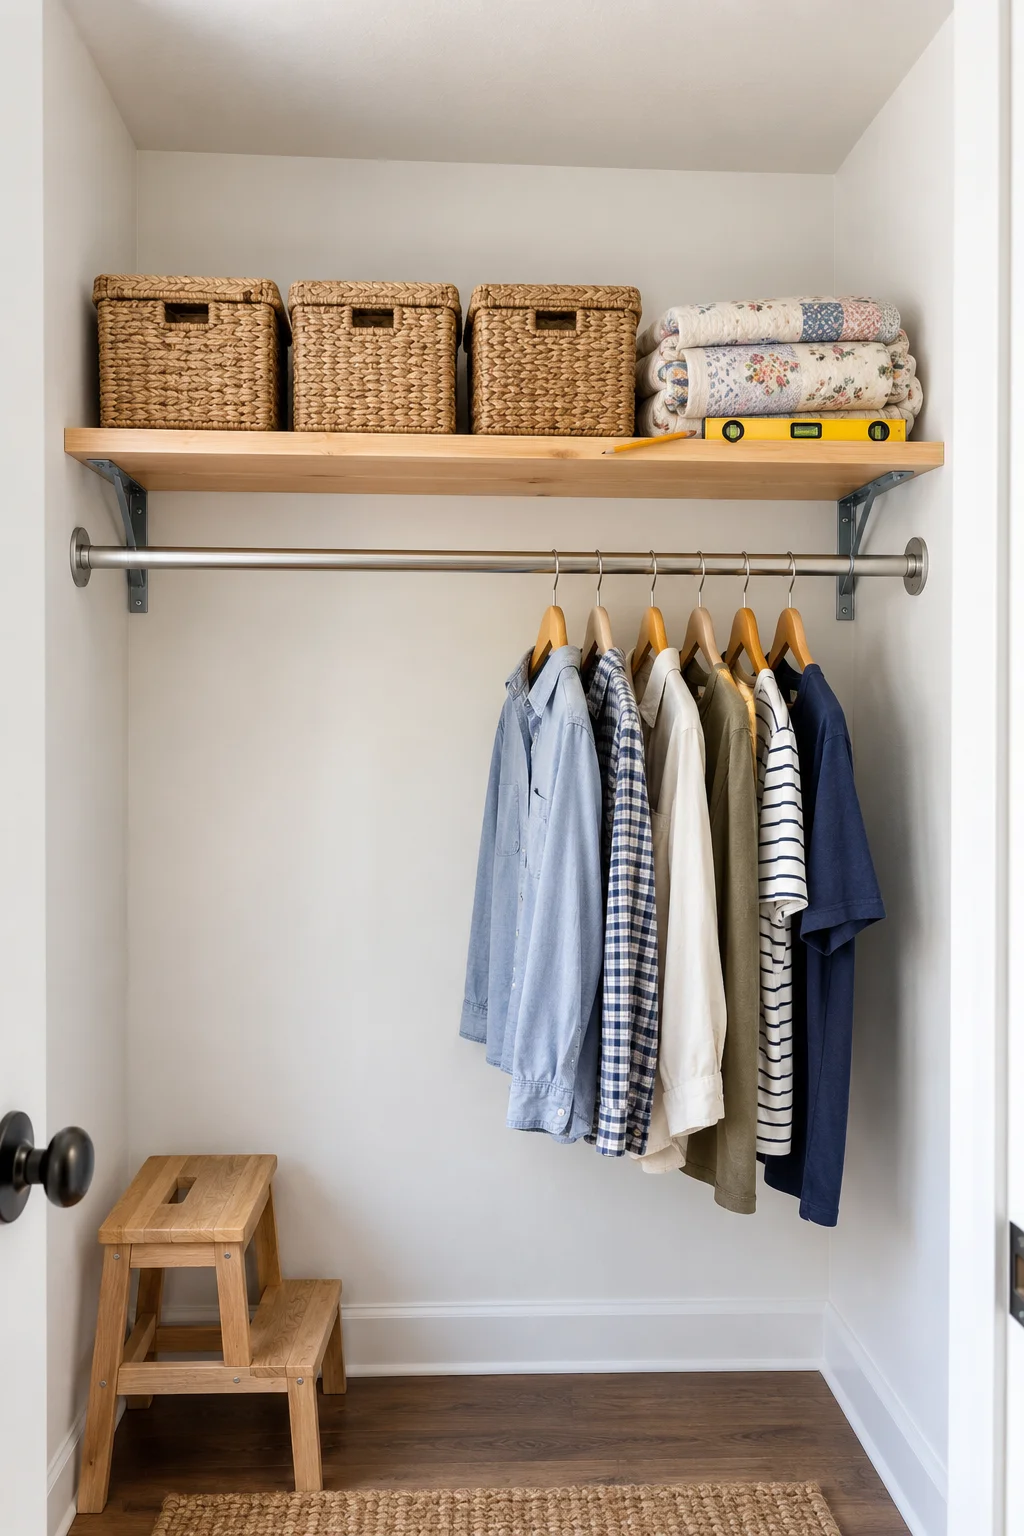
The gap between your rod and the ceiling is the most wasted spot in the whole room.
One board on brackets fills it. Cut a pine 1×12 to the width of the closet and screw metal L brackets into the wall studs. Drywall anchors alone will not hold a loaded shelf, so use a stud finder before you drill.
Save this shelf for things you reach for twice a year, like spare bedding, a suitcase, or holiday decor in lidded baskets. Keep daily items lower, where you can see them.
💡 Quick Tip
Hang a hanger on the rod before you tighten the shelf brackets. If the hook clears the board with a finger’s width to spare, the height is right.
Build a Narrow Pine Cubby Tower to Split a Walk In Into Zones
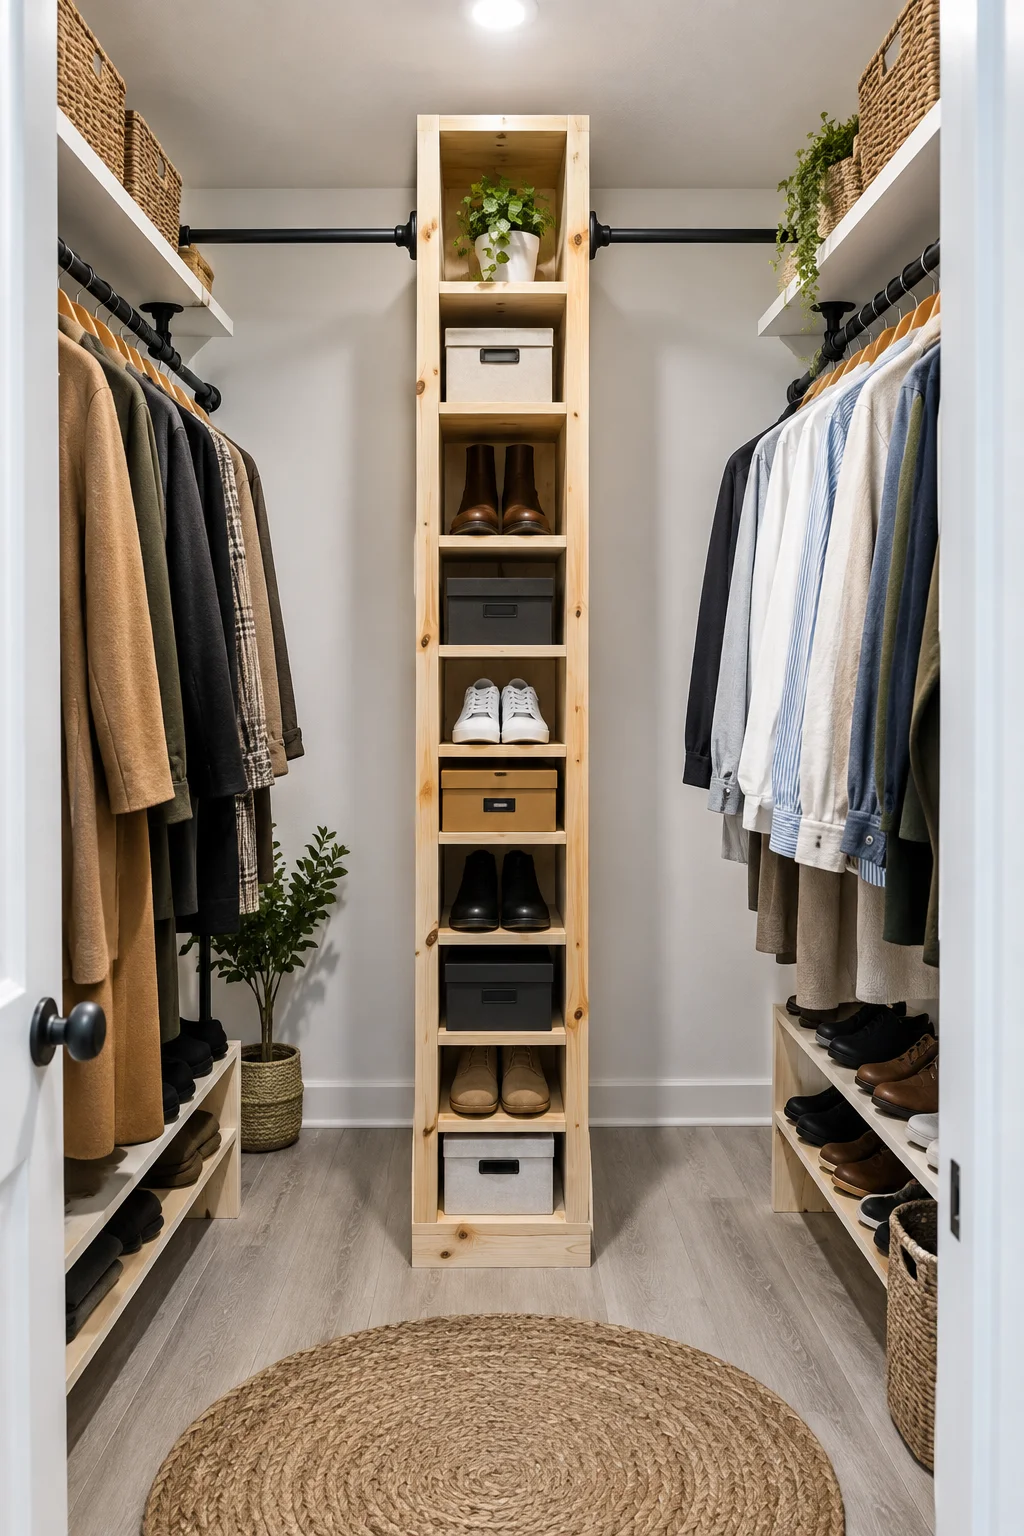
A slim tower of open cubbies does two jobs at once. It stores small things, and it splits a big closet into zones.
Build it from pine 1×12 boards: two tall sides, a top, and fixed shelves. Shoe boxes, folded jeans, and bins all need different heights, so measure your stuff before you cut anything.
The rod flanges screw straight into the side panels, which means each side of the tower becomes its own hanging area. Put long items on one side and shirts on the other. Screw the tower to a stud so it stays put.
Hang a Wood Dowel Rod From Wall Standards Instead of Buying a System
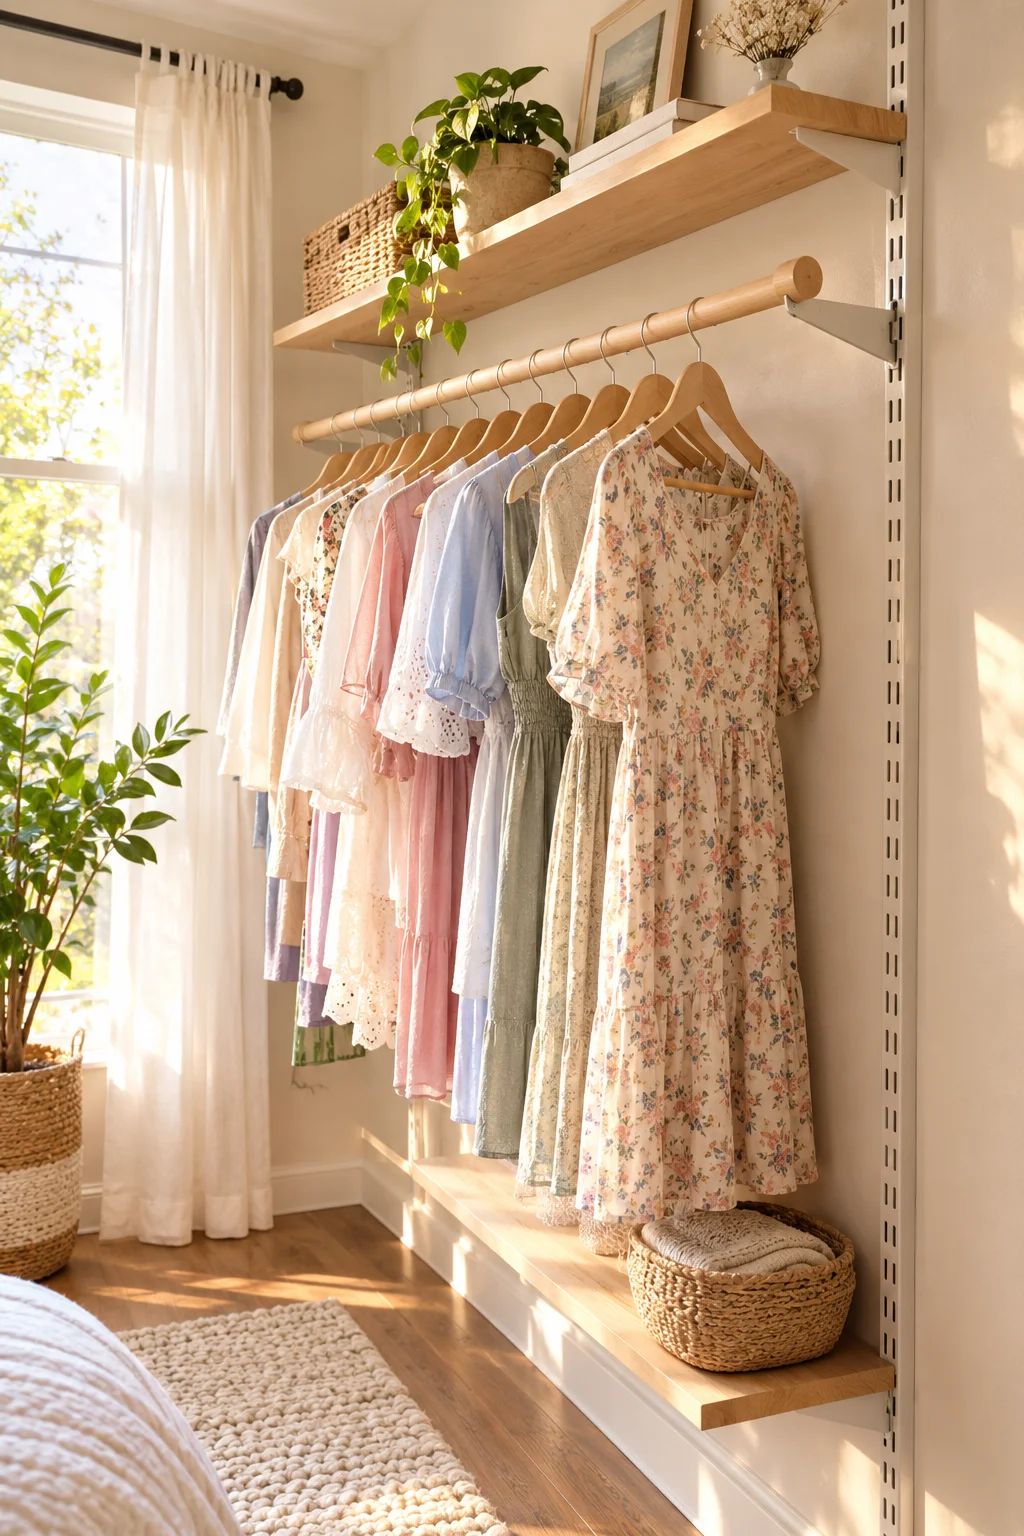
Buy the standards, not the system.
Wall standards are the slotted metal strips that screw to the wall. Brackets click into any slot, so shelves and rods can move whenever your wardrobe changes. A plain wood dowel from the hardware store, sanded and sealed, becomes the rod. It looks warmer than chrome and usually costs less than a branded kit.
Long spans sag under a full load, so add a center support if your rod runs wide.
Mark a level line on the wall and find the studs along it.
Screw the standards into the studs, checking with a level as you go.
Cut the dowel to length with a hand saw, then sand the ends and seal it.
Click the brackets in, rest the rod on top, and load it up slowly.
Double Hang Shirts and Pants on Two Rods at Different Heights
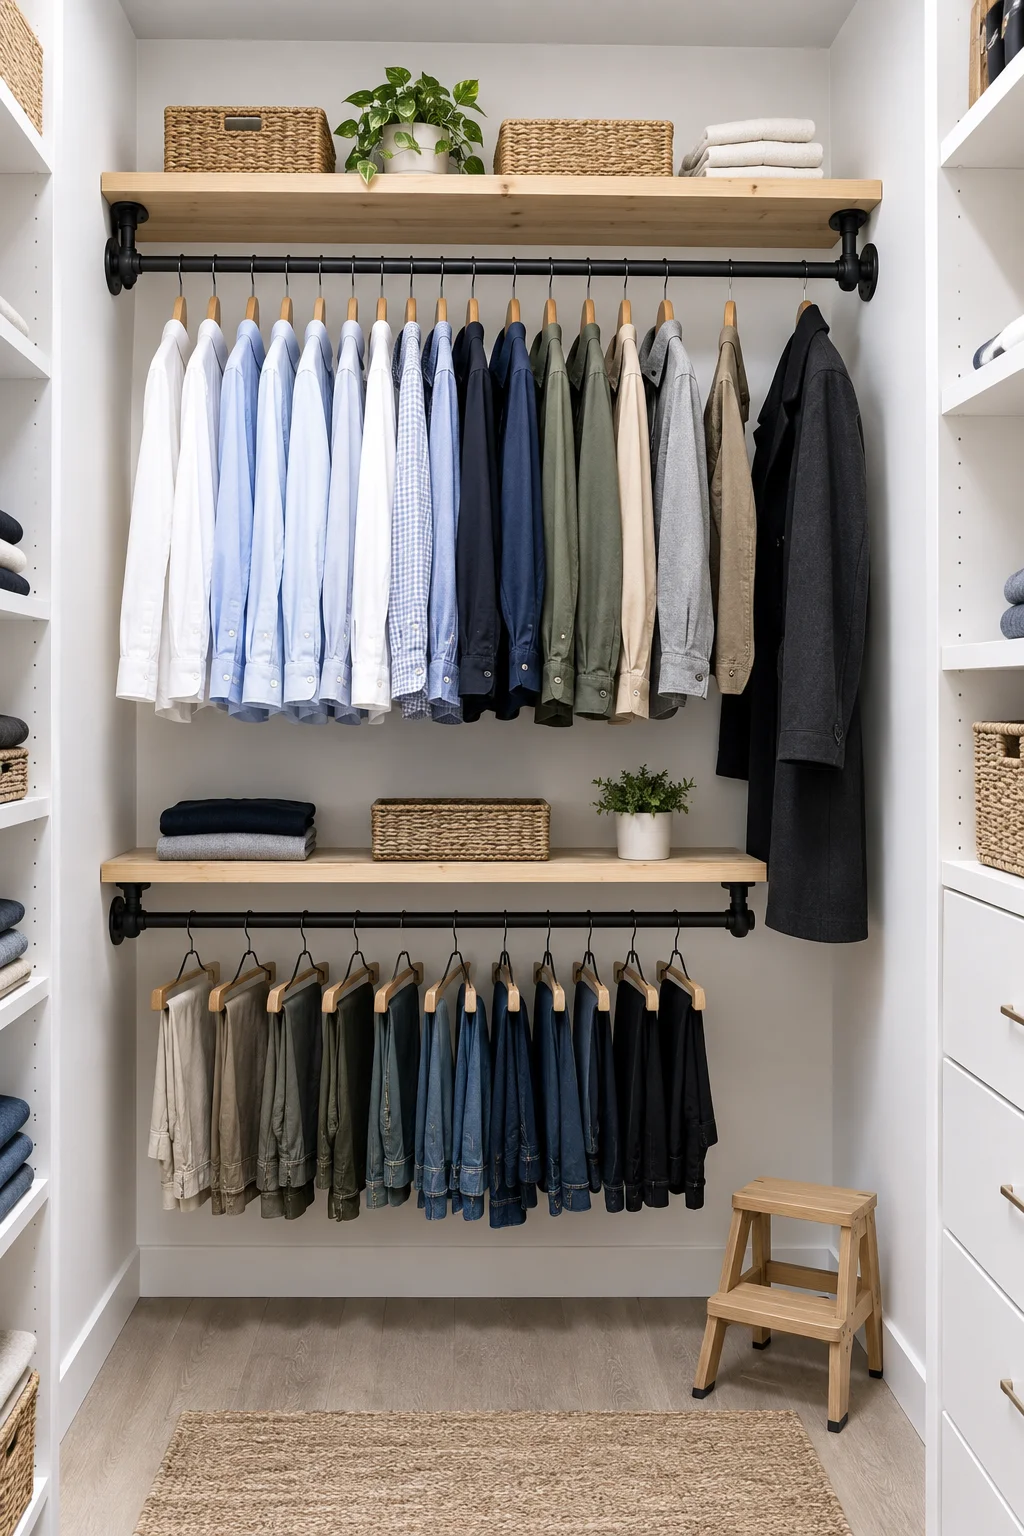
Double hanging is not just for big walk ins.
Shirts and folded pants need about half the height of a dress, so one tall rod wastes everything under them. Two rods fix that:
- Set the upper rod high enough to reach without a stool.
- Set the lower rod about halfway down the wall.
- Leave one single height section for long coats and dresses.
Put your everyday shirts on the lower rod. It is the one you reach for most, so it should be the easiest to get to.
Hang shirts and cardigans on the upper rod.
Fold pants over the hanger bar on the lower rod.
Use rods with a wall flange at each end for strength.
Hanging long dresses over the lower rod. The hems will pile on the floor.
Setting the top rod so high you need a step stool daily.
Loading a long unsupported span with heavy coats.
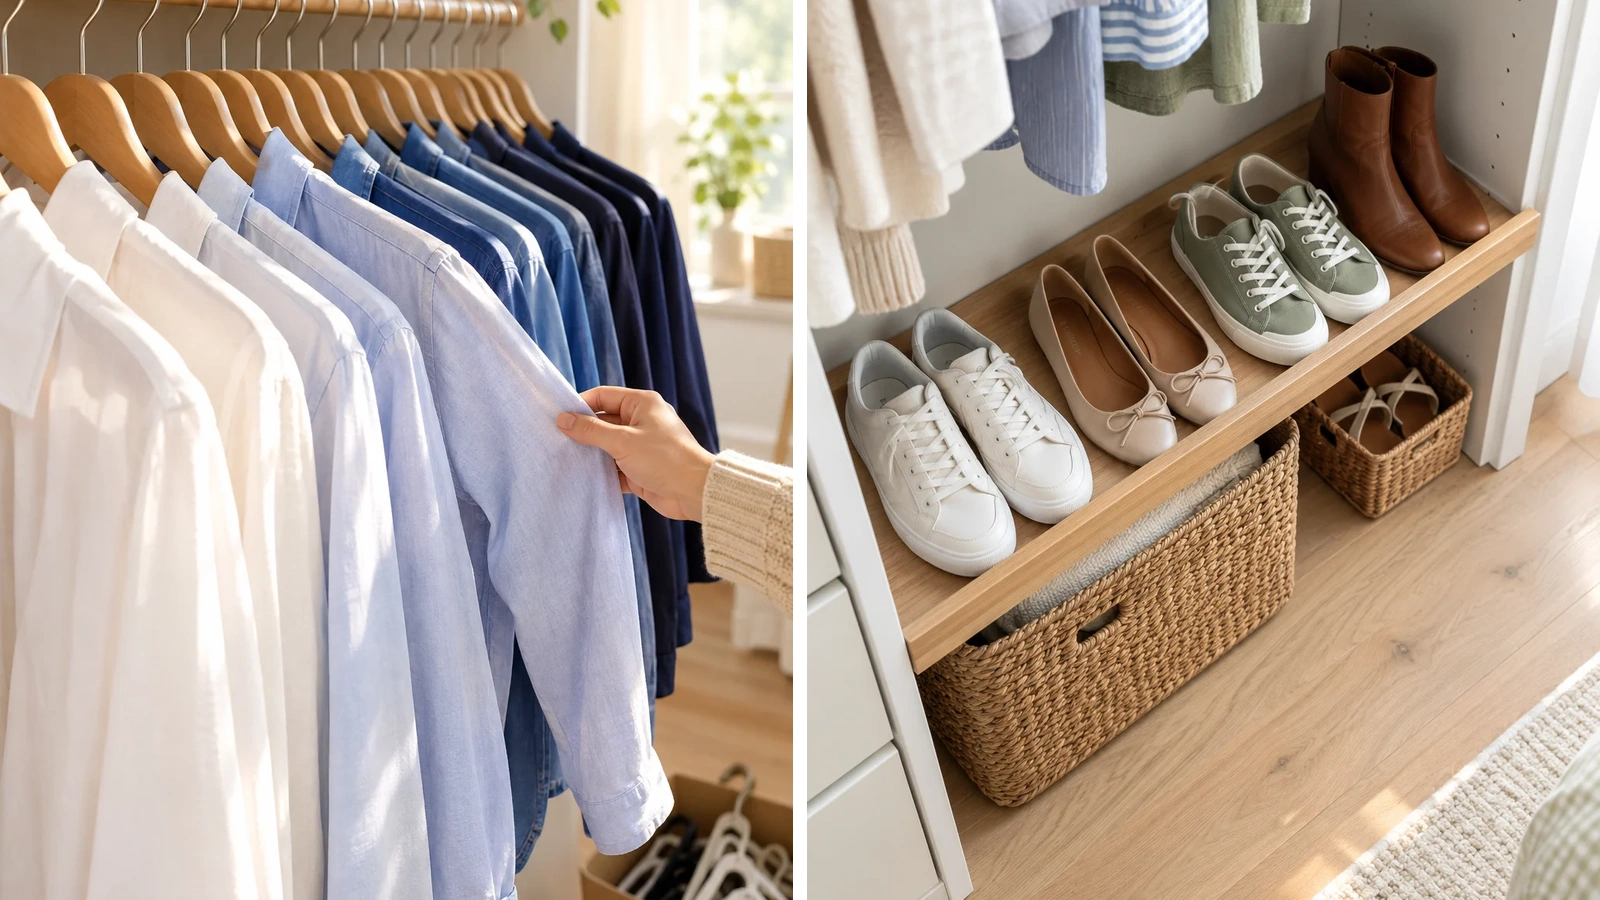
Switch to Matching Wood Hangers and Sort by Color
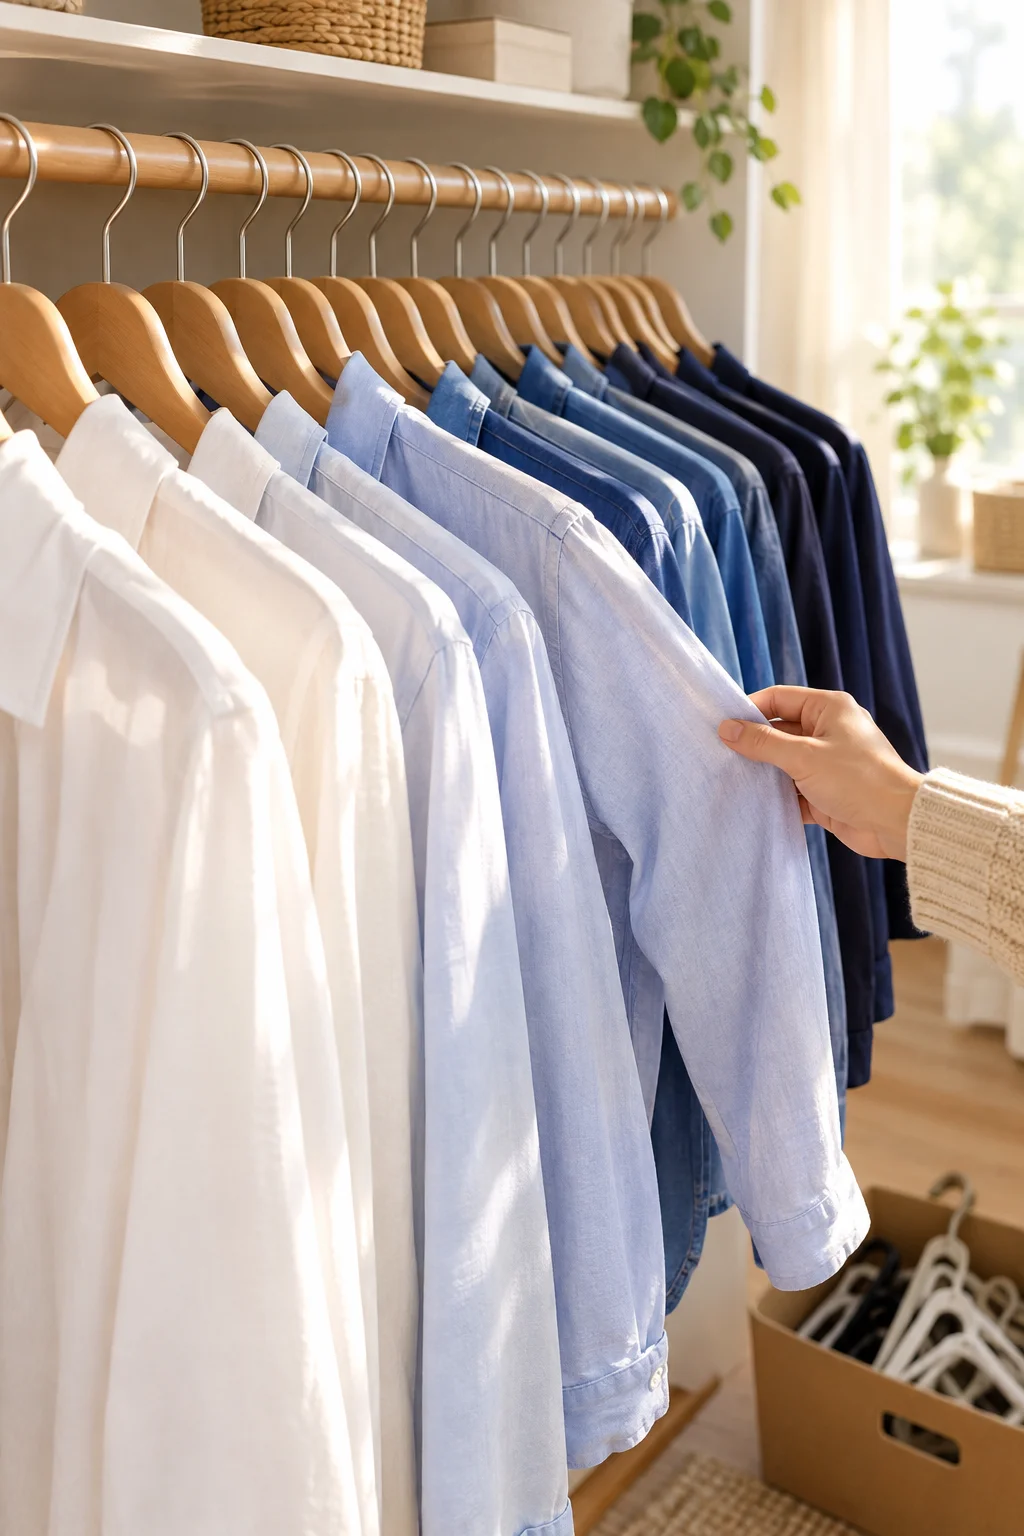
One hanger style per closet. That is the whole rule.
Plastic, wire, and velvet hangers all sit at different heights and tangle with each other. Swap them for one slim wood style and the row of clothes hangs level, so the rod suddenly looks twice as tidy. Then sort by type first and color second, light to dark, because that is how most of us actually hunt for a shirt.
Do the swap in one sitting. Clear the rod, change every hanger, and put things back in order. A half finished job leaves the row looking uneven for months.
Before you start swapping
Turn the Bottom Shelf Into a Shoe Ledge

The floor of most closets is a heap of shoes with the heels pointing every direction.
A low ledge fixes it. Screw a 1×10 board between two side panels or wall brackets, roughly a foot off the floor. Then add a thin 1×2 strip along the front edge as a lip, so nothing slides off when you grab a pair.
The best part is what happens underneath. That gap is now free for a laundry basket or a bin of gym gear.
Sneakers and flats fit fine on a shelf this shallow. Boots need more room, so leave one end open for them.
Line Up Woven Baskets on the Top Shelf With Handwritten Tags

Woven baskets and lidded fabric bins both hide clutter, but they act differently on a high shelf.
Woven ones let air move and give you a small peek at what is inside. Fabric bins with lids stack well and keep dust out. Choose by what goes in them, not by which one looked better in the store.
Either way, tag them. Punch a hole in a kraft paper tag, tie it on with twine, and write the contents in thick marker. Face the tag out so you can read it from the floor. Without labels, a basket shelf becomes a mystery shelf within a month.
| Woven basket | Lidded fabric bin |
|---|---|
| Lets air through, so it suits towels and linens. | Keeps dust out, so it suits off season clothes. |
| Open top makes it quick to grab and put back. | Stacks two high when the shelf is tall. |
| Rough edges can snag knits, so line it with a pillowcase. | Lids sag when the bin is overstuffed. |
Swap Sweater Piles for Wire Bins
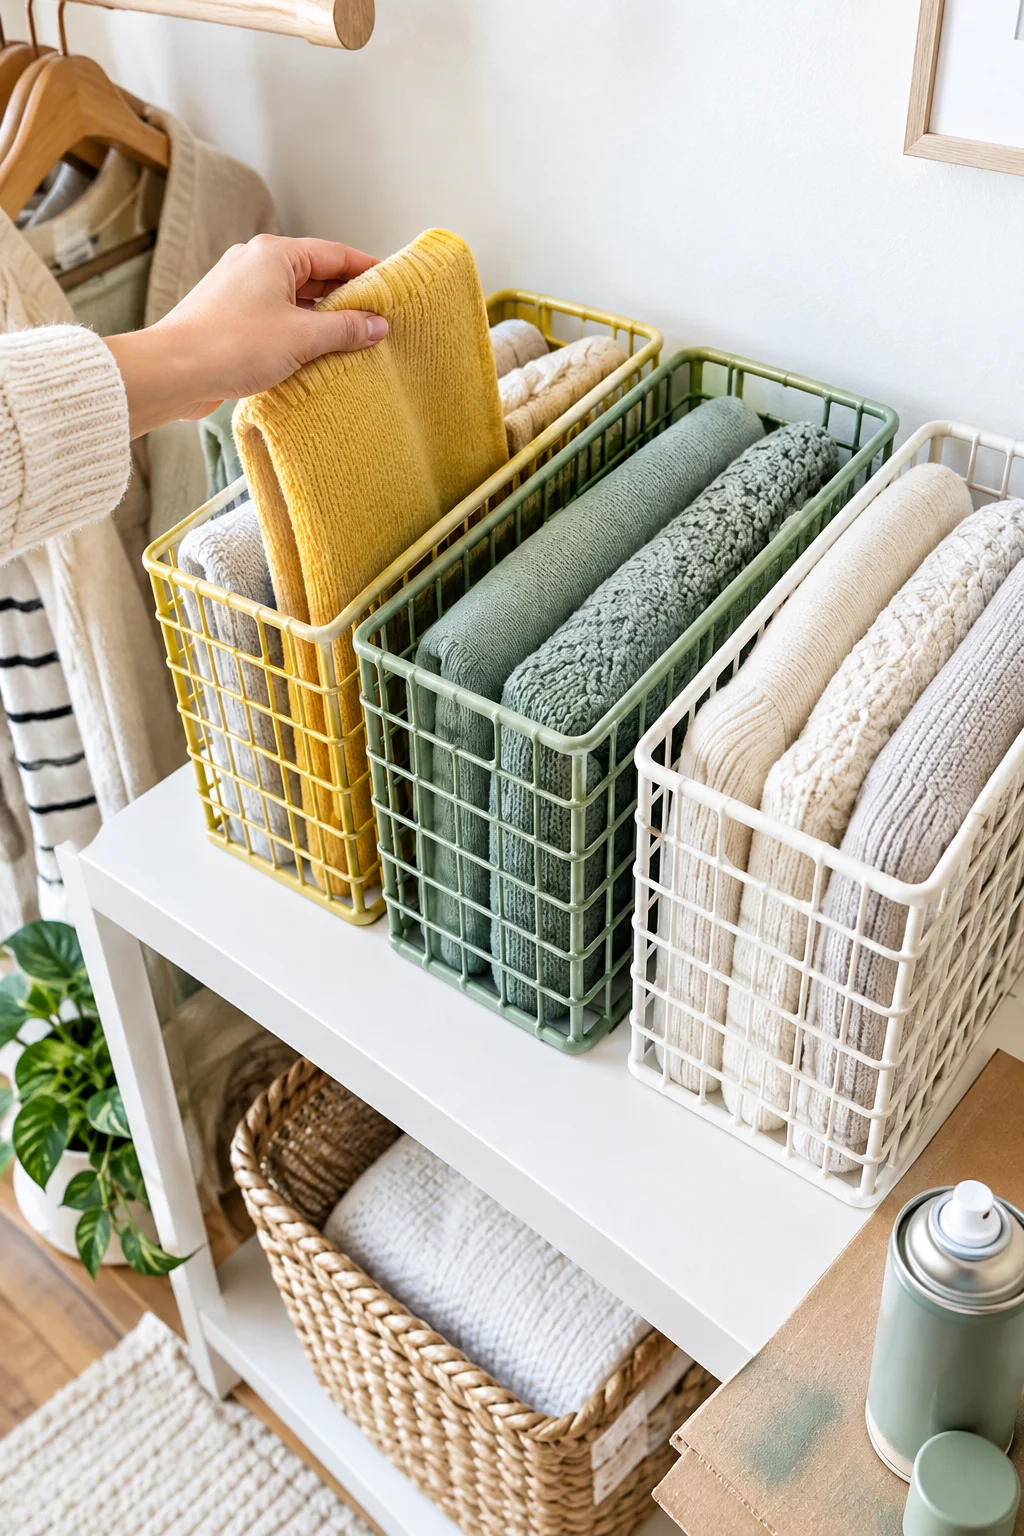
Sweater piles have one flaw. The one you want is always on the bottom.
Wire bins fix it, and cheap ones from a discount store work fine. If they do not match, a can of matte spray paint turns a random set into a matching one. Paint them outside on a sheet of cardboard, and let them cure fully before you load them up.
Then change how you fold:
- Fold each sweater in thirds.
- Stand it upright in the bin, like files in a drawer.
- Give each bin one type of clothes, such as knits, tees, or workout gear.
One bin holds one type of clothes. When the bin stops closing or fitting, that is your cue to donate something before buying another one.
Cut a Cardboard Folding Board for Stacks That Match
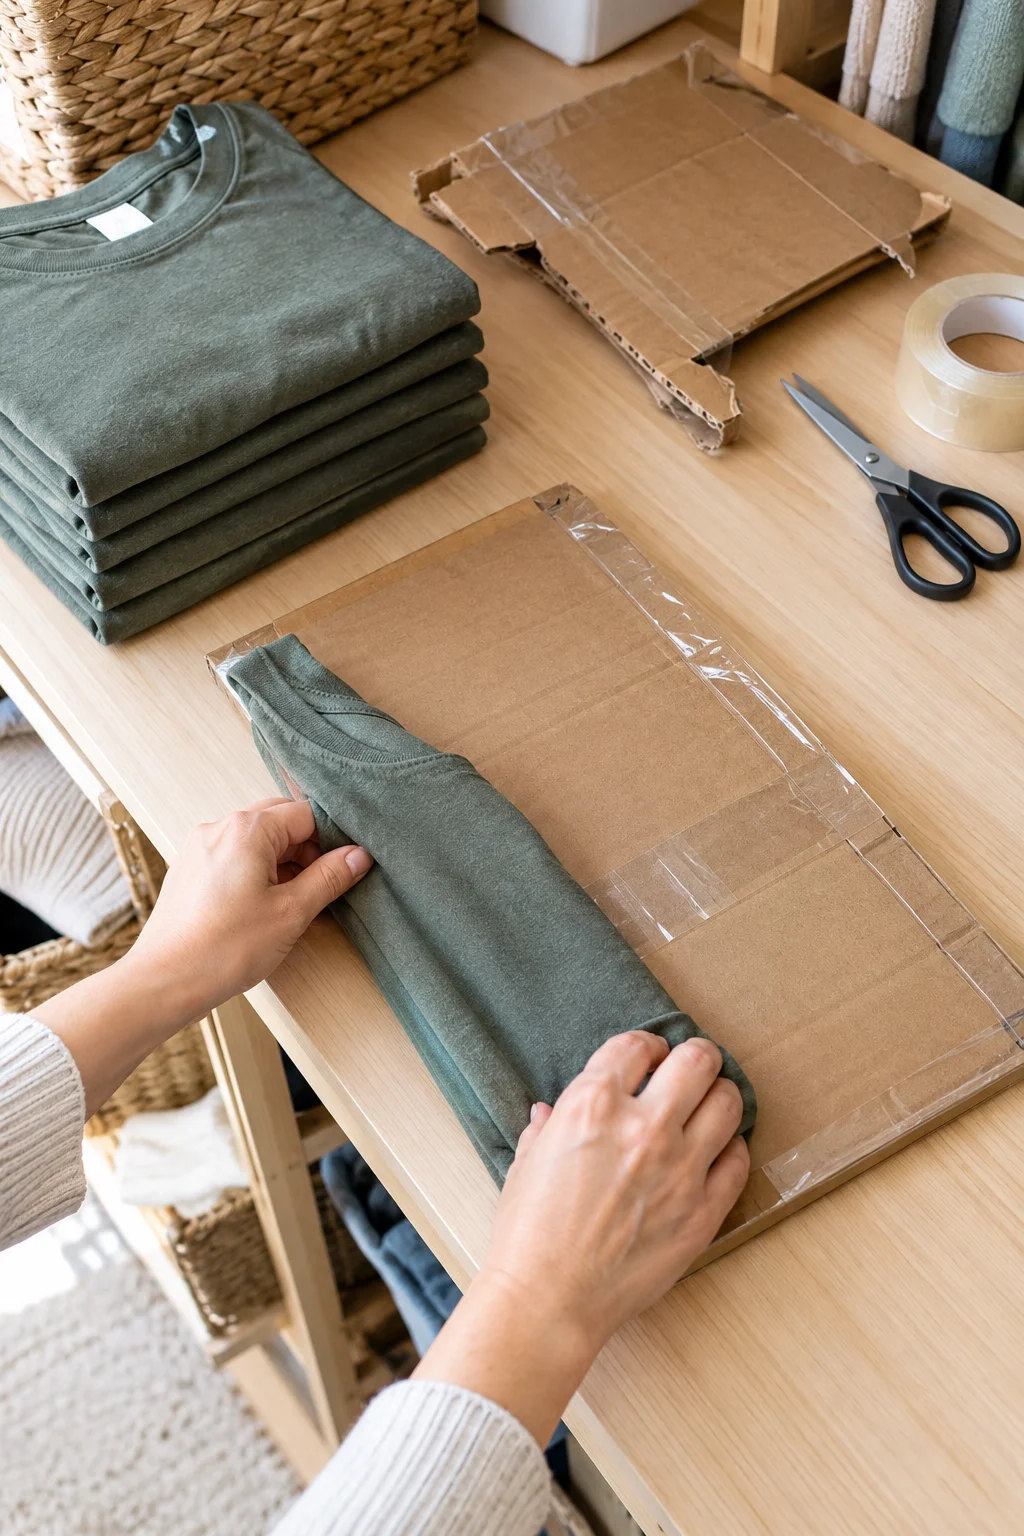
Shelf stacks lean when the folds are all different sizes.
A folding board solves that, and you can cut one from a sturdy shipping box. Every shirt folded around it comes out the same width, so stacks line up straight and every bin holds the same amount.
Keep the board on the shelf where you fold. If it lives in a drawer, it will not get used.
Cut a rectangle from a sturdy box, about the size of a folded shirt.
Wrap the edges in packing tape so the cardboard does not fray.
Lay the shirt face down, set the board below the collar, and fold both sides over it.
Fold the bottom up over the board, then slide it out and stand the shirt up.
Screw a Slim Tie and Belt Bar to the Side Wall

Belts curl up in drawers and ties get creased in bins. A bar on the side wall gives each one its own spot.
The build takes about twenty minutes:
- Cut a 1×3 pine board to fit the gap on your side wall.
- Drill holes every two inches, tilted slightly upward.
- Glue a short dowel into each hole, then screw the board to the wall.
The upward tilt is what keeps ties from sliding off. Hang belts by the buckle and ties over the peg, and you can see every pattern at a glance.
Belts coiled in a drawer, ties stuffed into a bin. You dig through both every morning and the ties come out wrinkled.
One belt per peg and ties hanging straight. The drawer you cleared is now free for socks.
Hang Bags From S Hooks at the End of the Rod
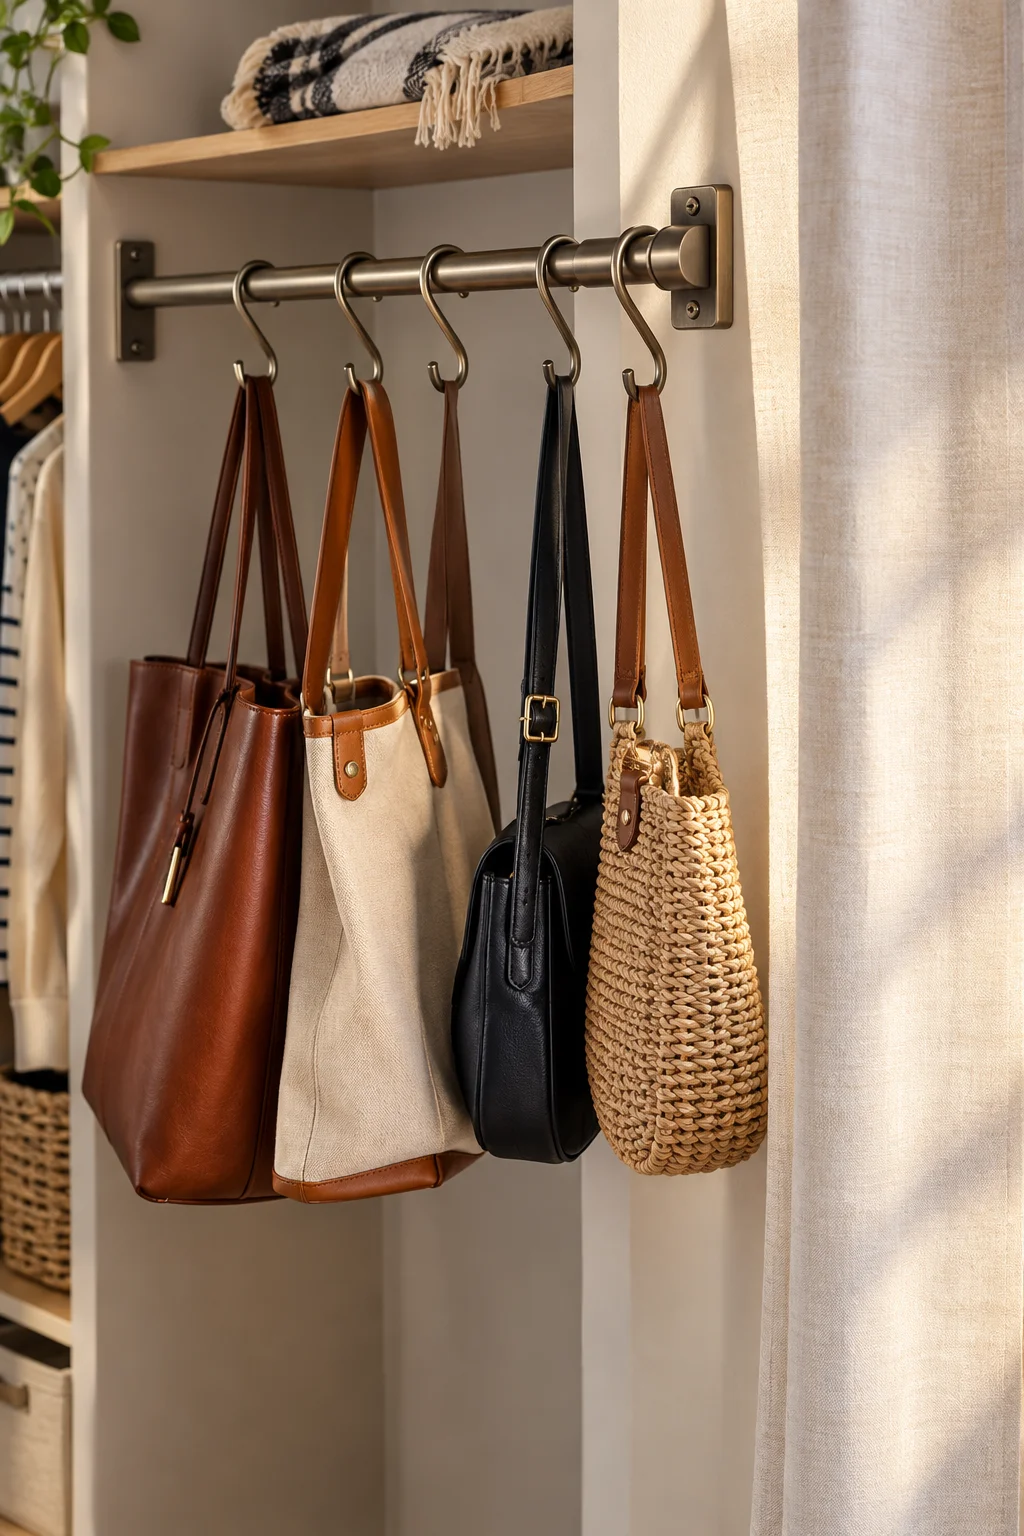
Handbags tipped over on a shelf lose their shape fast, and the straps end up crushed under the next bag.
S hooks fix it. Slide a few onto the end of the rod, loop one strap over each hook, and let the bags hang in a row like clothes. You see every bag, and nothing sits on top of anything else.
Pick metal hooks with a closed curve so straps cannot slip off. Then put the heaviest bag closest to the wall bracket, where the rod is strongest.
⚠️ Watch Out
A dowel or pipe rod that holds a row of shirts can still bow under three full totes. Check the rod’s weight rating on the package, and add a center support if the span is long.
Turn the Back of the Door Into a Pegboard Wall
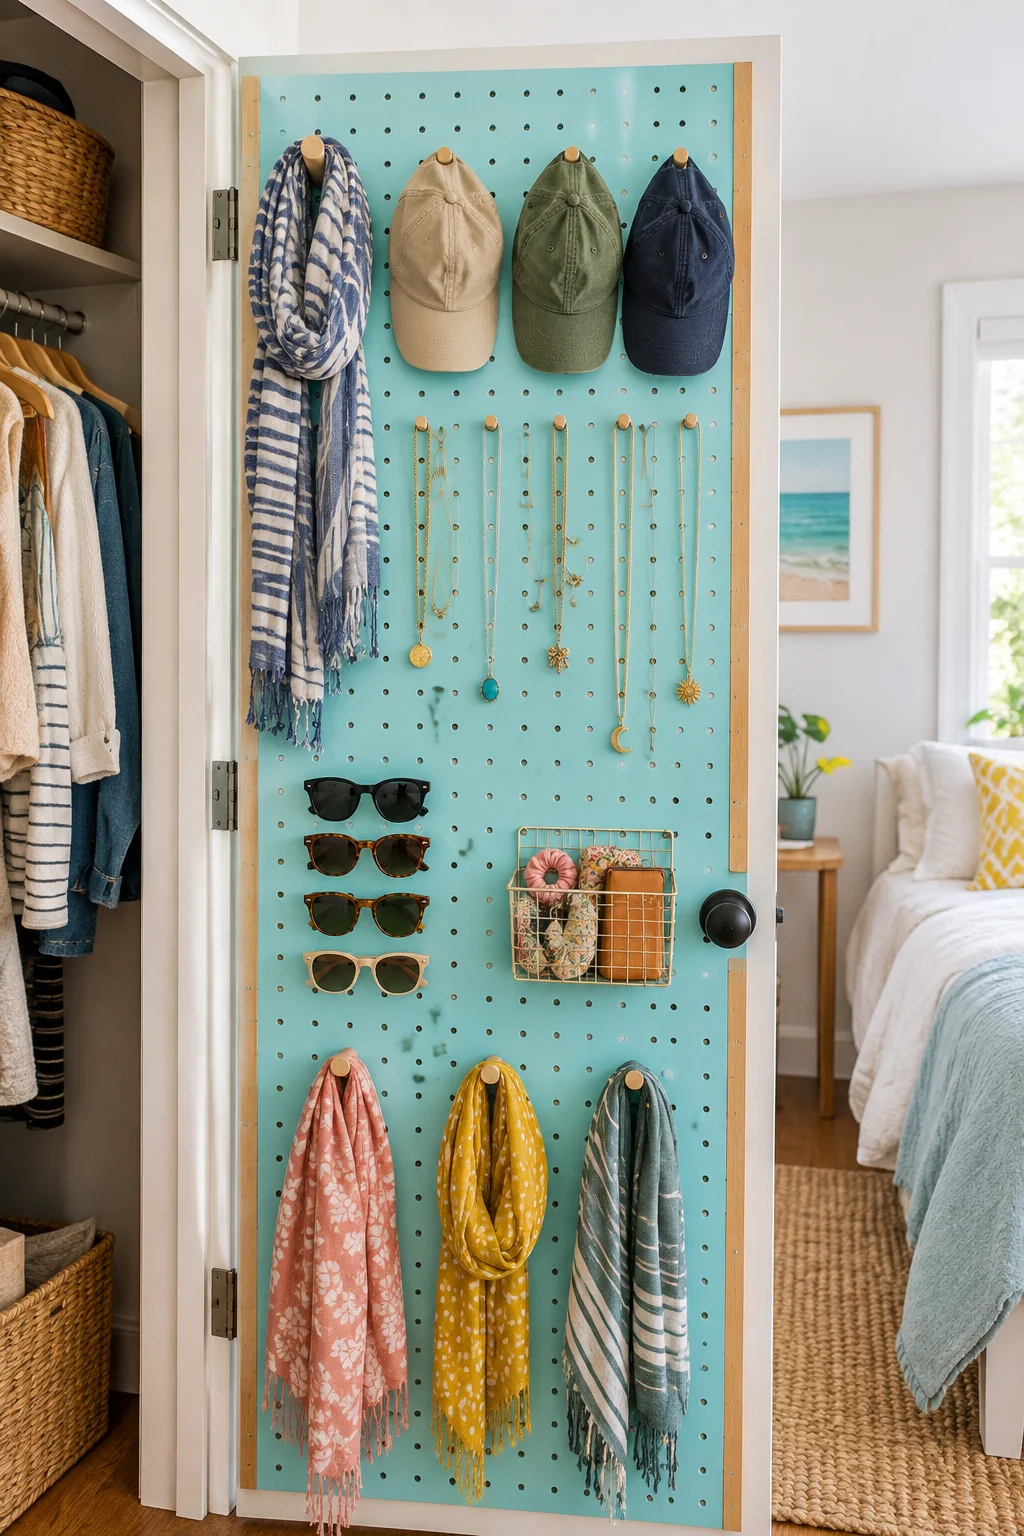
A closet door is a free wall that happens to swing.
Cut a sheet of pegboard to fit the back of it and screw it on with thin wood strips behind, so the hooks have room to sit. Paint it before you mount it, because a bare brown board looks unfinished even when it is full.
Two checks before you drill:
- Close the door with the board on to make sure it clears the frame.
- Make sure the hooks will not bump the shelf or rod inside.
Keep the load light here. Doors are not built to carry much.
Stick Battery LED Strips Under the Shelf Edge
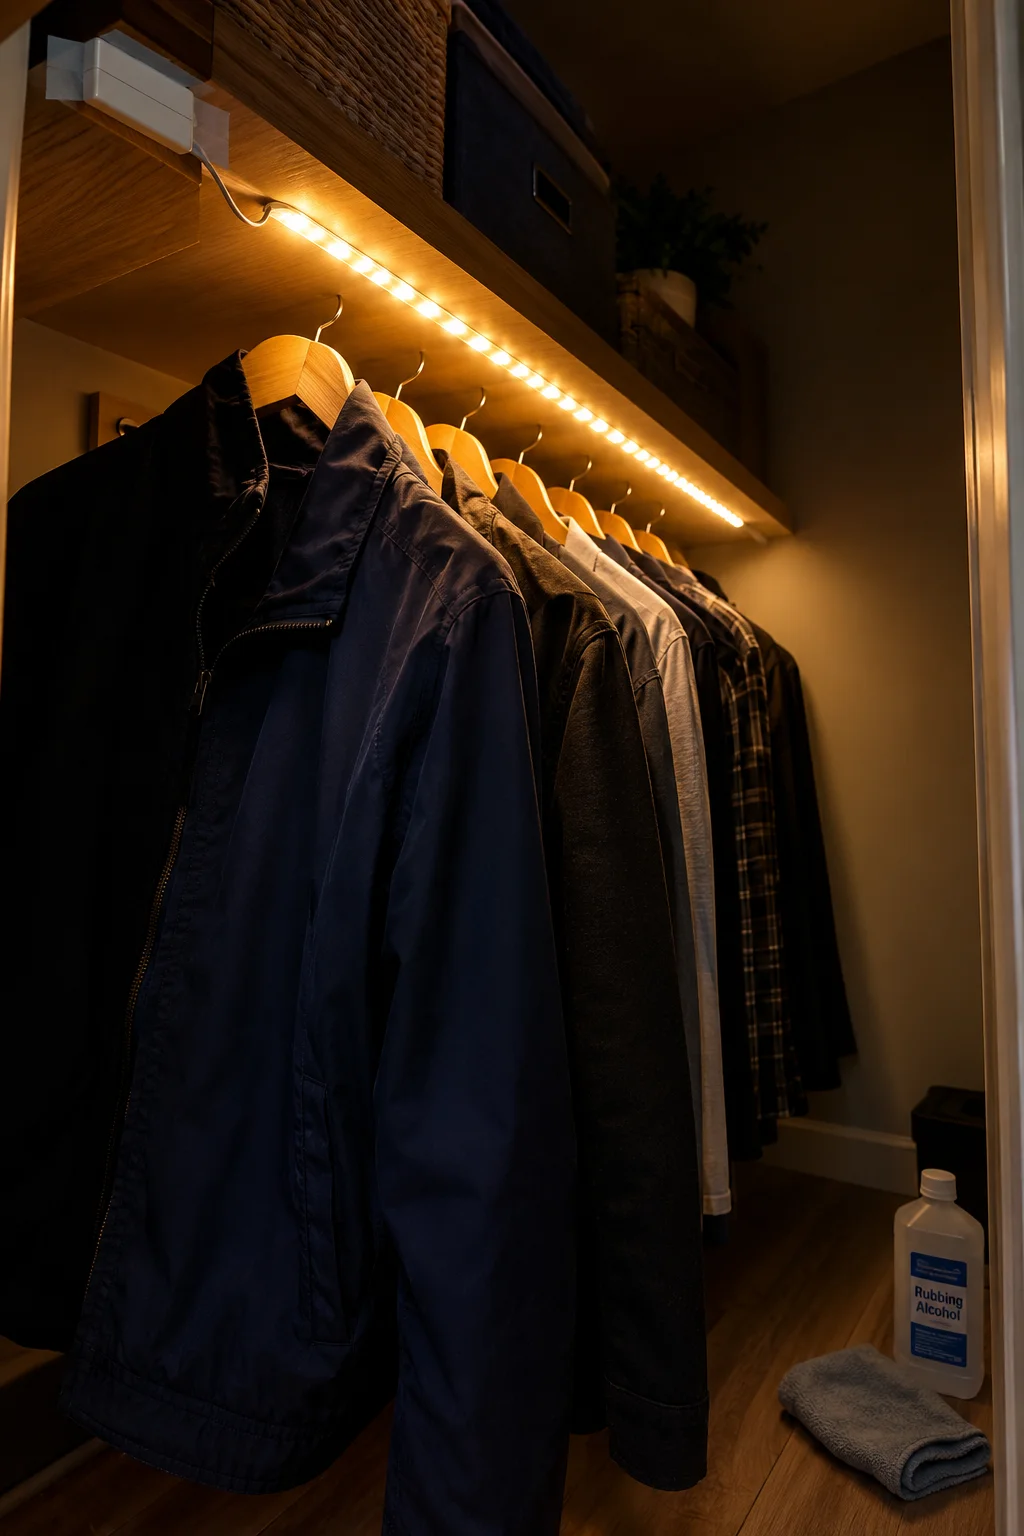
Light belongs where your eyes go, not on the ceiling.
Most closets have one bulb that ends up behind your own shoulder, so the clothes you want are in shadow. A light strip stuck under the front edge of a shelf shines straight down onto the rod.
Wipe the wood with rubbing alcohol first, because the adhesive backing will not hold on dust. Press the strip along the edge for about thirty seconds. Choose a warm white tone so navy and black do not look like the same color.
| Battery strip | Plug in strip |
|---|---|
| Peel and stick. No outlet needed. | Needs a cord run to an outlet, so plan the route first. |
| Batteries run out. A motion sensor model saves them. | Nothing to swap once it is up. |
| Best for renters and small closets. | Best for walk ins with an outlet nearby. |
Cut Scrap Plywood Dividers So Shelf Stacks Stop Tipping
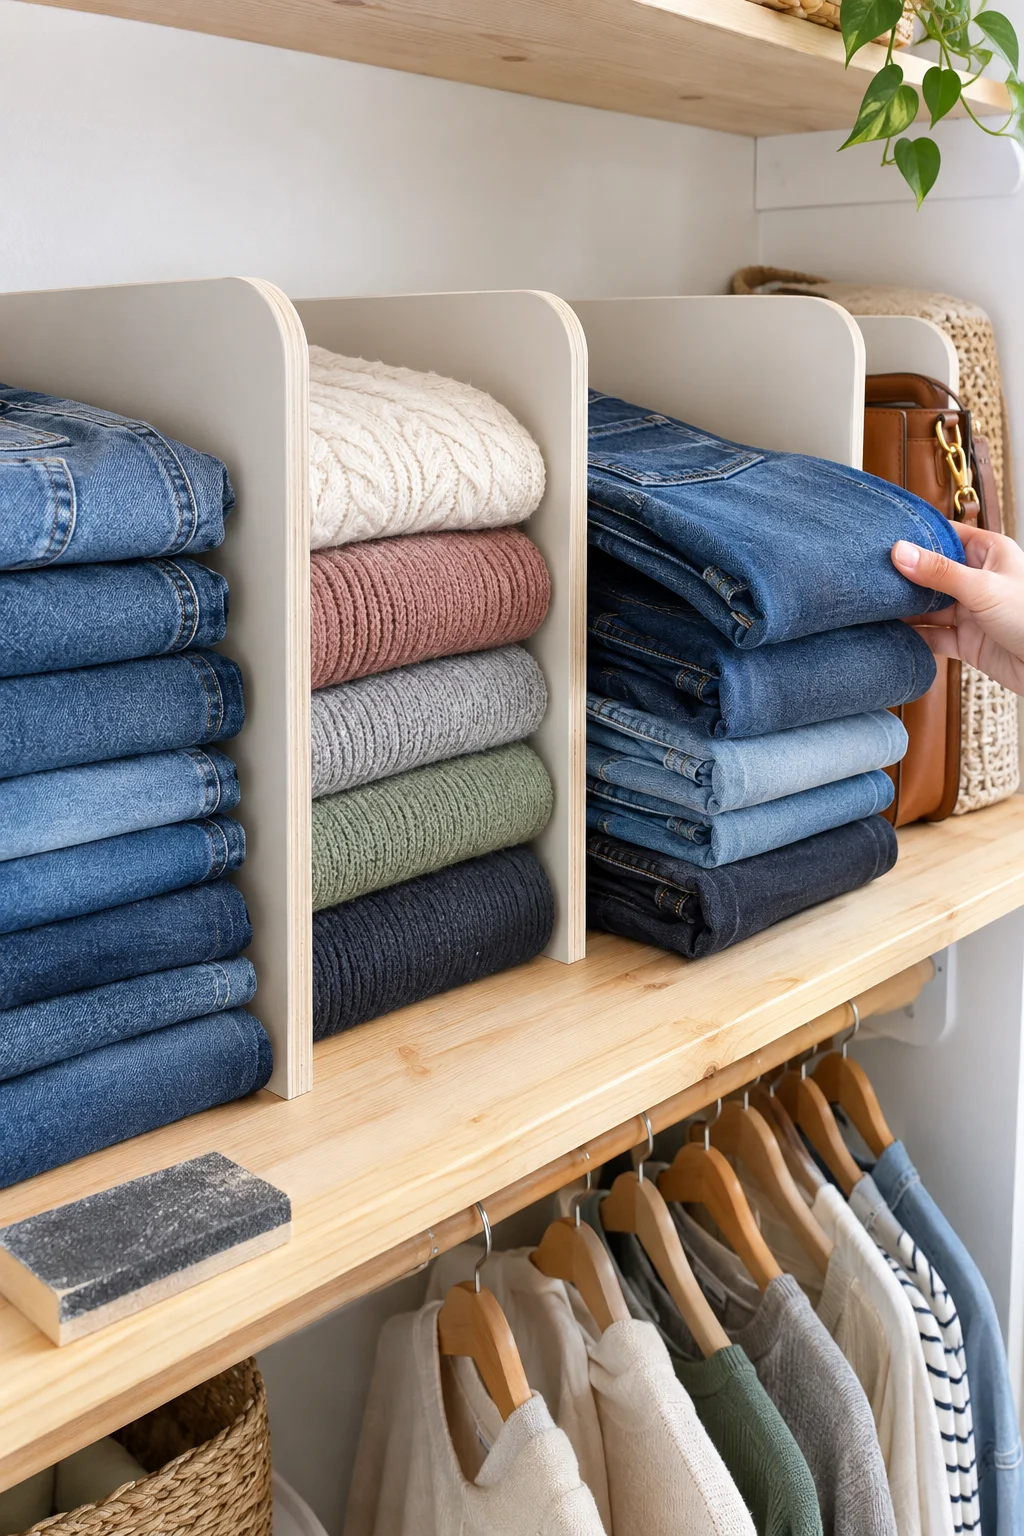
Shelves do not need to be deeper to hold more. They need walls.
A wide shelf with no dividers is just a place for stacks to lean on each other. Cut vertical panels from scrap plywood and each stack gets its own space:
- Space them one stack wide, plus room for your hand.
- Sand the top edge so it does not snag knits.
- Screw up through the shelf from below so they stay put.
Folded jeans, sweaters, and purses all stay upright this way, and the pile on the end stops sliding into its neighbor.
Cut dividers slightly shorter than the shelf depth so they do not stick out.
Paint or stain them to match the shelf.
Test one divider with a real stack before you cut the rest.
Spacing them so tight you cannot pull a stack out.
Leaving them loose on a shelf that gets bumped.
Using them on a thin shelf that already sags.
Keep a Donate Basket at the Bottom and Reset Once a Month
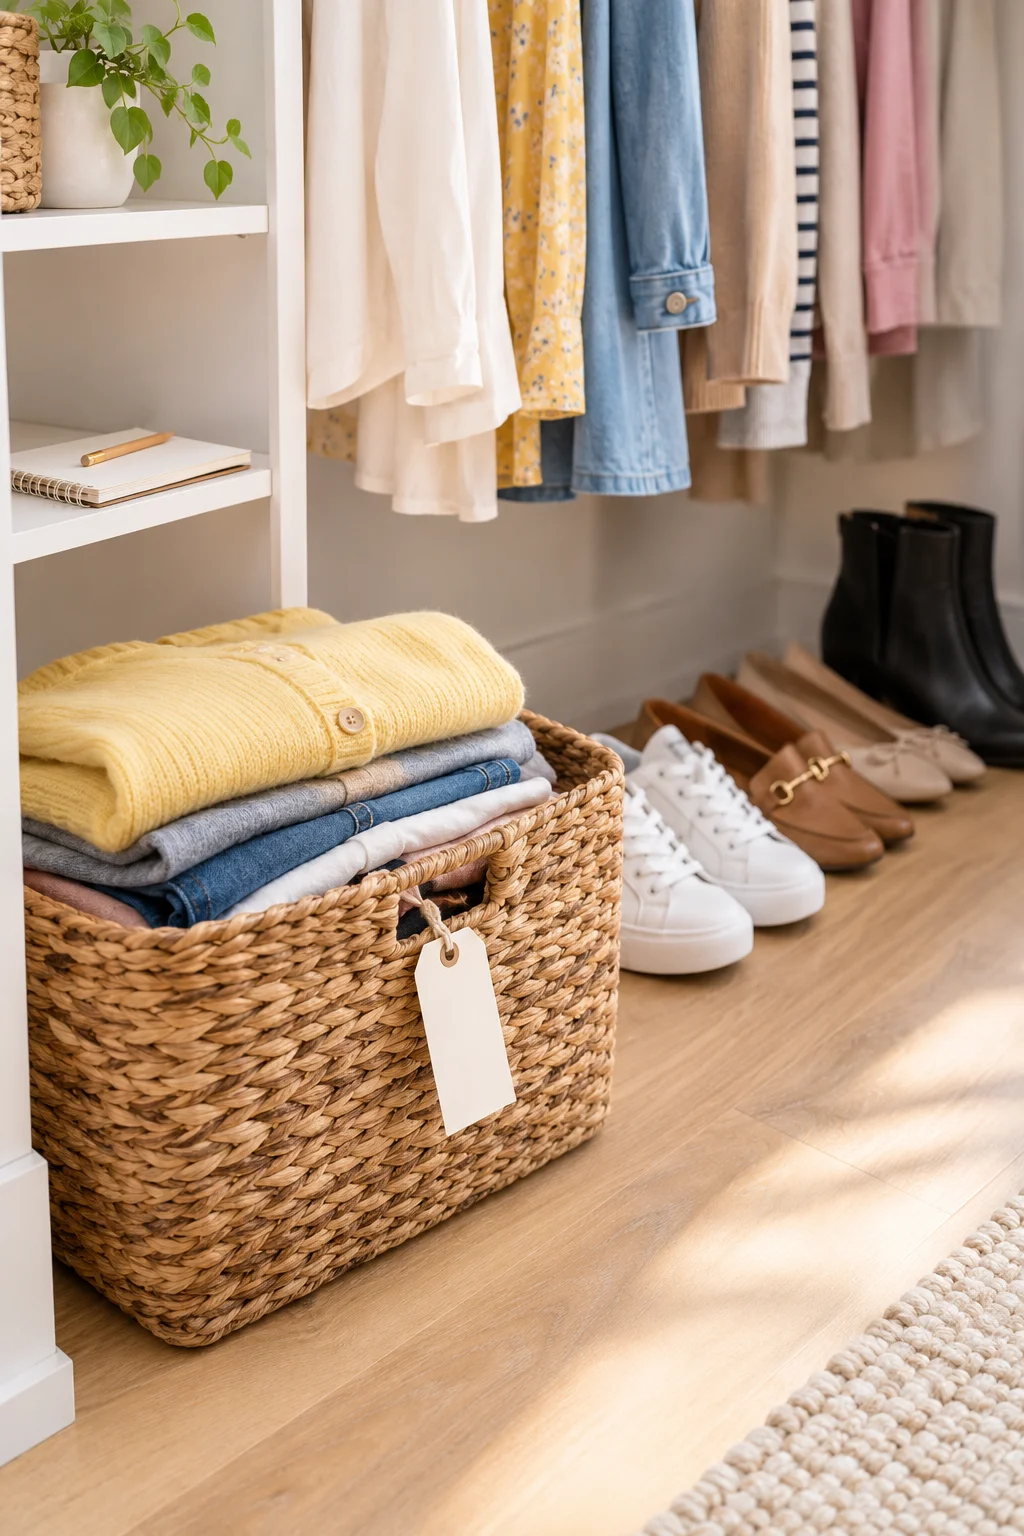
A closet fills back up the same way it emptied: one impulse buy at a time.
Set a plain basket on the floor and write DONATE on a tag. Anything you try on and decide against goes in right then, not back on the hanger. When the basket is full, drop it at a donation bin, and the space it held is yours again.
Then pick one day a month for a quick reset. Ten minutes is enough. Put a reminder on your phone so the habit does not depend on memory.
Your ten minute monthly reset
Conclusion
A closet does not need a full renovation to work harder. It needs a few boards in the right spots, one style of hanger, and a habit that keeps the clutter from creeping back.
Start with the hack that fixes your most annoying problem, such as the shoe pile, the empty gap above the rod, or the sweaters that always end up on the bottom. Once that one is built, the rest feel easier. Together, these 16 DIY closet organization hacks to maximize every inch turn a crowded closet into one you actually like opening.
Save this list for your next free weekend, so the ideas are ready when you are.