
That one wall in your living room has been blank since you moved in. You keep telling yourself you’ll deal with it once you find the right piece, and then six more months go by and it’s still just paint and a nail hole from the last renter. Store bought art gets expensive fast, and a lot of it looks like it came from the same three websites everyone else is shopping from.
The good news is that some of the best looking walls on Pinterest right now aren’t expensive prints. They’re small, textured, handmade pieces. Painted cans, clay flowers, woven yarn, thrifted mirrors, things you can build over a weekend with stuff already sitting in a drawer.
This list of wall decor DIY ideas is built for exactly that wall. Most of these need no power tools, no big budget, just projects that actually look finished once you step back. Grab a hot glue gun and let’s get that wall covered.
1. Turn Leftover Soda Cans Into a Wall Full of Tiny Painted Vases
Empty cans are basically free vases waiting to happen. Wash out a few soda or sparkling water cans, sand the outside just enough for craft paint to grip, and you already have the start of a wall like the pastel one that made the rounds on Pinterest.
A few things keep it from looking thrown together:
- Repeat two or three patterns across all the cans instead of making every single one different
- Vary the height of the flowers you tuck inside so the row doesn’t sit flat
- Use small removable hooks so you can rearrange the cluster once everything dries
Ten cans and one bunch of baby’s breath from the grocery store is enough to fill a narrow hallway wall.
2. Build a Honeycomb Shelf Cluster That Turns One Blank Wall Into a Display Wall
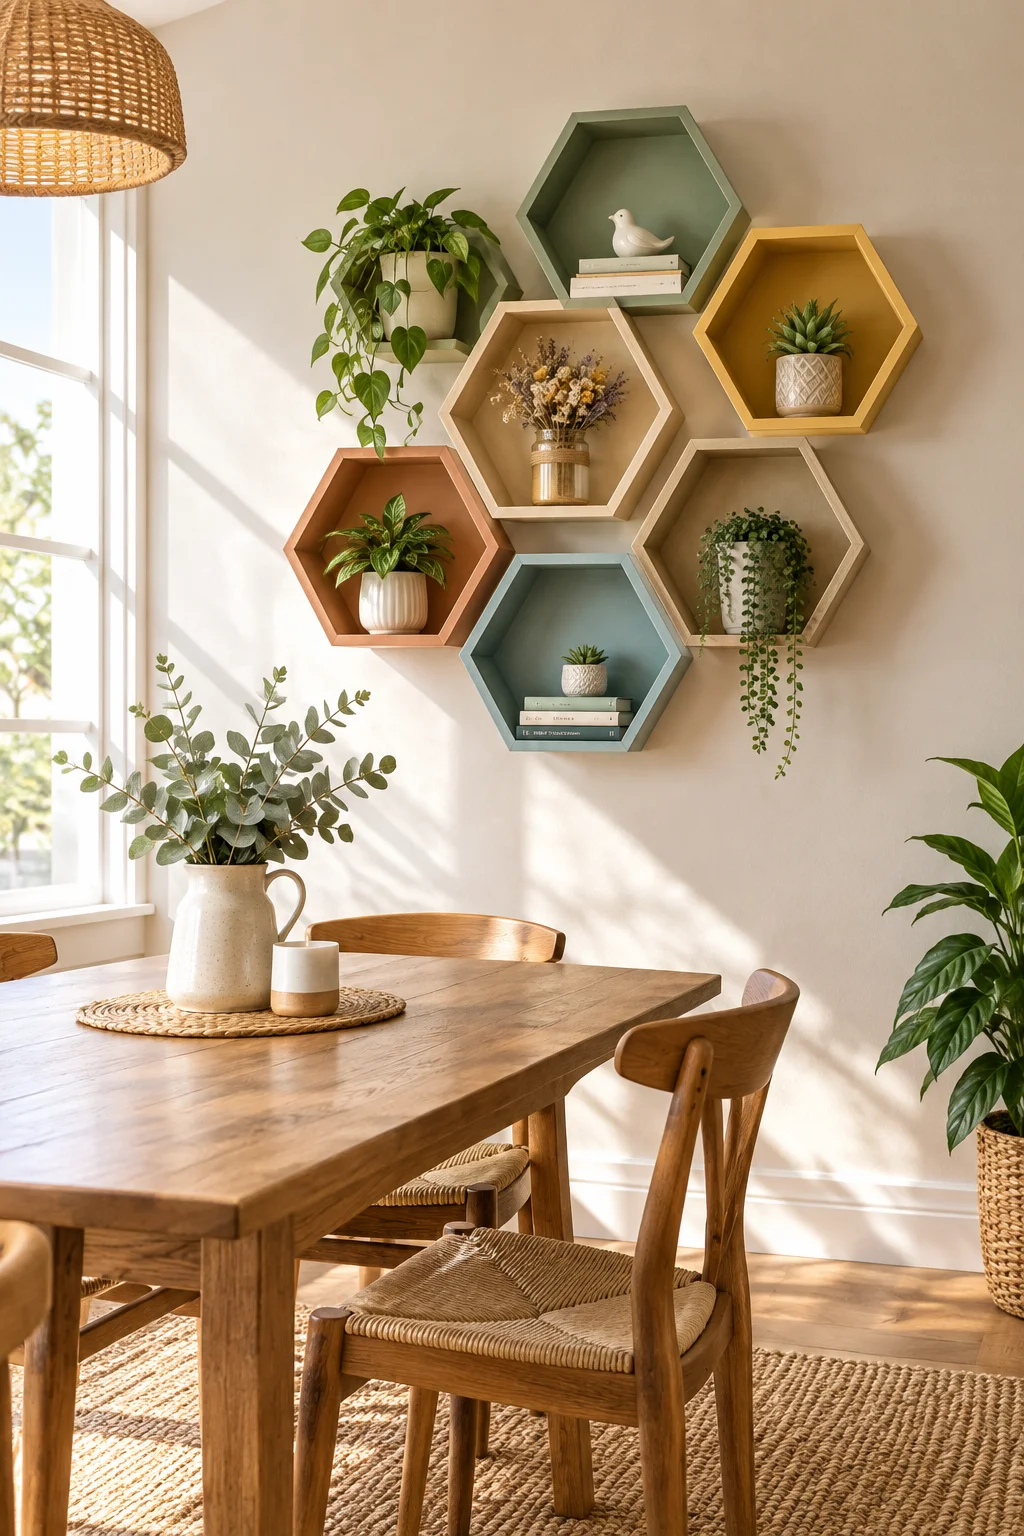
Start with one hexagon shaped shadow box, hang it at eye level, then build outward instead of planning the whole cluster on paper first.
A few things worth knowing before you grab the drill:
- Paint the inside of each hexagon a different color before mounting, that’s what gives the wall its punch
- Leave two or three hexagons empty, an all full wall reads busy instead of curated
- Group plants and small objects toward the center so the eye has somewhere to land
This setup works best on a plain wall with nothing else hung nearby, since the color does most of the talking on its own.
Hang the starter hexagon at eye level and check it with a level before adding anything else.
Mount two or three more so each one touches an edge of the last, keeping a loose honeycomb shape.
Fill smaller gaps last with mismatched sizes, then add plants only once every shelf is secure.
3. Sculpt a Dimensional Clay Daisy Hanging With a Driftwood Tassel

Flat paper flowers always look a little off once you notice the shadows are wrong.
Air dry clay fixes that without a kiln or any real sculpting skill:
- Roll petal shapes with slightly uneven edges, they’re supposed to look hand shaped
- Layer petals in two rounds around a bead or clay center, angling the second round upward
- Let it dry flat for a full day before attaching it to a painted wood backing or hoop
A driftwood or twisted wire stem glued underneath gives the piece somewhere to travel instead of sitting stiff against the board.
A plain painted wood backing with nothing on it, or a flat paper flower that reads two dimensional from across the room.
A layered clay daisy with real shadow and depth, finished with a driftwood stem and a hanging tassel below it.
4. Glue Popsicle Sticks Into a Tiny Window Scene With Hand Painted Quotes
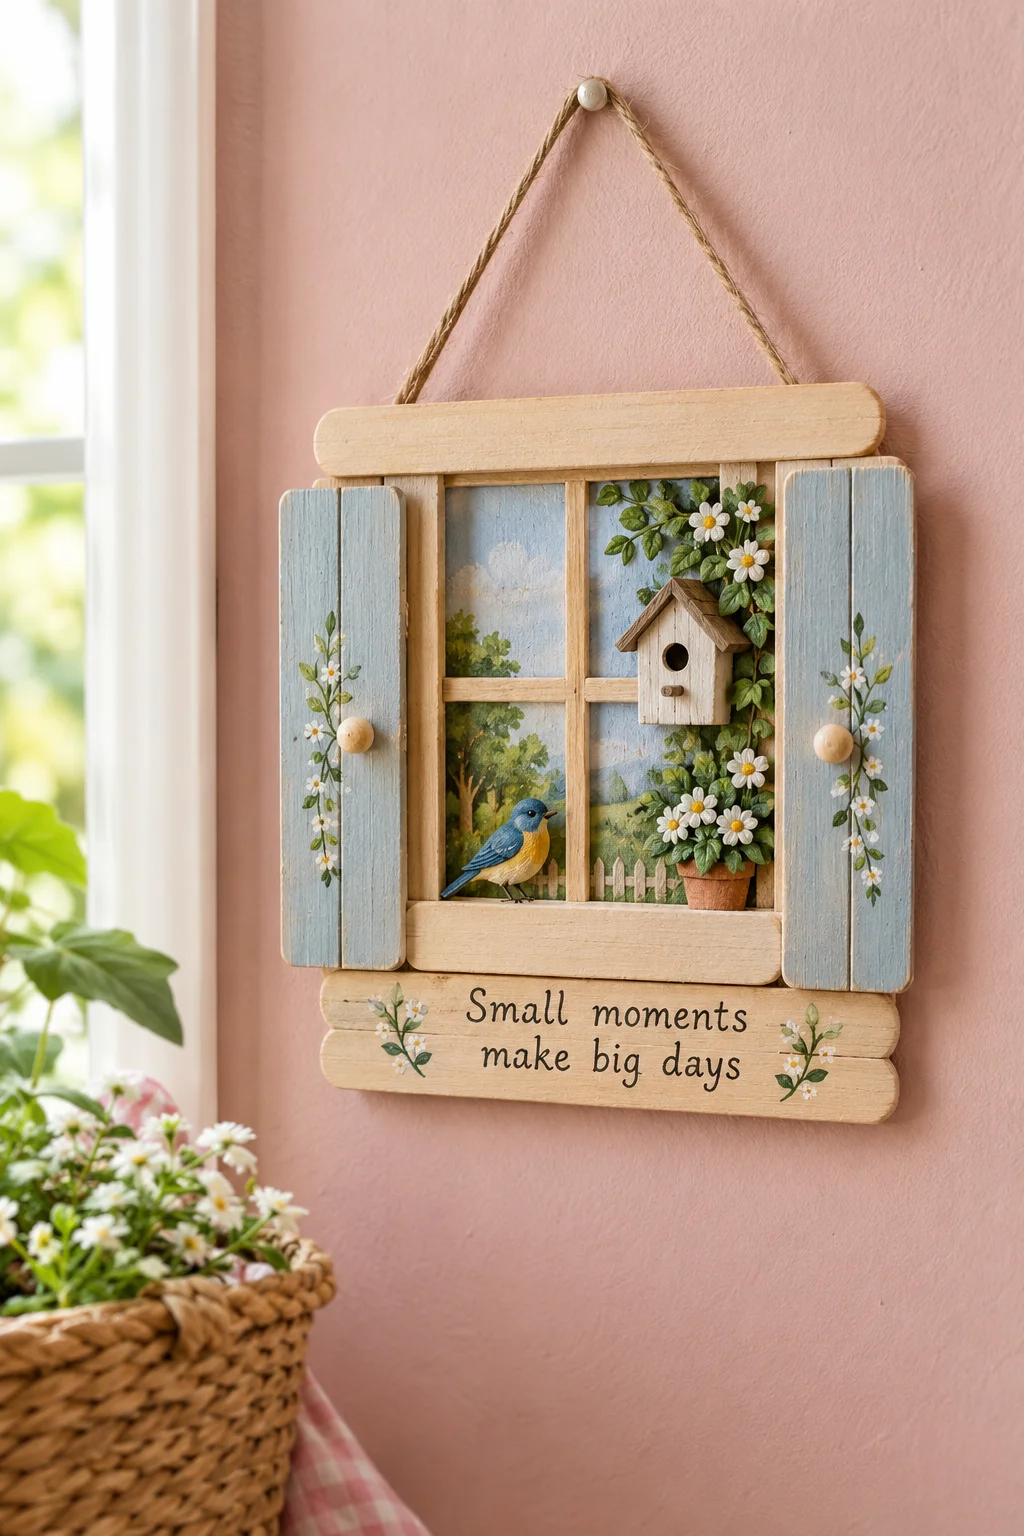
That little window scene look is basically a dollhouse back wall turned into art, and popsicle sticks get you most of the way there for a few dollars.
Glue a simple frame of sticks first, then slide a printed sky or a scrap of wrapping paper behind it before adding anything smaller. Three details are usually enough, a tiny birdhouse, a scrap of twine wrapped like a branch, and one hand lettered quote kept to four words or less. Ten details on a frame this small starts to look cluttered instead of charming.
What to grab first
5. Layer Fabric Scraps Inside Embroidery Hoops for a 3D Flower Gallery
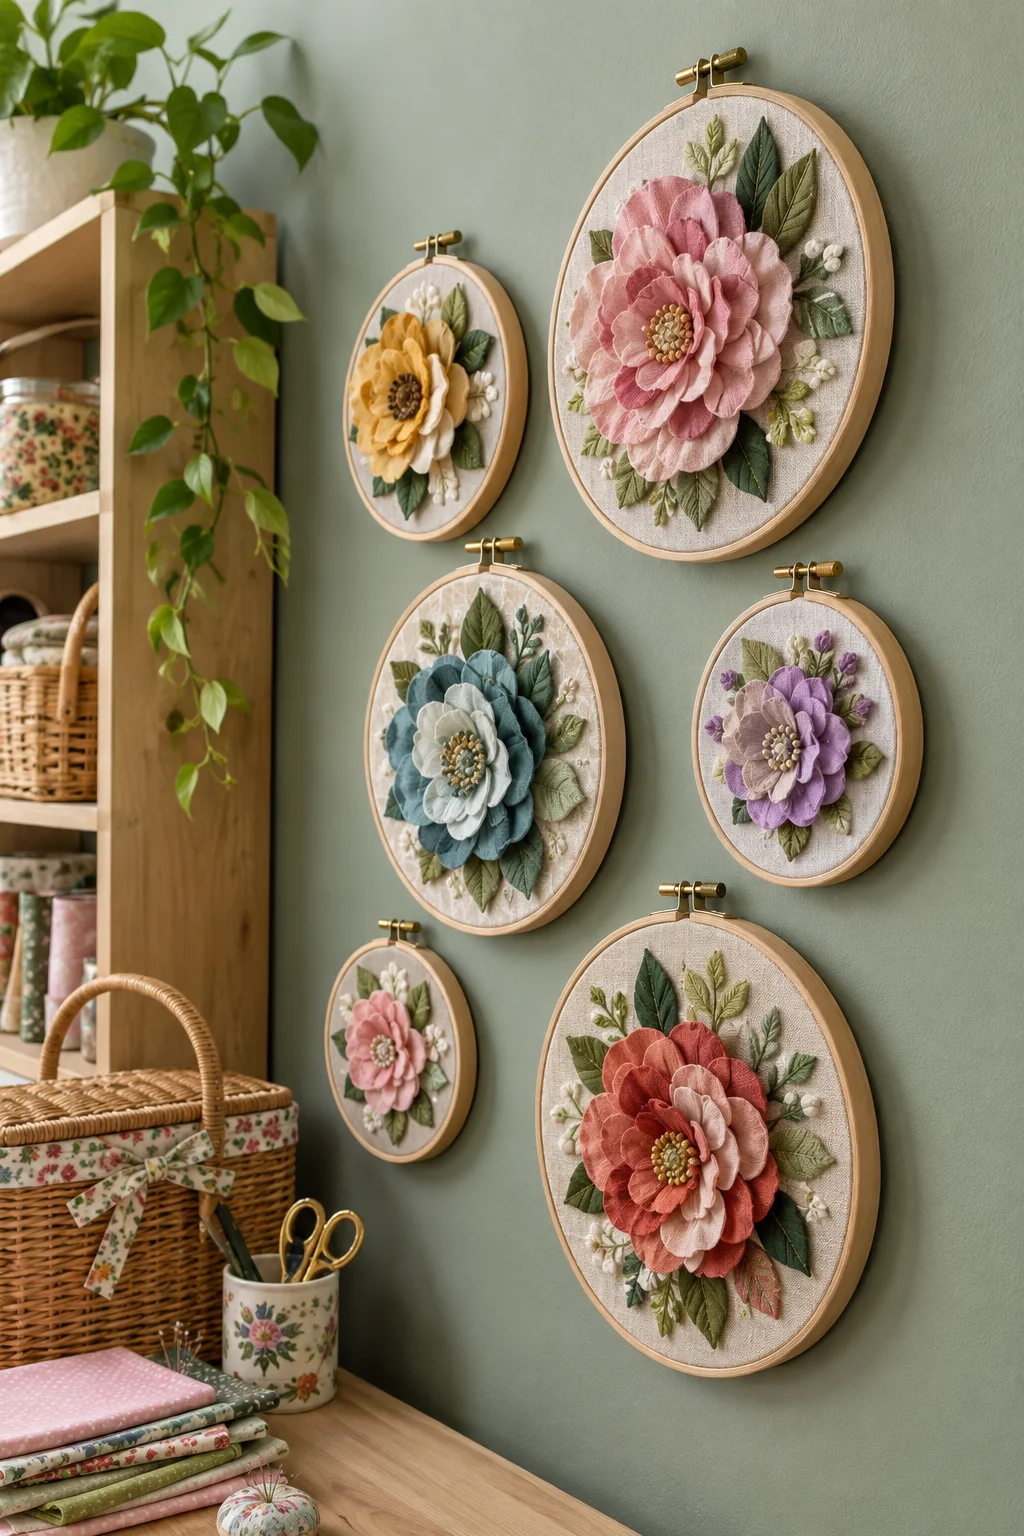
A single embroidery hoop flower looks like a craft project. Six or seven at different depths looks like a gallery wall.
Layer two or three fabric petal shapes per hoop, hot gluing the smallest layer slightly higher than the rest so the center pokes forward instead of lying flat.
- Mix hoop sizes instead of buying one size for the whole set
- Use different backing fabrics, a round of linen next to a patterned cotton
- Stagger the hoops on the wall instead of lining them up in a perfect grid
Skip the perfectly matched fabric bundle from the craft aisle, the slight mismatch is what makes it look put together instead of packaged.
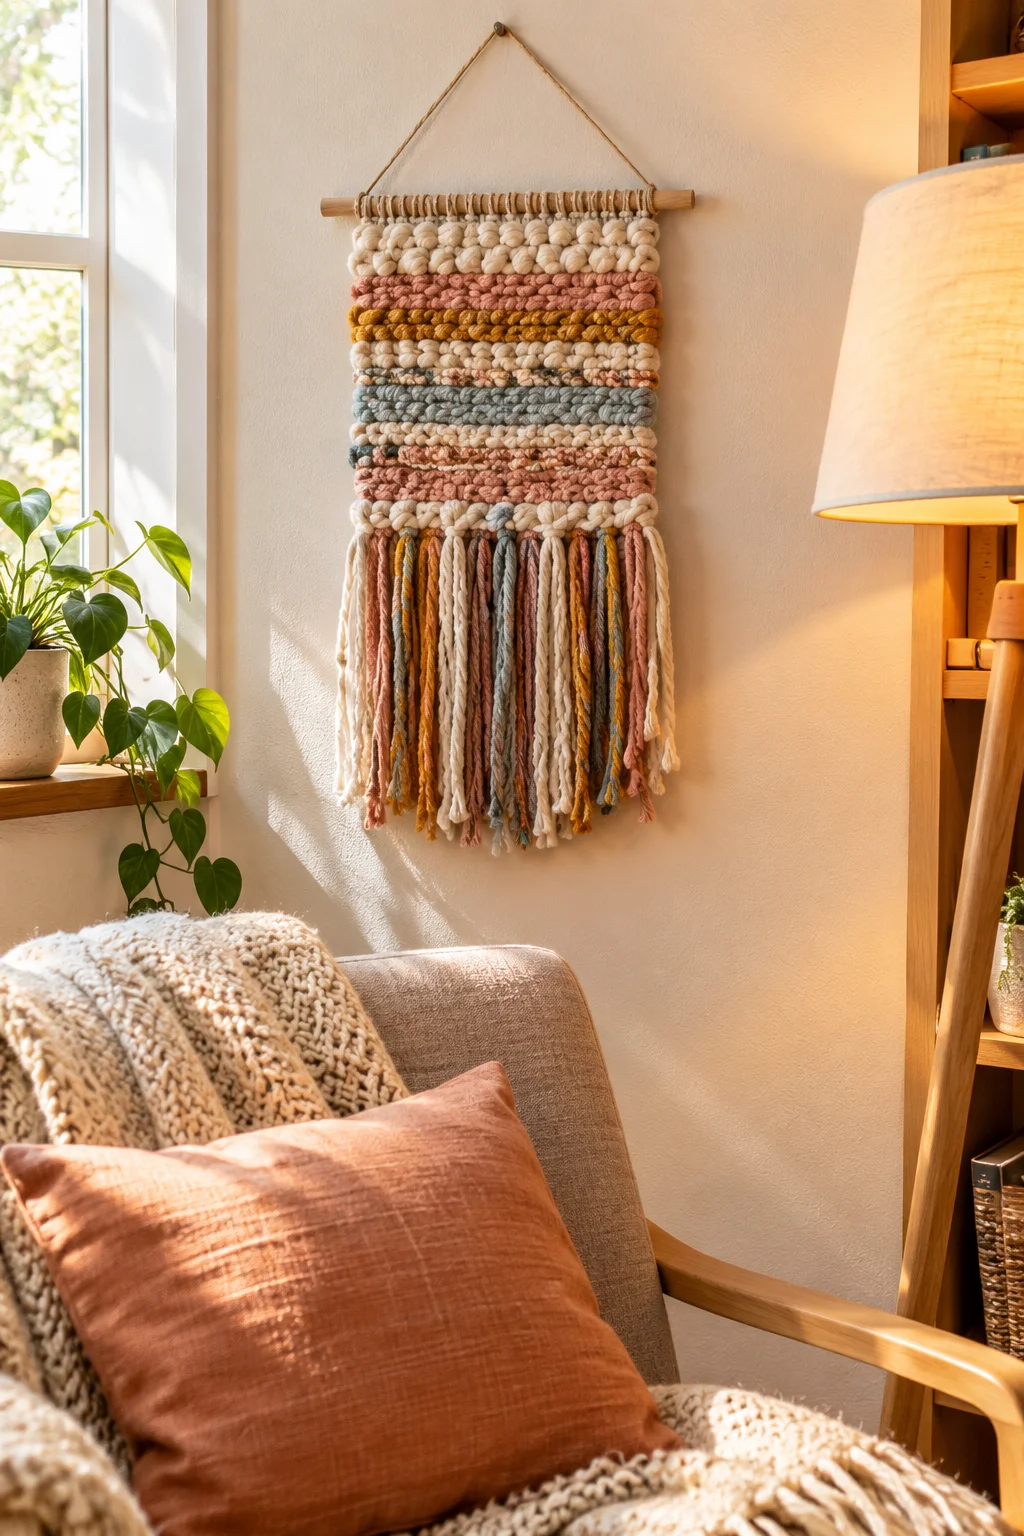
6. Weave a Beginner Yarn Wall Hanging With Just a Fork and a Cardboard Loom
You don’t need a full loom kit sitting in a closet to try weaving. A stiff piece of cardboard and a kitchen fork will get you a real beginner wall hanging in one evening.
Cut evenly spaced notches along the top and bottom of a cardboard rectangle, wrap yarn vertically between them for your warp threads, then use the fork to pack each new row of weaving down tight. Different yarn weights change the whole texture, a chunky wool row next to a thin cotton row gives it depth without needing a fancy stitch.
💡 Quick Tip
Leave the last two inches of warp thread unwoven at the bottom and let it hang loose as natural fringe. It looks finished without any extra work.
7. Press Real Flowers Between Two Frames for a Botanical Wall Piece That Lasts
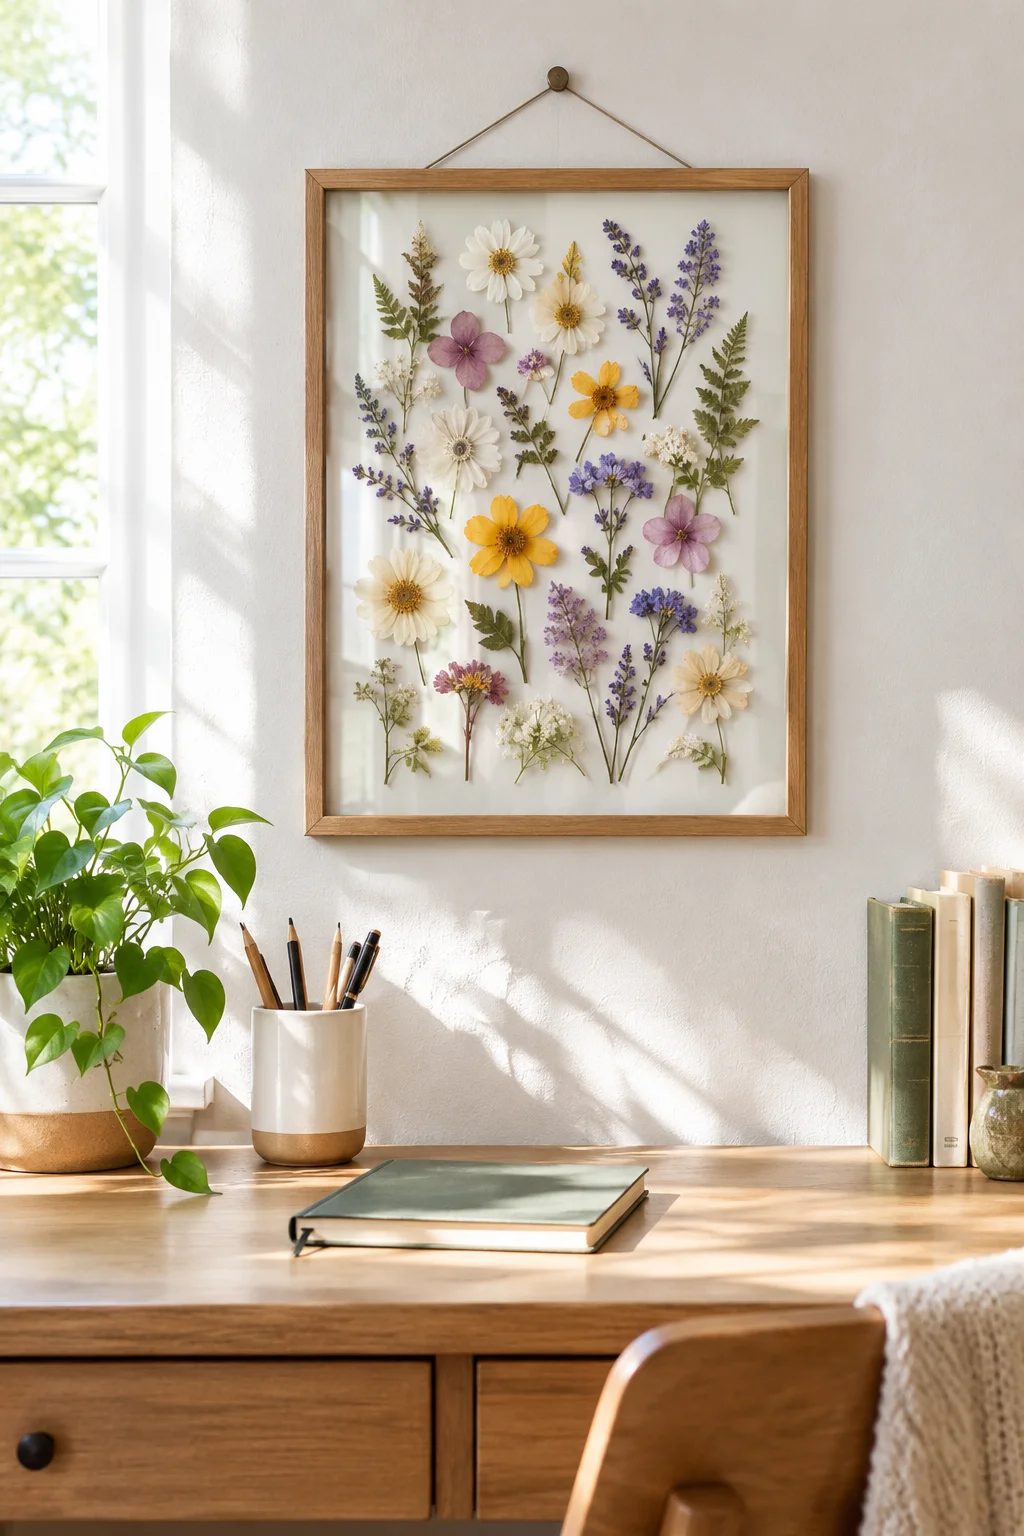
Fresh flowers look great for about four days, then you’re left staring at a wilted arrangement wondering if it’s worth composting yet.
Pressing solves that. Pick flat faced flowers like pansies or ferns, press them between heavy books for one to two weeks, then arrange the dried pieces between two panes of glass or inside a deep set frame. Pieces made this way hold their color far longer than a fresh bouquet ever could, and the flat, layered look reads as intentional art rather than a forgotten craft project.
Press for the full one to two weeks before moving flowers into the frame.
Use a frame with a spacer so petals aren’t flattened against the glass.
Don’t press thick centered flowers whole, they trap moisture and can mold.
Don’t glue petals straight to glass, it flattens the texture completely.
8. Cluster Mismatched Thrifted Mirrors Into One Wall Grouping That Looks Collected, Not Random
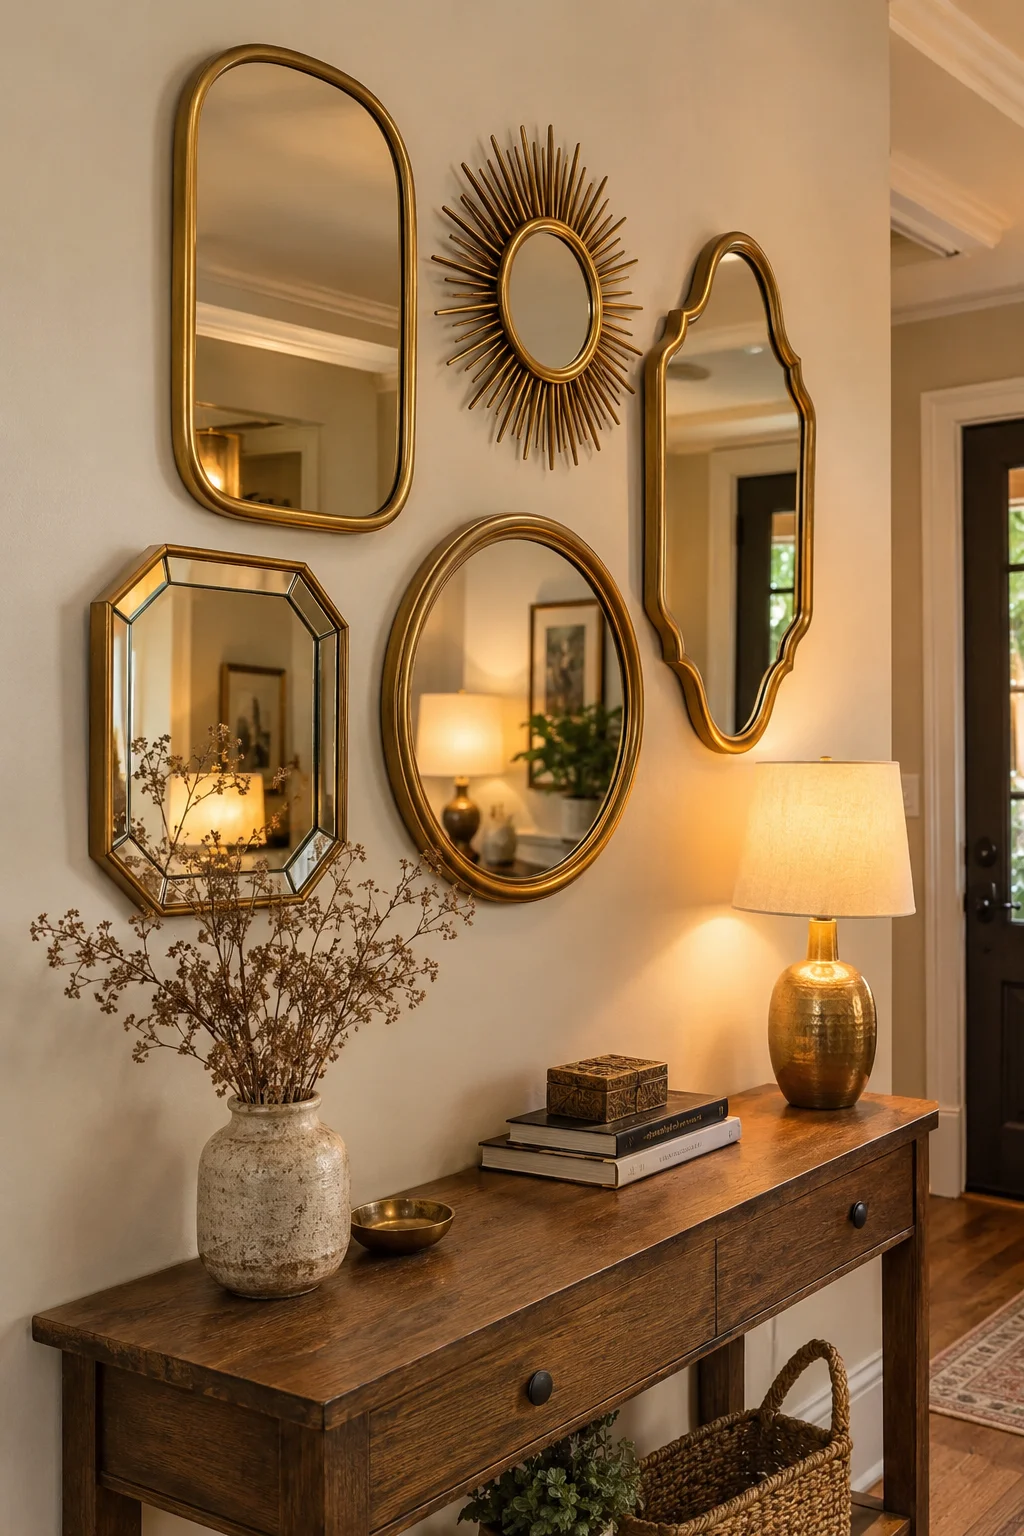
One rule keeps a wall of thrifted mirrors from looking like a yard sale table, pick a single unifying color and stick to it, even if every frame is a different shape.
Hit up thrift stores for five or six mirrors in different shapes, scallops, ovals, thin gold frames, then spray paint every one the same color before hanging anything. The mismatched shapes read as a curated collection once the color ties them together. Skip that step and it just reads as leftover finds nailed up at random.
| Matching Boxed Set | Thrifted and Painted |
|---|---|
| Same shape and finish throughout | Varied shapes tied together by one paint color |
| Higher cost, bought new | Lower cost, mostly the price of spray paint |
| Looks a bit showroom | Looks like a collection built over time |
9. Pair a Floating Shelf With a Macrame Plant Hanger for a Corner That Used to Sit Empty
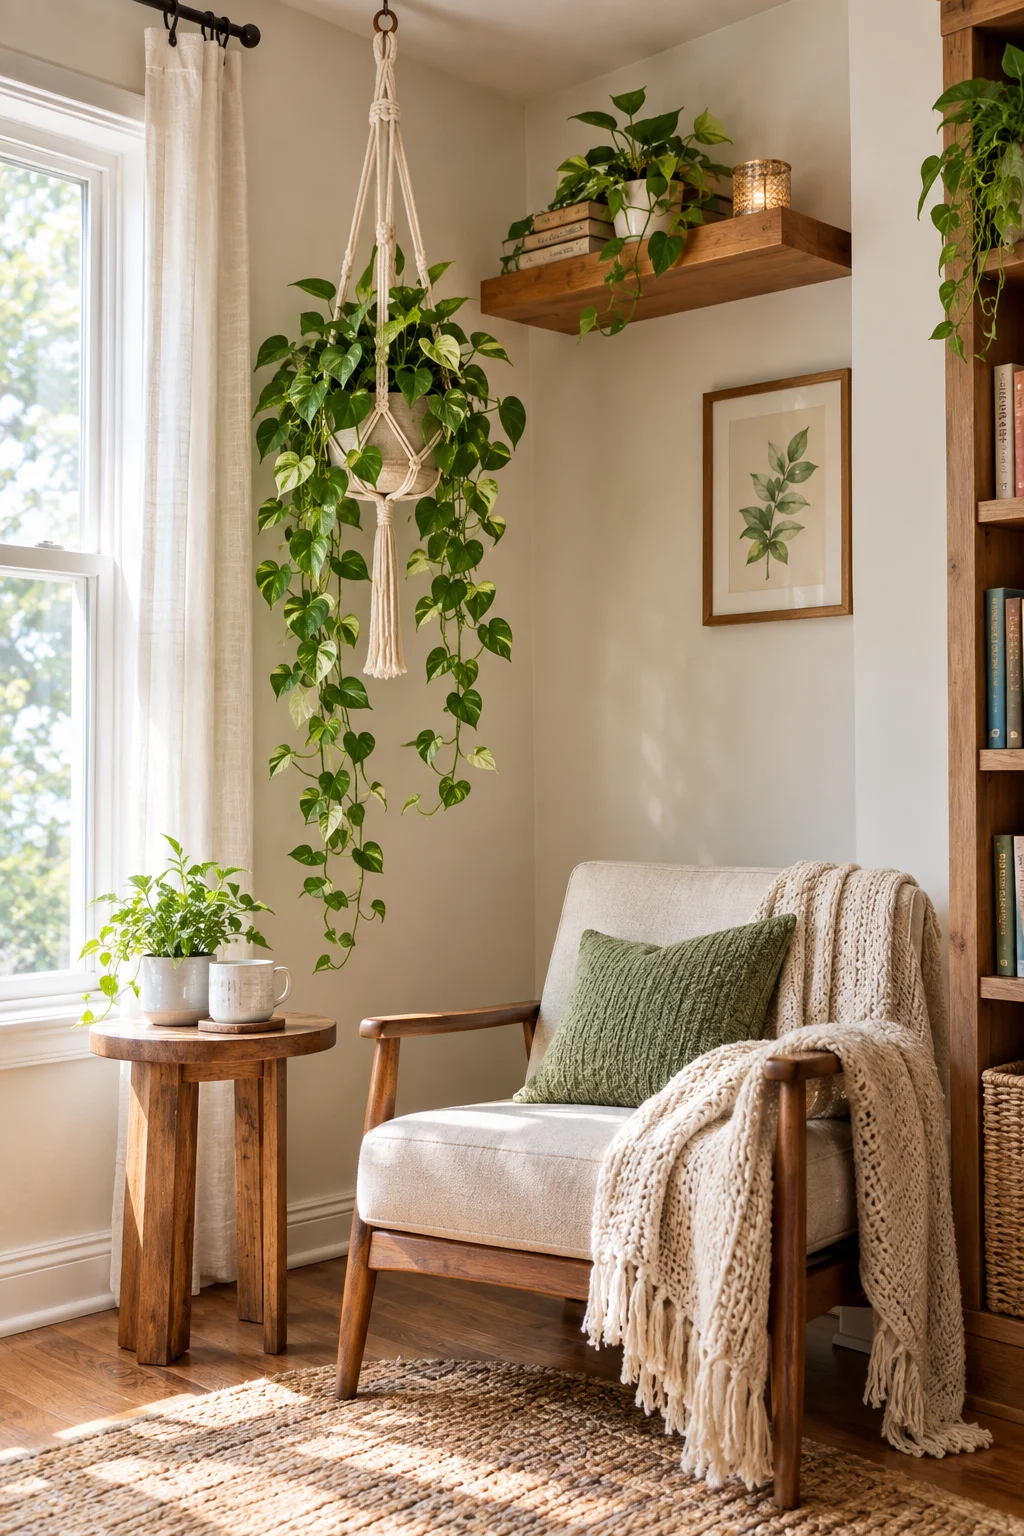
That corner behind the armchair has probably been empty since you moved the furniture in, too small for a bookshelf and too awkward for a floor lamp.
A floating shelf mounted about a foot below ceiling height, paired with a macrame plant hanger looped from a hook above it, fills that dead space without crowding the room. Layer a trailing pothos on the shelf and a second hanging plant from the macrame knot so the eye travels the full height of the corner instead of stopping at eye level. Works especially well in a corner with natural light but nowhere for furniture.
Vertical space above eye level is almost always wasted in a small room. Use it before you buy more floor furniture.
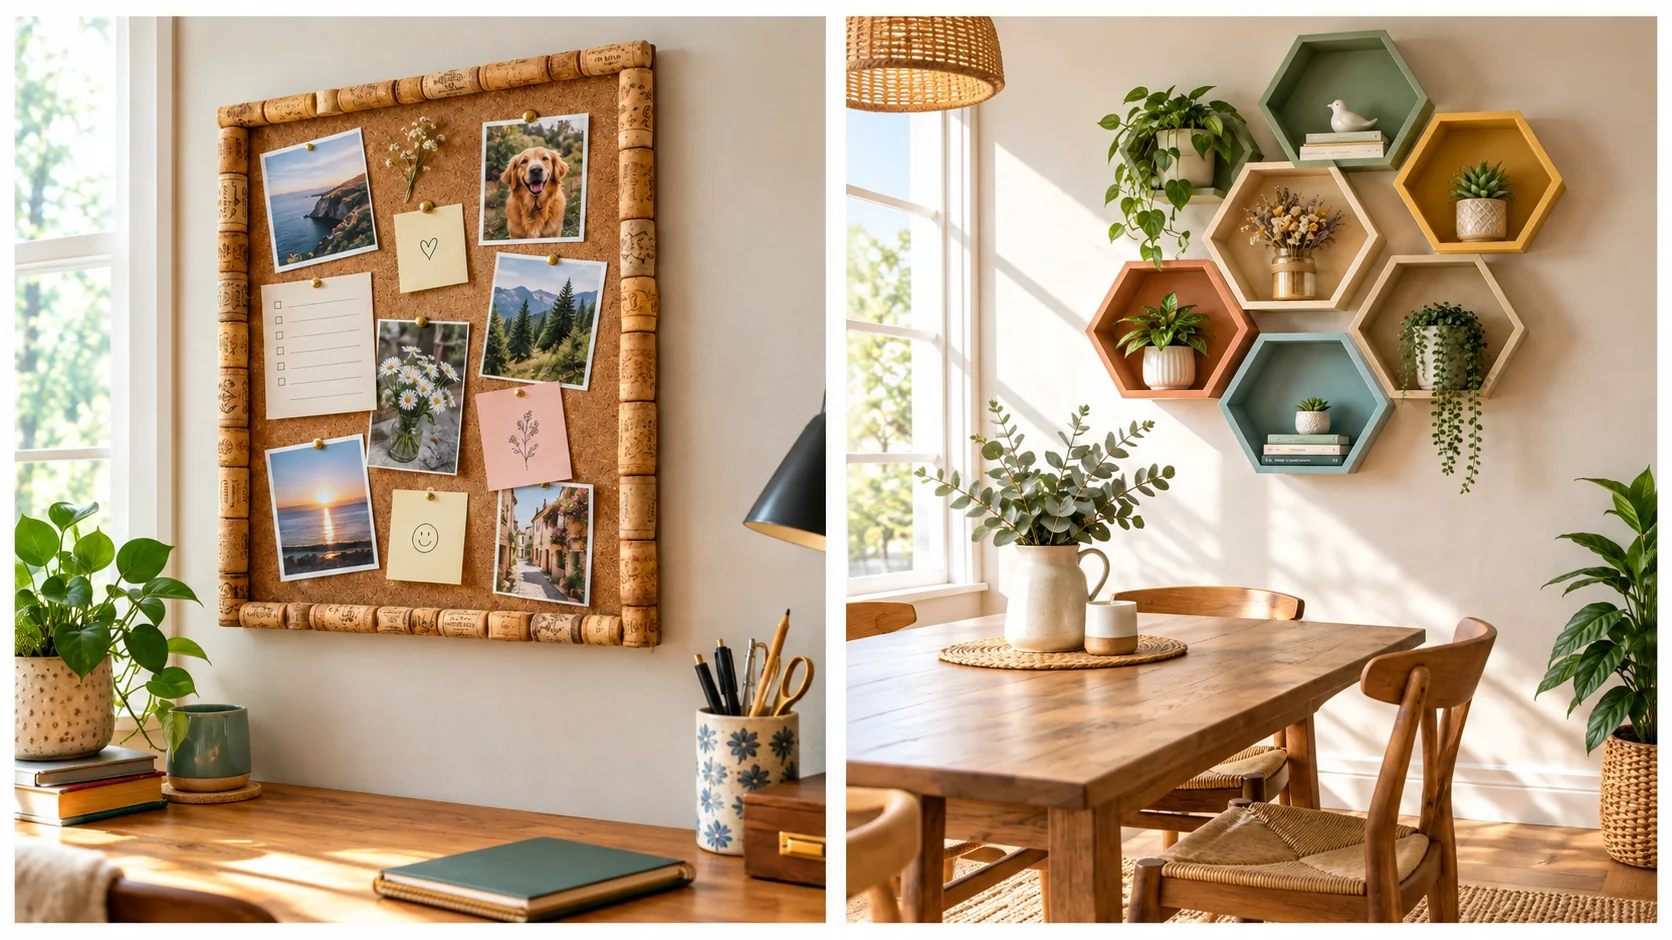
10. Turn Saved Wine Corks Into a Framed Memo Board for Notes and Photos
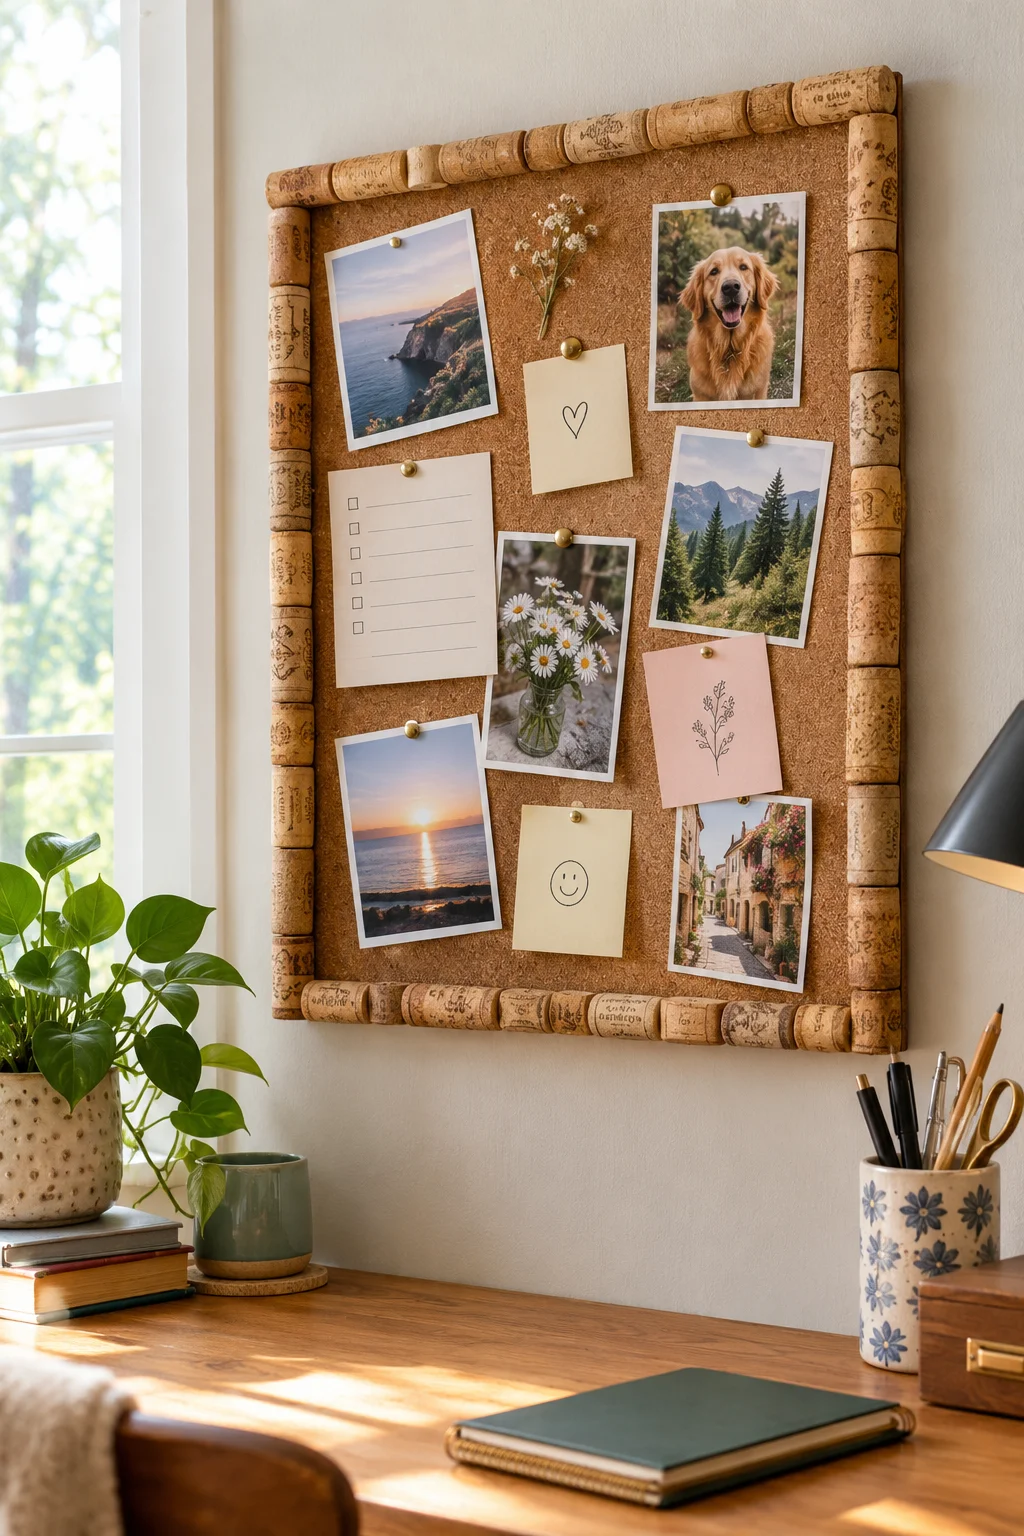
Most people toss corks straight into the recycling bin without a second thought, but a saved jar of them is basically a free pinboard border waiting to happen.
Hot glue corks length wise around the edge of a plain frame, leaving the backing exposed as a memo space for photos, ticket stubs, and notes. Cut a few corks in half lengthwise for the corners so the border sits flush instead of leaving gaps. It takes about 40 to 50 corks for a standard frame size, so start saving a few months ahead if you don’t already have a stash going.
- ▸40 to 50 saved wine corks, more if your frame is larger than standard
- ▸A plain frame with the glass and backing removed
- ▸Small pins or thumbtacks for hanging photos and notes
11. Paint a Soft Arch Behind Your Frames So the Wall Does Half the Decorating

A blank wall doesn’t need more objects hung on it. Sometimes it just needs a shape.
Painting a soft, rounded arch directly on the wall behind a frame or a cluster of shelves gives the whole setup a backdrop, without adding a single new item to dust. Tape off the curve with painter’s tape and a large plate or lid as your guide for the rounded top, then fill it in with one shade darker or lighter than your wall color so it reads as a subtle shift rather than a bold stripe. It’s forgiving too, painter’s tape peels away clean if the curve isn’t quite right the first time.
12. String a Photo Timeline With Twine, Mini Clothespins, and Fairy Lights
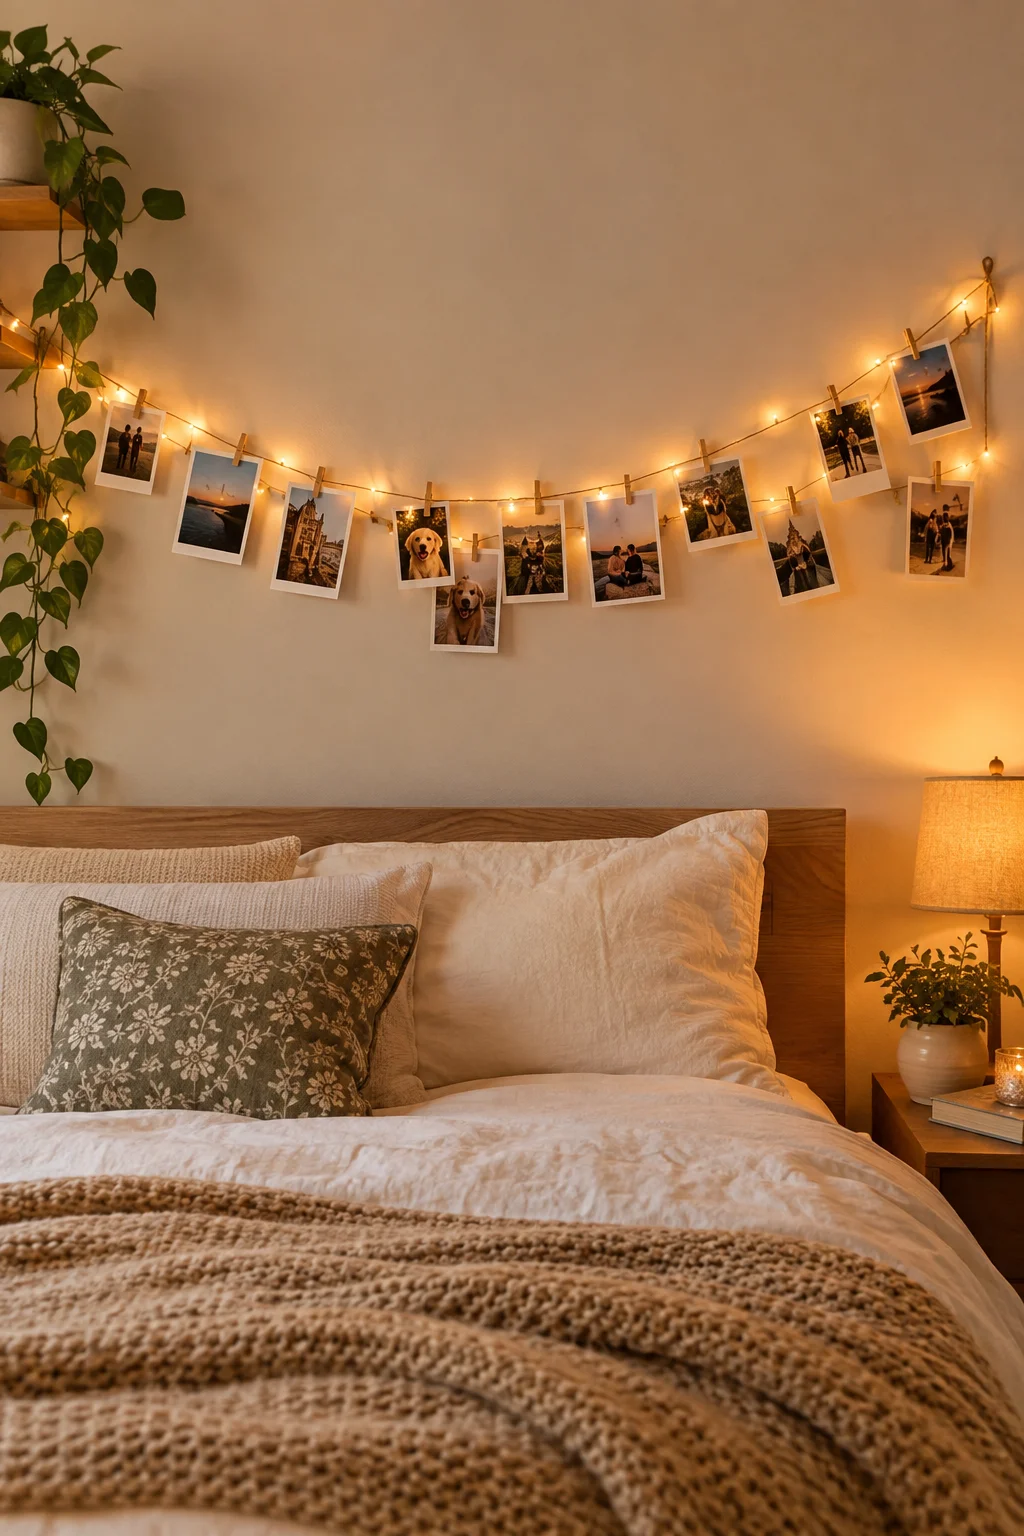
Printed photos in a drawer aren’t doing anything for anyone. Strung along a wall, they turn into an actual timeline you’ll stop and look at.
- Mount two small hooks at either end of the space and run a length of twine between them, letting it dip slightly in the middle
- Clip printed photos along the twine with mini wood clothespins, spacing them so a few inches of twine show between each one
- Weave a strand of warm white fairy lights along the same twine so the wall glows once it’s dark
Swap photos out seasonally instead of committing to one set, that’s what keeps the wall from going stale after the first month.
13. Layer Cut Paper Into a 3D Botanical Shadow Box
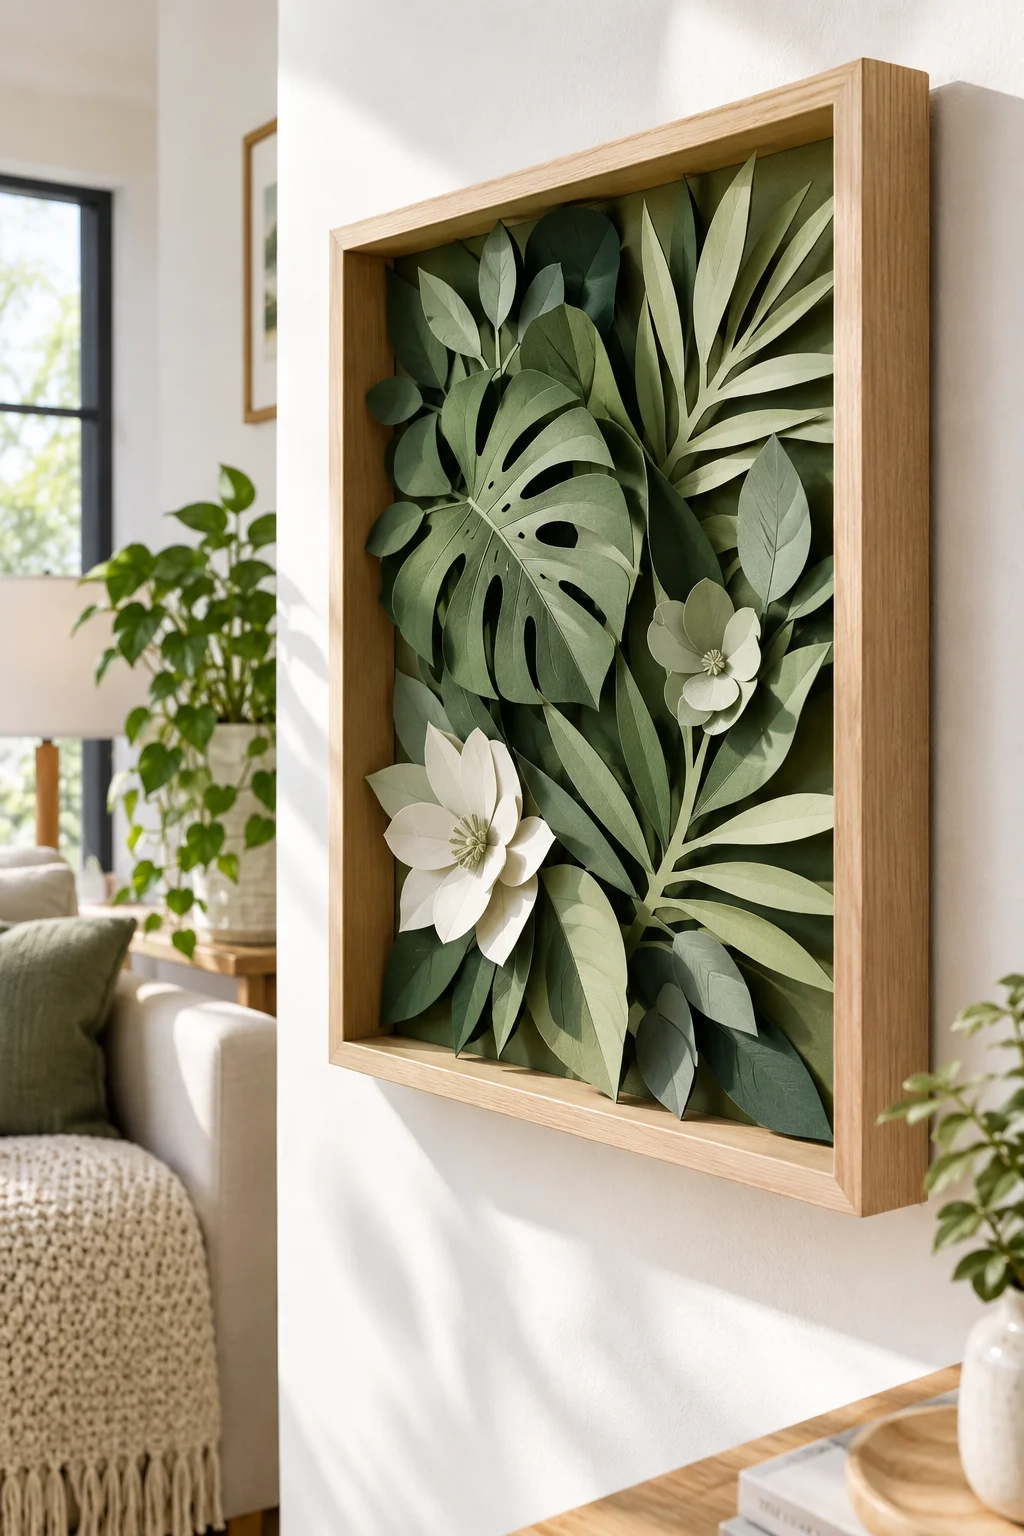
A common mistake with paper botanical art is cutting one flat layer and calling it done, then wondering why it looks like a printout instead of art.
The fix is depth. Cut two or three versions of the same leaf or petal shape in slightly different sizes, then stack them with small foam adhesive squares between layers so each one sits a bit higher than the last. Mounted inside a deep set shadow box frame, the shadows between layers do the rest of the work.
14. Turn Ladder or Crate Scraps Into a Rustic Display Shelf
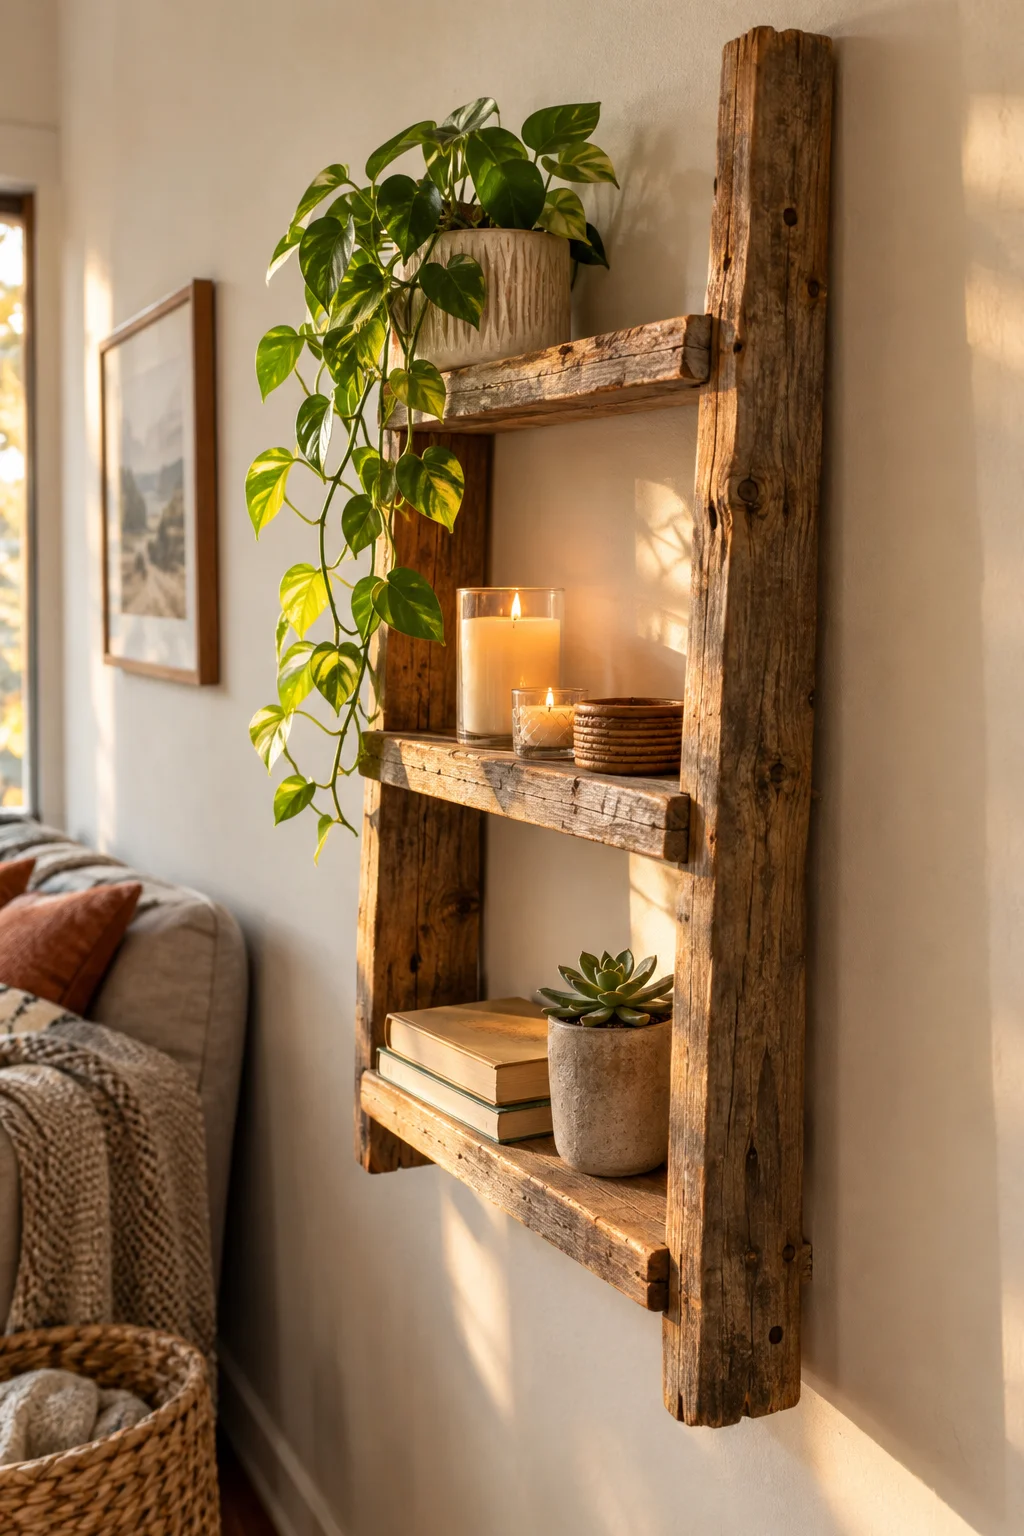
Old ladder rungs or a broken wood crate usually end up in the give away pile, but the wood itself still has plenty of life left.
Sand down the rough edges, then mount a single rung or crate side flat against the wall as a narrow floating shelf. The visible grain and old paint flecks do more for texture than a smooth new board ever would, especially against a plain painted wall.
📌 Good To Know
Weight limits are lower on reclaimed wood than new lumber. Keep it to light plants, small frames, or candles, not heavy books or ceramics.
Conclusion
Fourteen ideas is a lot to choose from, but you don’t need to tackle all of them this weekend. Pick the one that matches what’s already sitting in your craft drawer, the leftover cans, the extra embroidery hoop, the corks you’ve been saving without a plan for them. That’s usually the fastest way to start.
What ties every one of these wall decor DIY ideas together is texture. Paint, clay, fabric, twine, they all give a flat wall something real to catch the light. Save this list for the next time you walk past that blank wall and think you’ll deal with it eventually. Pin it now so it’s there when you’re ready.